Article Overview
This article explains how to use the Behavior tab to trigger integrations.
Form Buttons
(See Figure 1)
Using the Behavior tab, you can link an integration to the button. The integration will be triggered when the button is clicked while interacting with the digital process. To trigger an integration, click the dropdown and select one from the list.
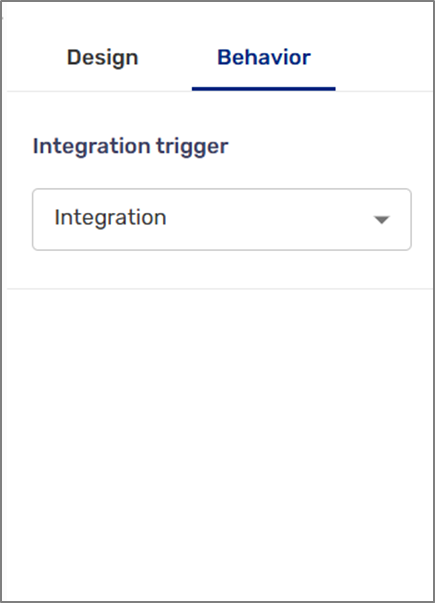
Figure 1: Integration Trigger Form Buttons
Main Page
(See Figure 2)
You can also use the Behavior tab to link an integration to the Main Page component. The integration will be triggered when the page is loaded while interacting with the digital process. To trigger an integration, click the dropdown and select one from the list.
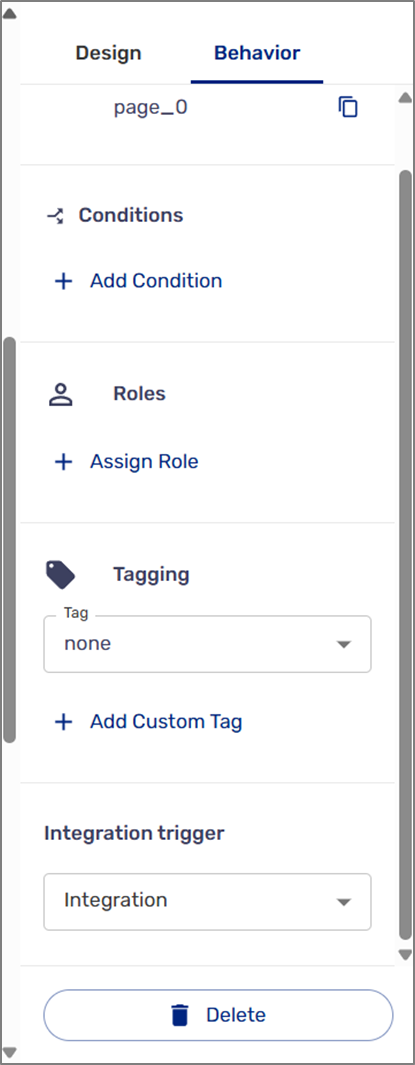
Figure 2: Integration Trigger Main Page
Service Settings
(See Figure 3)
After you select an integration, the Service Settings screen appears. It includes three options:
- Inputs -maps the data from Webflow to the integration inputs.
- Outputs (optional) - sets which data the integration returns should be stored in the process data items.
- Advanced - enables you to set the following:
- Repeat - runs the integration for every item in a selected array.
- Response:
- When checked - waits for a response before proceeding.
- When not checked - does not wait for a response before proceeding.
- Failure message - enables you to set a message that will appear in case of a failure.
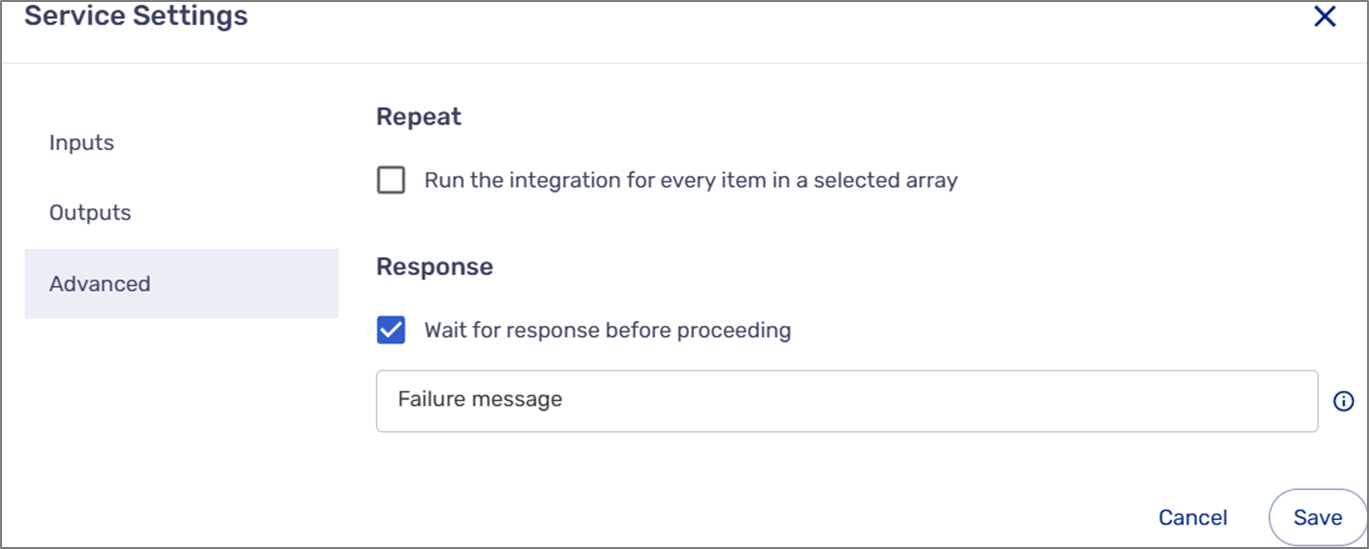
Figure 3: Service Settings