Article Overview
The following article describes what is EasySign and the structure of an eSignature request.
What is EasySign?
EasySign enables you to turn any document into a digital experience by automating link sending and form signing while streamlining your data collection and file generation. Using EasySign you can:
- Assign roles for each step by detecting text and signature fields
- Add as many signees as needed
- Choose if they sign at the same time or one after the other
EasySign Options
(See Figure 1 to Figure 3)
To access the EasySign options, click the EasySign tab (1).
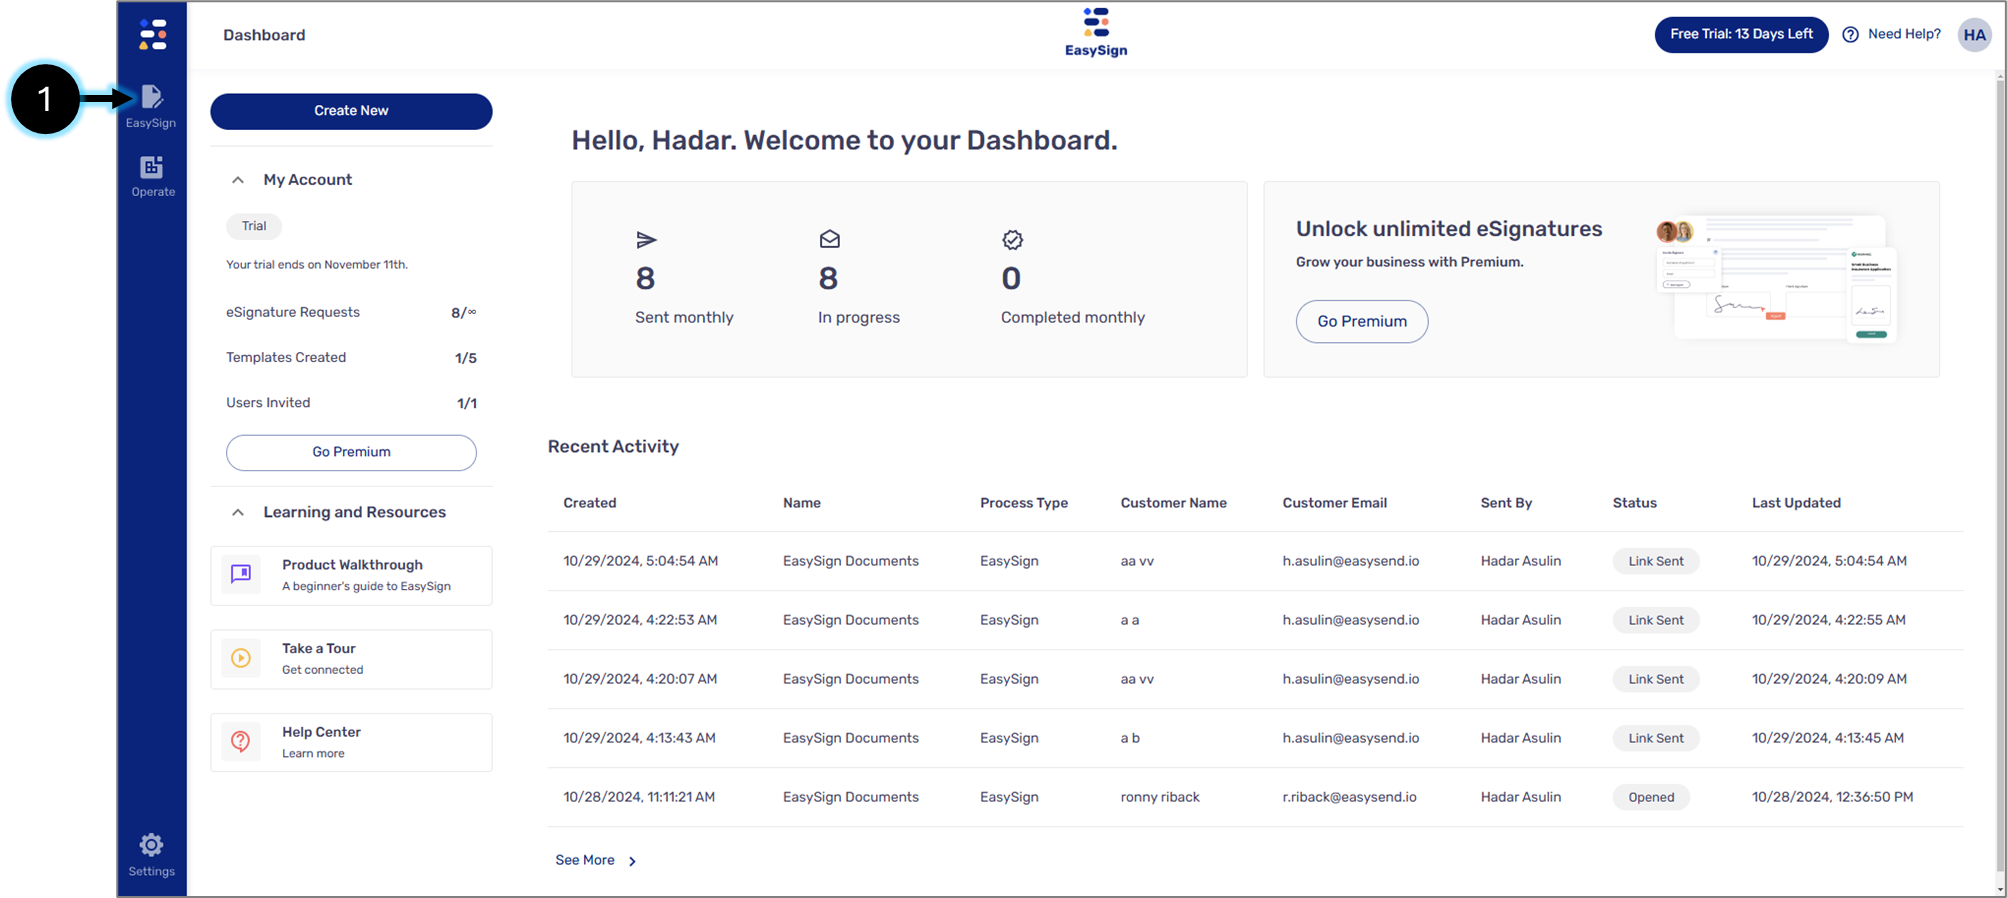
Figure 1: EasySign Tab
After clicking the tab, two options appear:
- Create New (2) - to create a new eSignature request
- Templates (3) - to create a new eSignature request using a template
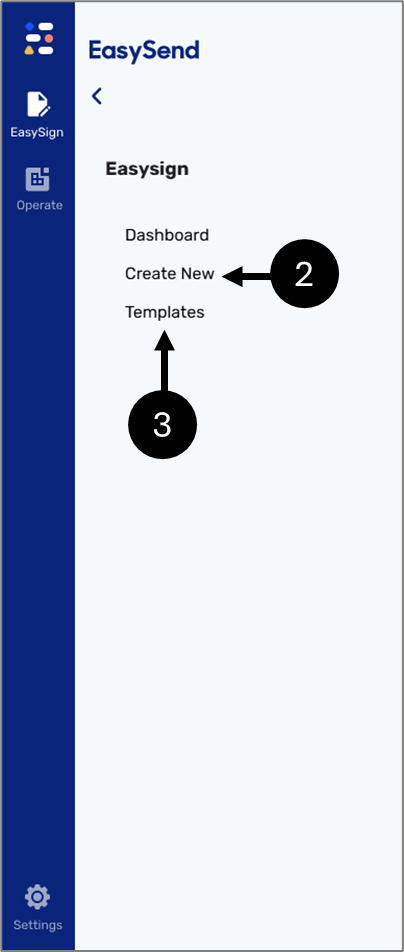
Figure 2: EasySign Tab Options
eSignature Request Structure
After clicking the Create New option, the Create New screen appears. Figure 3 and Table 1 describe its structure.
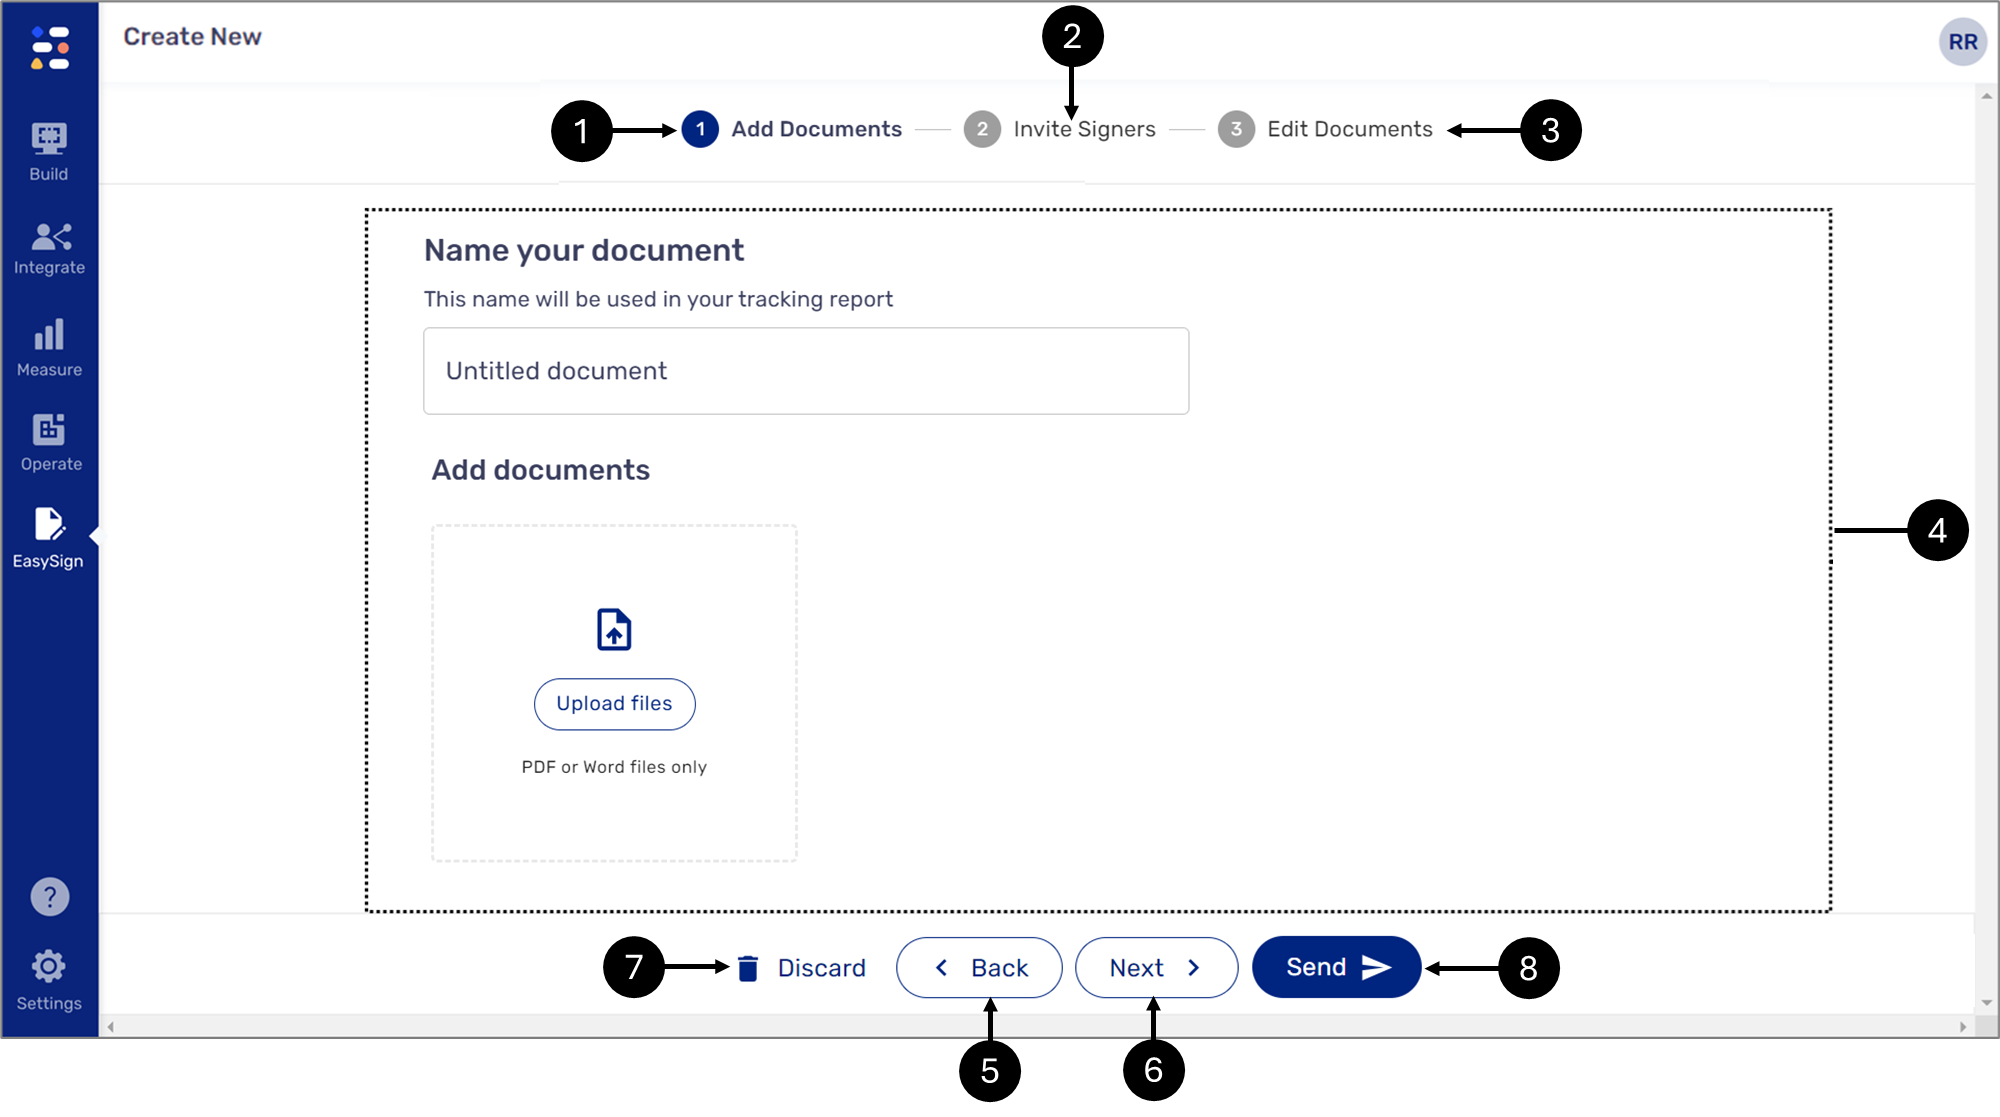
Figure 3: Create New Screen
Table 1: Create New Screen
Number | Icon | Name | Description |
1 |
| Add Documents Tab | Enables to upload documents to the signing process NOTE For a detailed description, see The Add Documents Tab article |
2 |
| Invite Signers | Enables to invite signers to the process NOTE For a detailed description, see The Invite Signers Tab article |
3 |
| Edit Documents | Enables to Edit the documents that were uploaded using the Add Documents tab NOTE For a detailed description, see The Edit Documents Tab article |
4 | - | Display Area | Displays content according to the selected tab |
| 5 |  | Back | Enables to navigate back NOTE The button will not appear while displaying the Add Documents tab content |
| 6 |  | Next Step | Enables to navigate forward NOTE The button will not appear while displaying the Edit Documents tab content |
| 7 | - | Discard | Enables to delete the work currently displayed without the possibility to restore it |
| 8 |  | Send | Enables to send the eSignature request NOTE If a document is not uploaded before clicking the button, an error message will appear. |


