Article Overview
The following article describes how to configure your monday workspace after installing EasySend's app from monday's marketplace.
EasySend App Configuration
The following sections describe how to configure the EasySend app on monday, after installation.
Step 1: Download EasySend's App From monday.com Marketplace
(See Figure 1)
Use the following link.
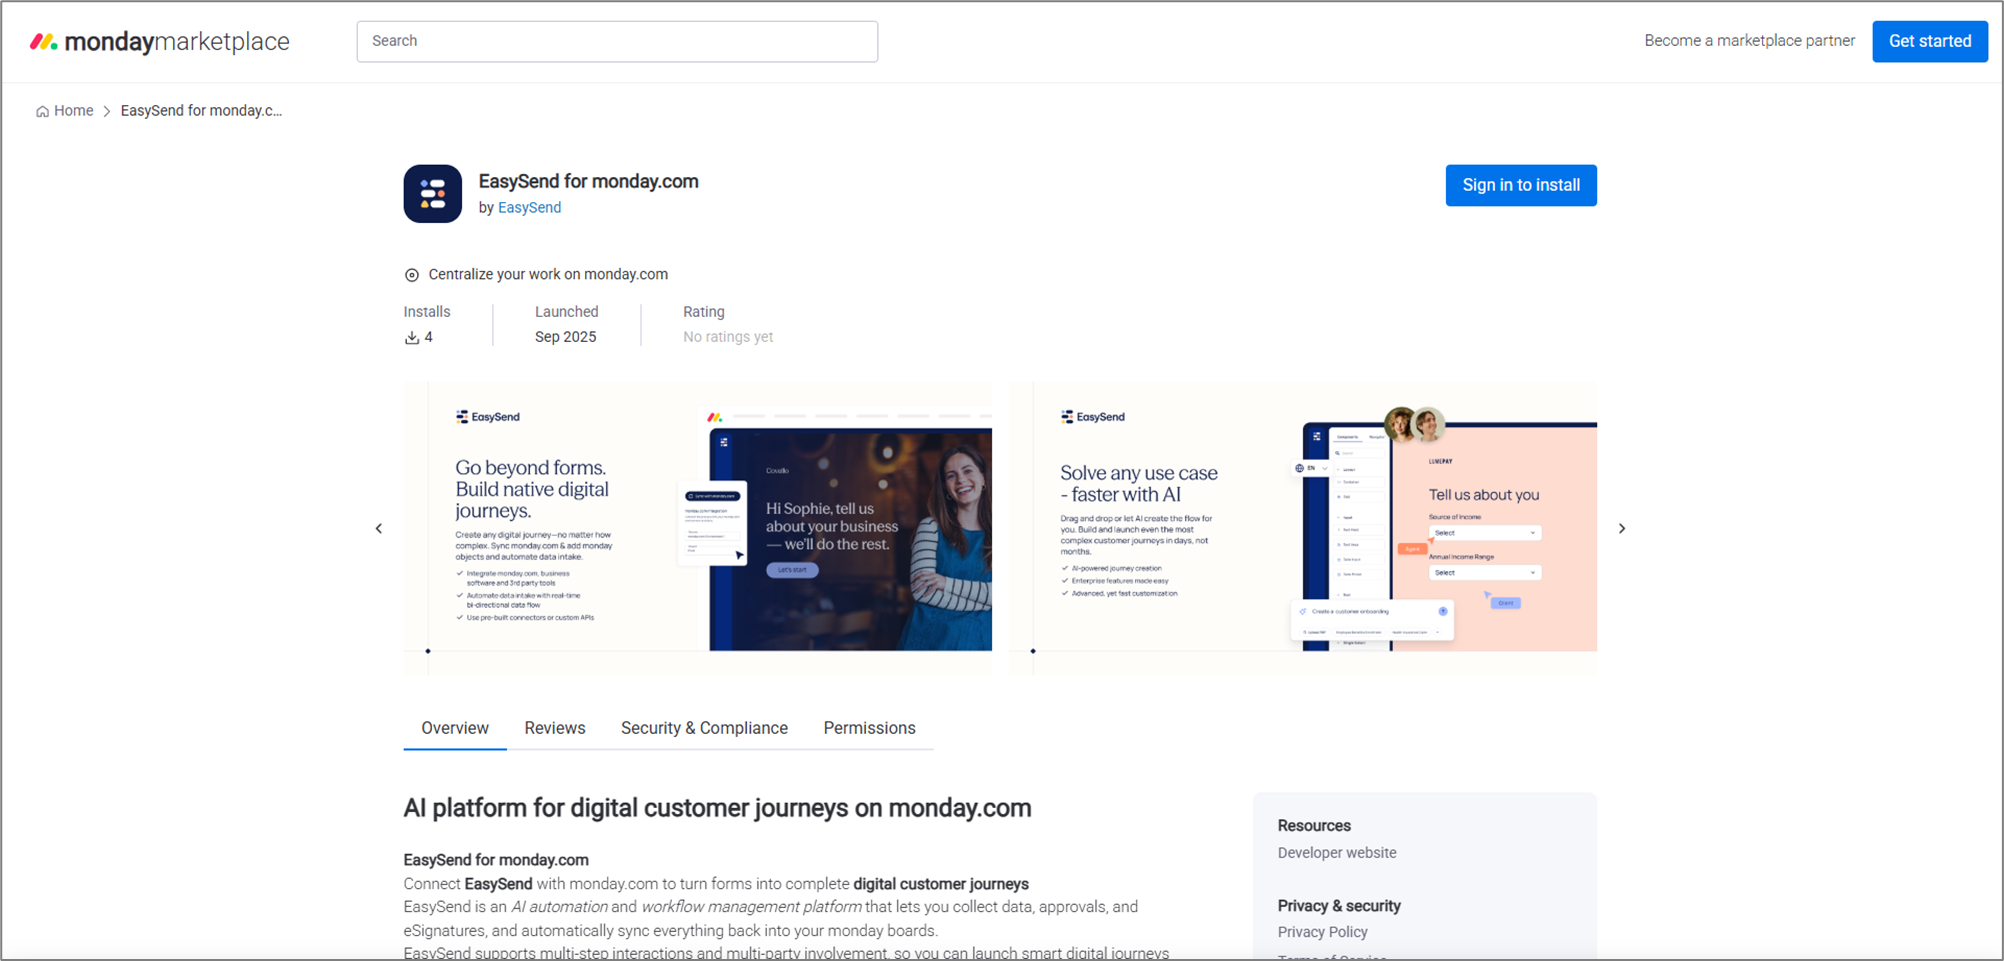
Figure 1: EasySend for monday.com
Step 2: Add EasySend View
(See Figure 2 to Figure 5)
- Views are added per board.
- When adding the EasySend view to a board, it automatically applies to all items on that board.
To add the EasySend view after installation, perform the following steps:
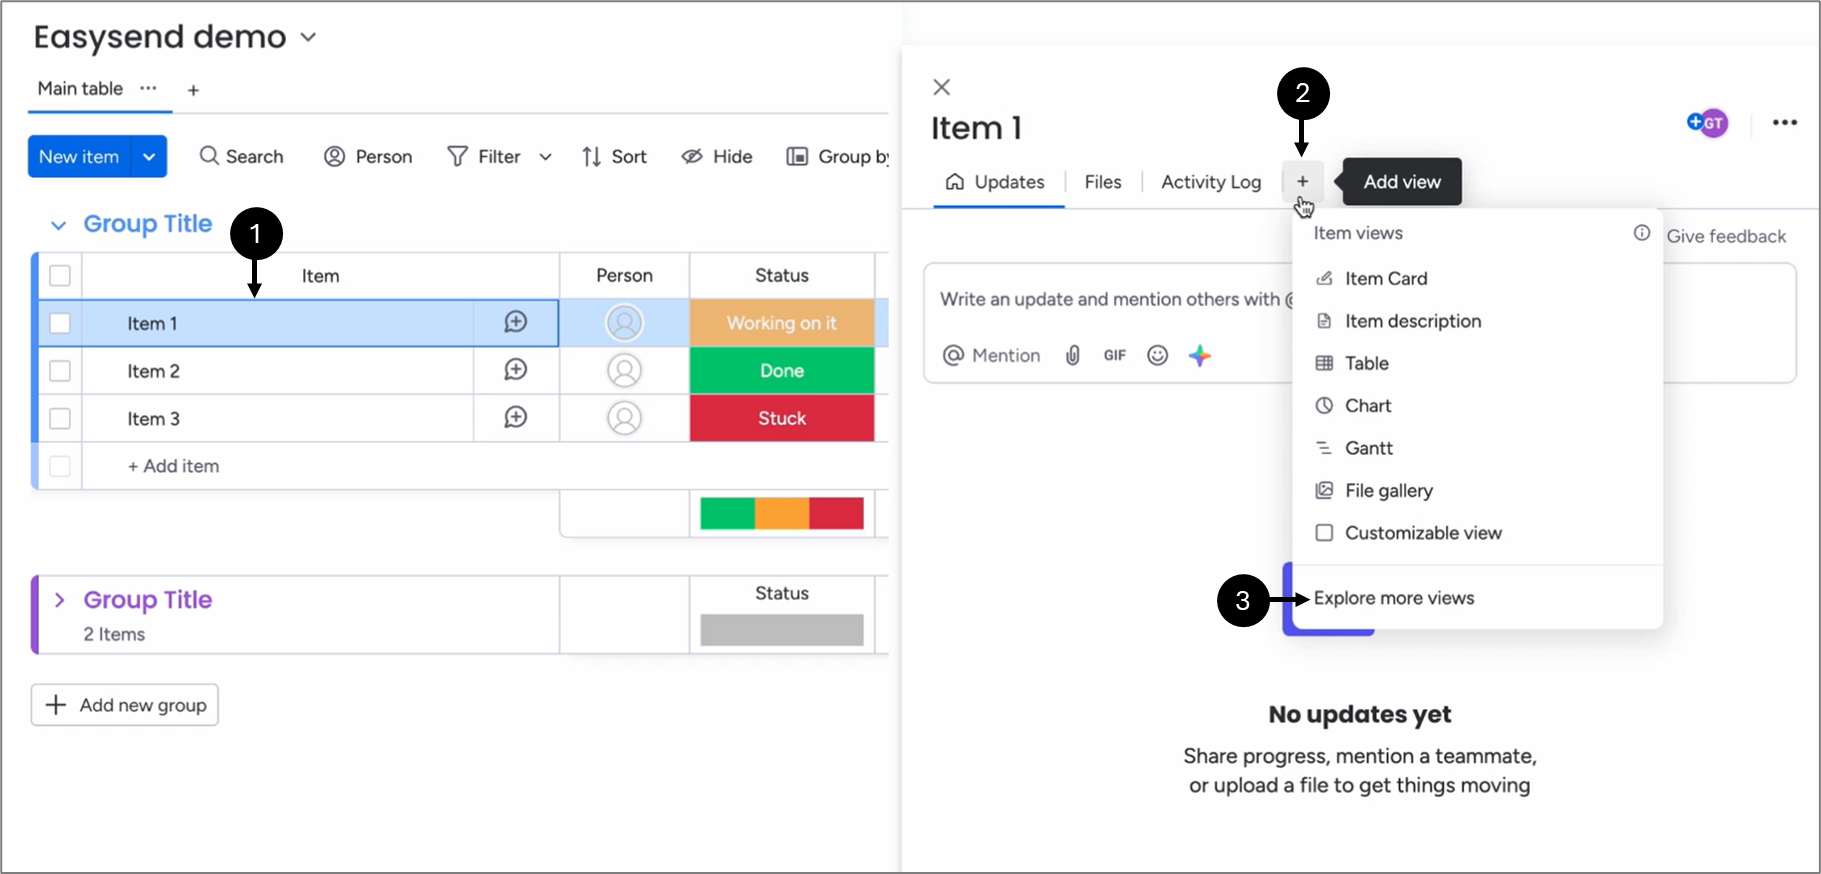
Figure 2: Adding Views
- Select a board and click an item (1).
- Click the + (2).
- Click Explore more views (3).
Result:
The Item Views Center appears:
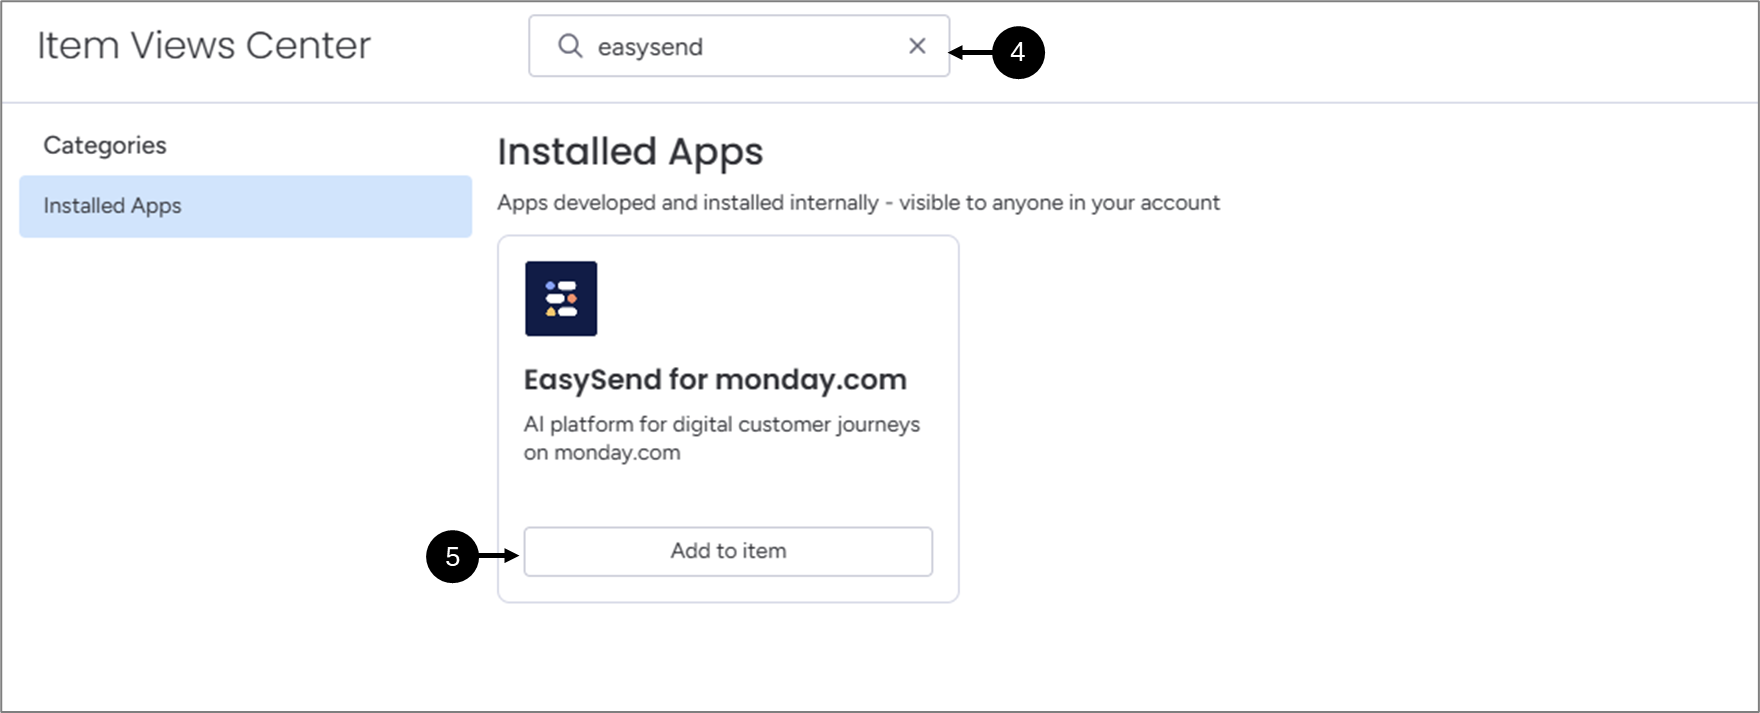
Figure 3: Item Views Center
- Search for easysend (4).
- When the EasySend for monday.com appears, click Add to item (5).
Result:
The EasySend for monday.com view is added (6):
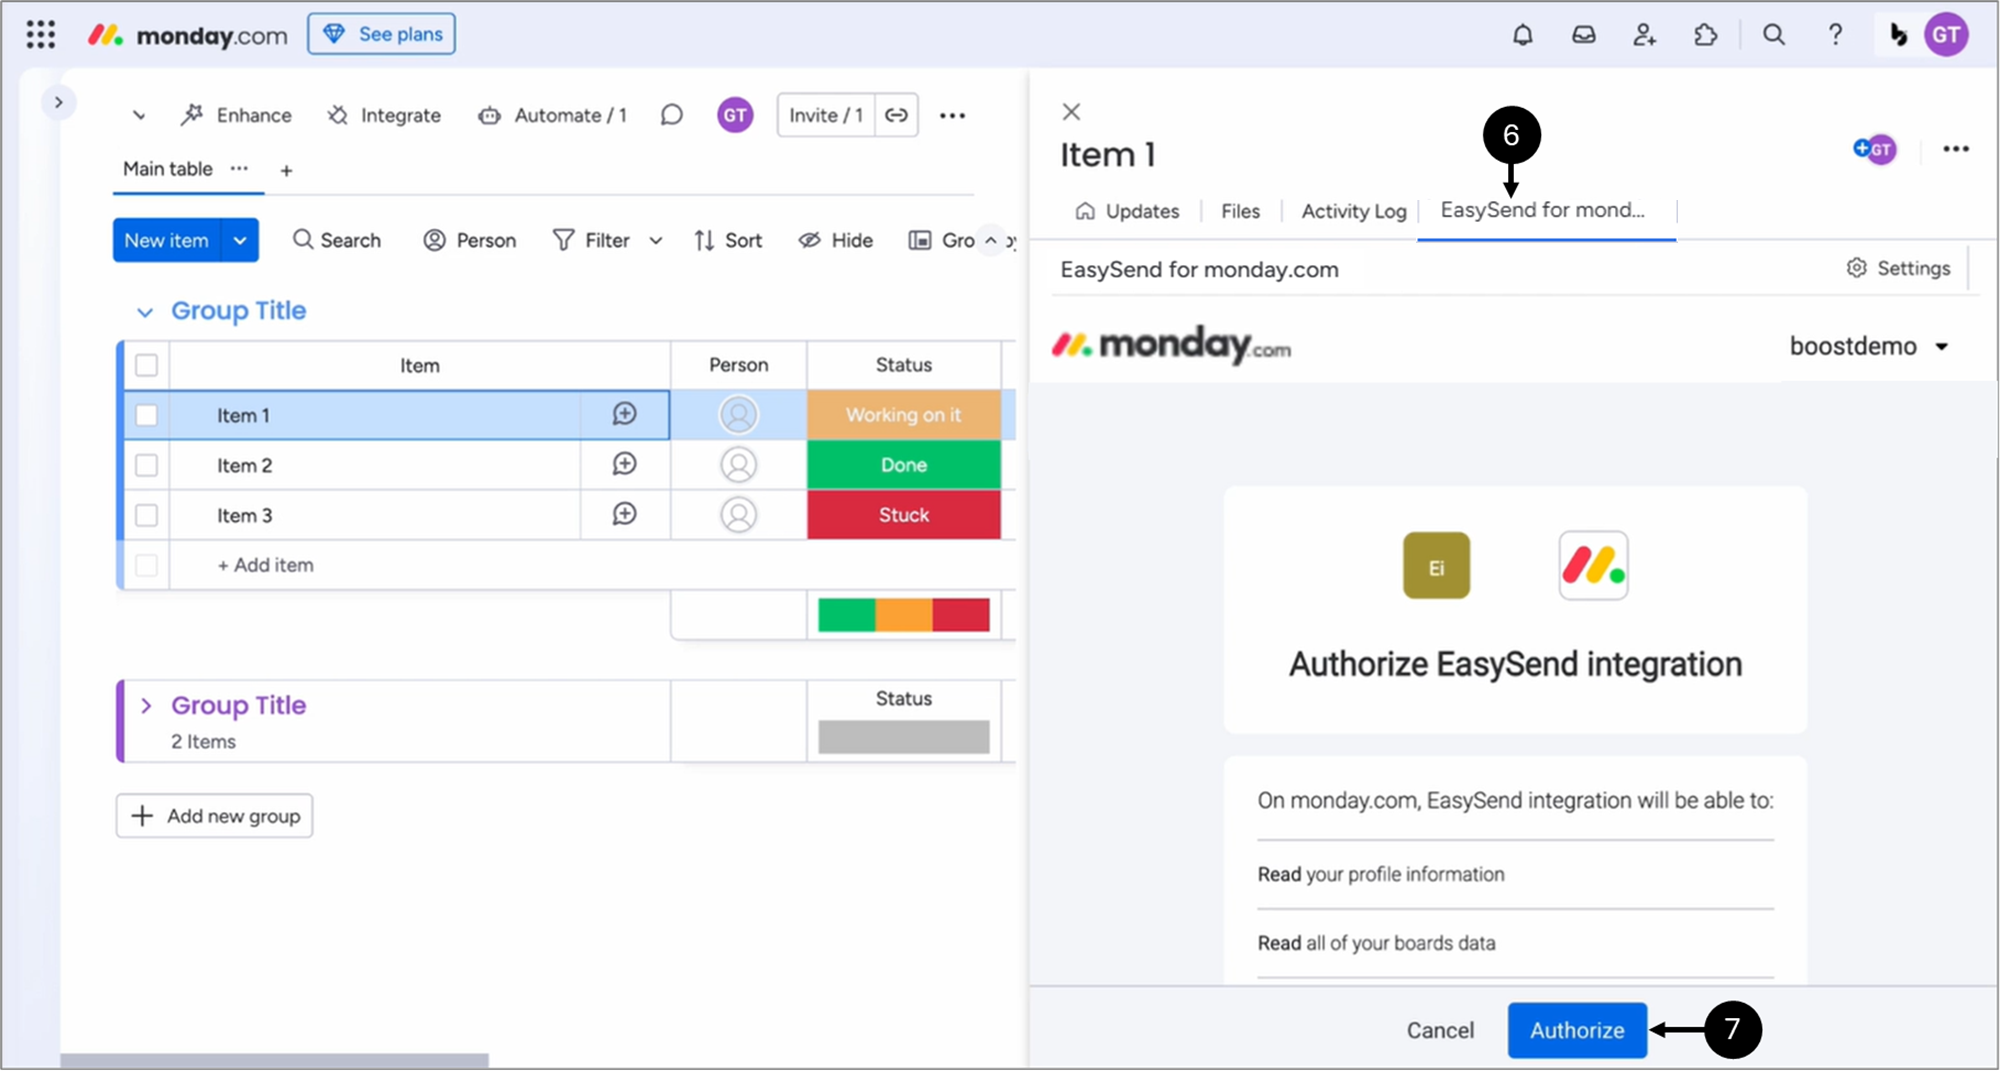
Figure 4: Added View
- Click Autorize (7).
Result:
The view is authorized:
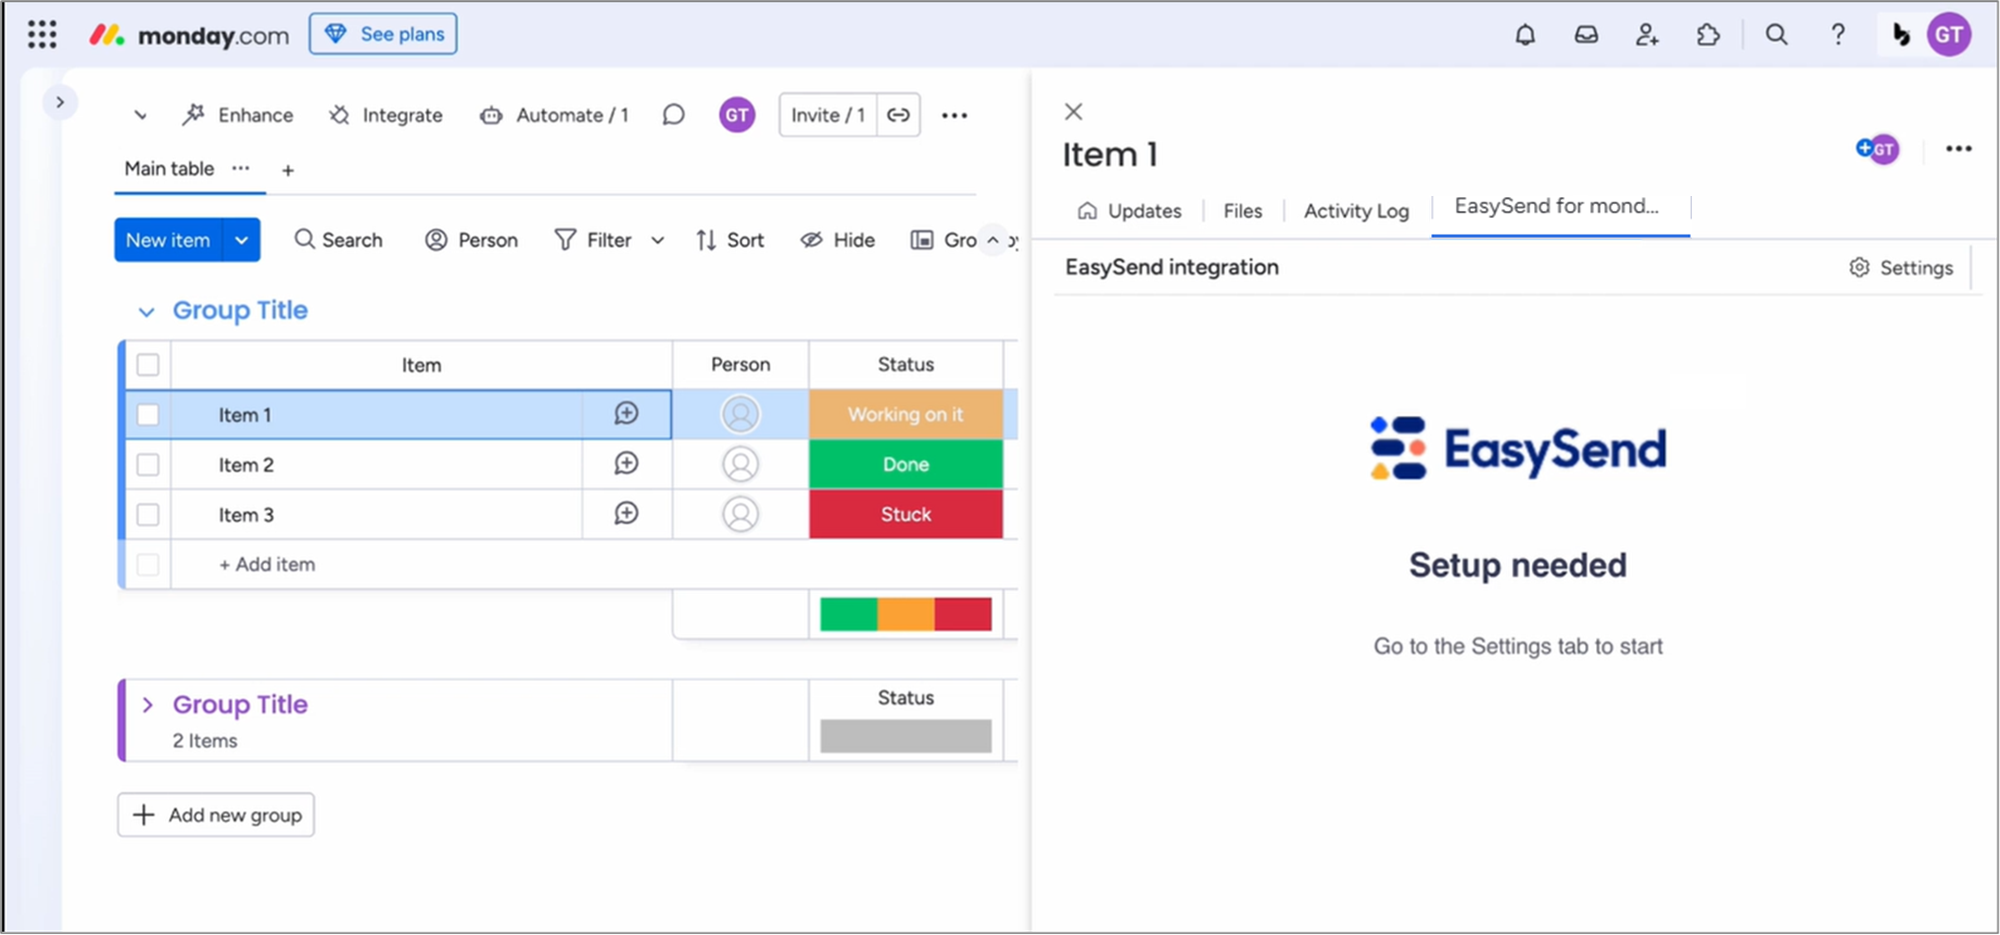
Figure 5: Authorized View
Step 2: Applying EasySend Credentials
(See Figure 6 to Figure 10)
To apply EasySend credentials, perform the following steps:
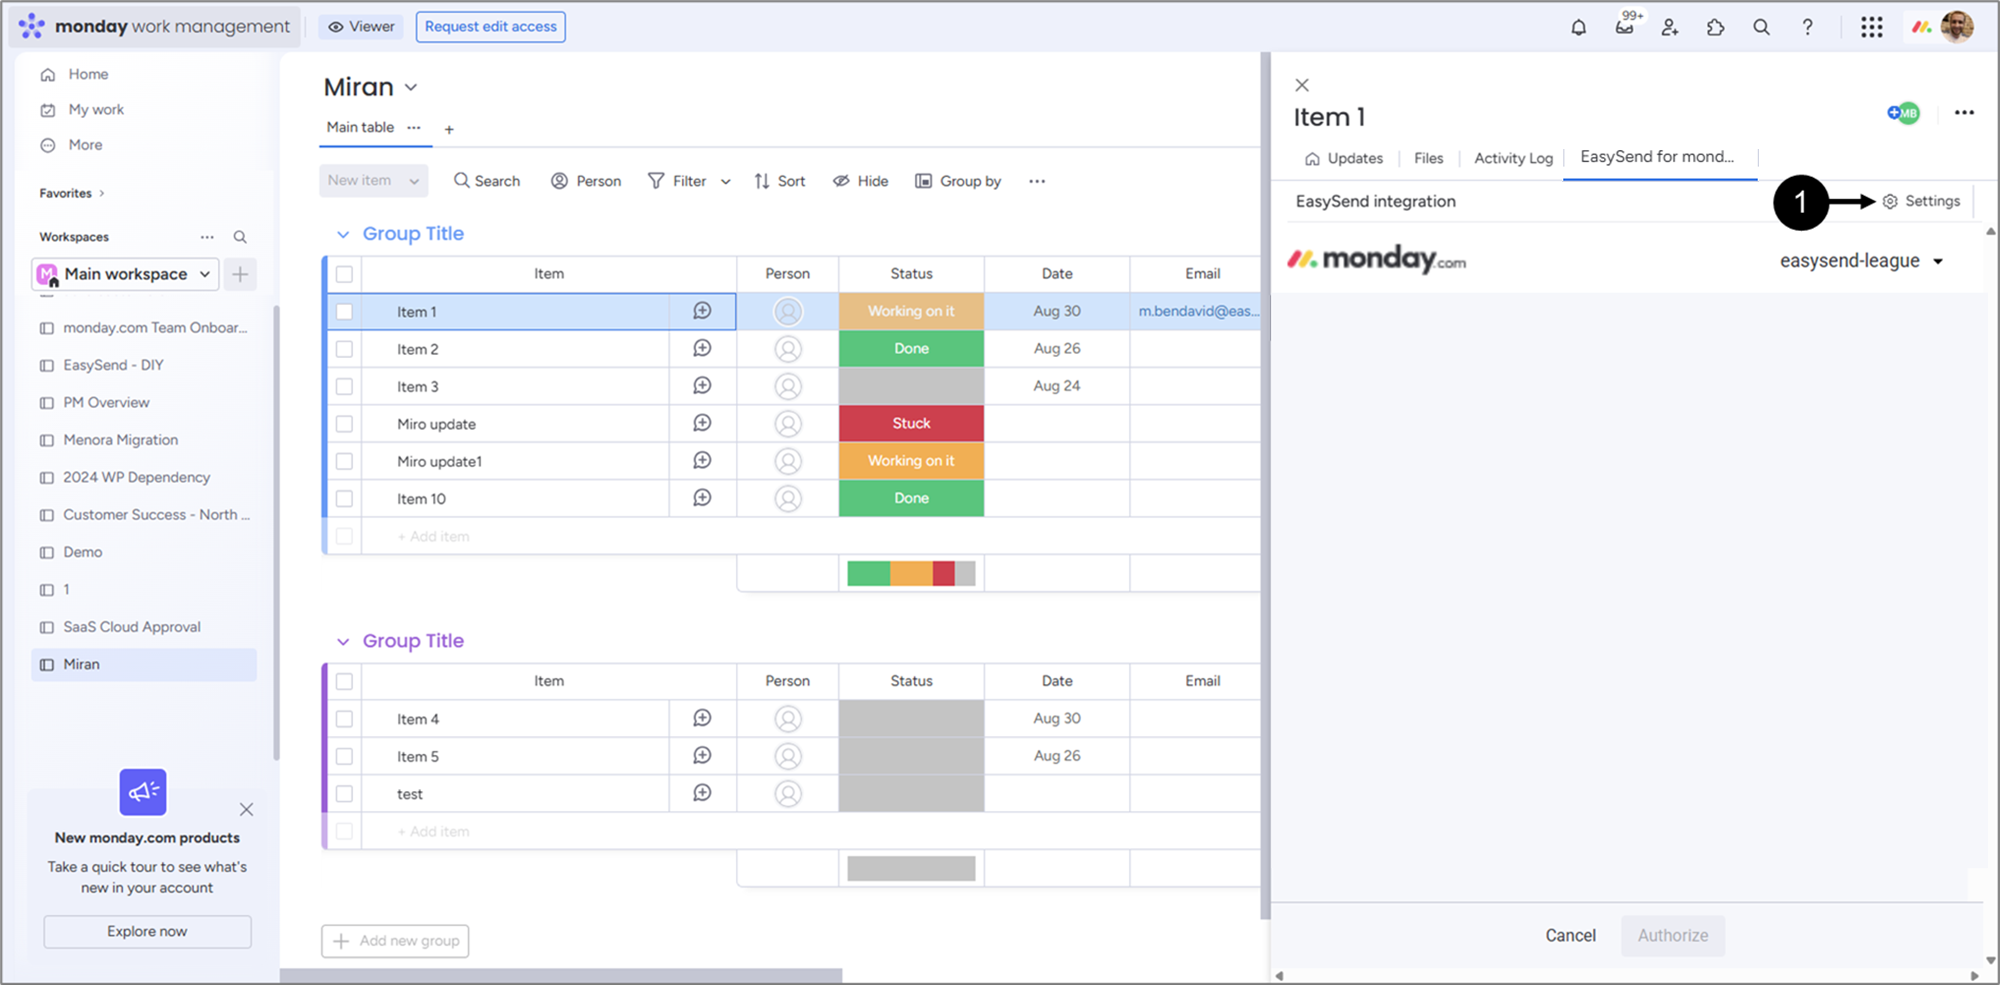
Figure 6: Settings
- Access your resources (source, workspace, board) and click an item.
- Click Settings (1).
Result:
The following window appears:
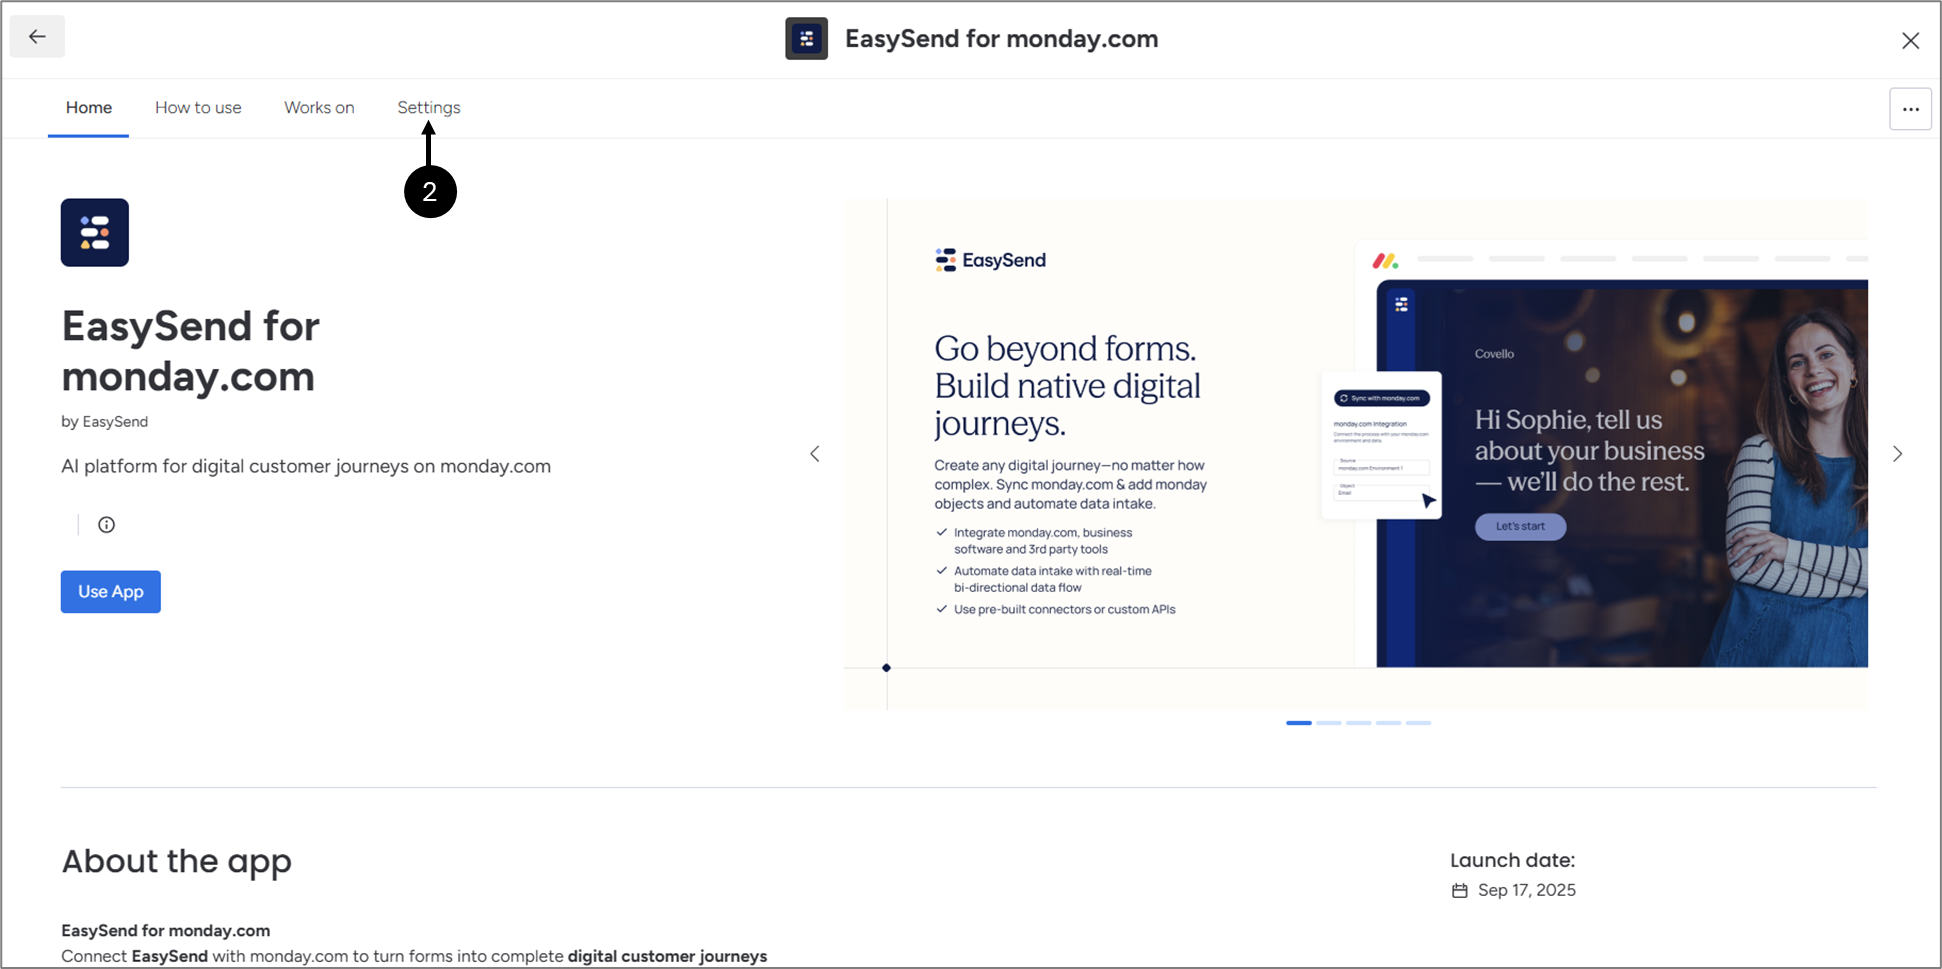
Figure 7: EasySend for monday.com Settings
- Click Settings (1).
Result:
The following window appears:
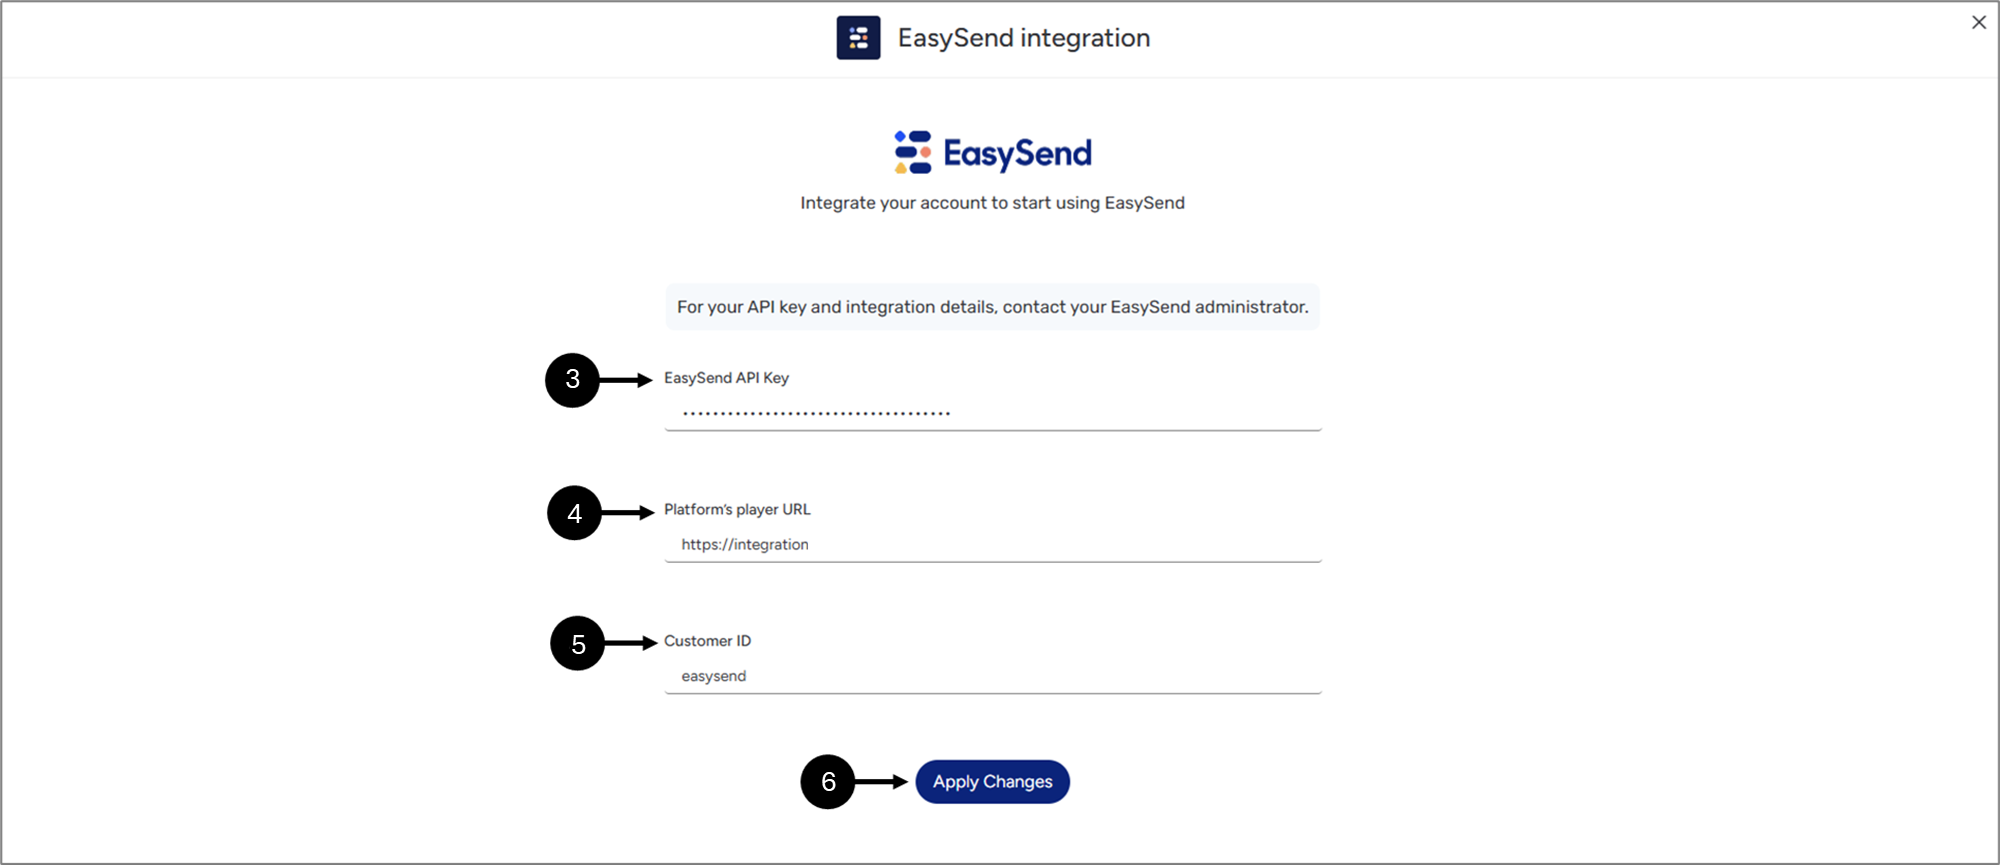
Figure 8: Configuration 1 of 3
- Enter your EasySend API Key (3).
- Enter your Platform's player URL (4).
- Enter your Customer ID (5).
- Click Apply Changes (6).
Result:
The following message appears (7):

Figure 9: Configuration 2 of 3
- Wait for the integration process to complete.
Result:
The following message appears (8):

Figure 10: Configuration 3 of 3