Article Overview
The following article describes the structure of the Services screen. It details its buttons and tabs. The article also provides information about the different Services screen resources.
What is the Services Screen?
The Services screen allows you to create or import different types of services. Using the screen you can also create resources.
Navigate to the Services Screen
(See Figure 1 and Figure 2)
To navigate to the Services screen, perform the following steps:
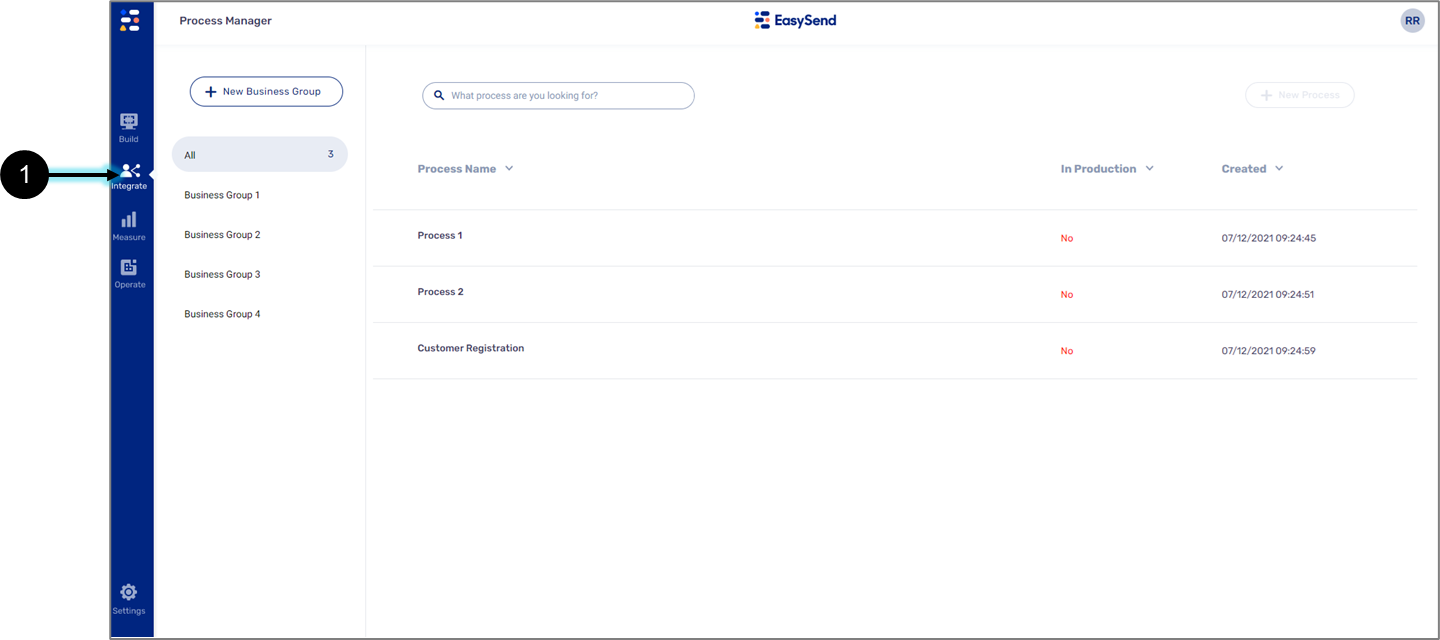
Figure 1: Integrate Tab
- Click the Integrate tab.
Result:
The Integrate tab options appear:
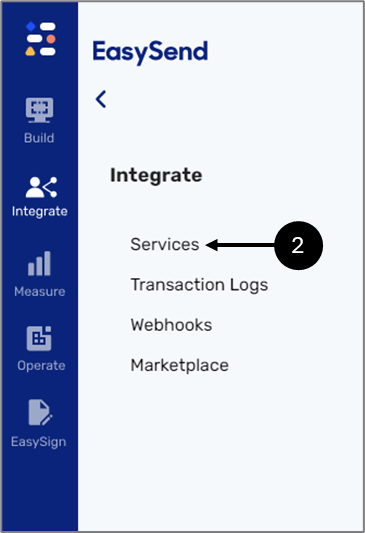
Figure 2: Services
- Click the Services option (2).
Services Screen Structure
(See Figure 3)
The Services screen contains a few tabs and buttons:
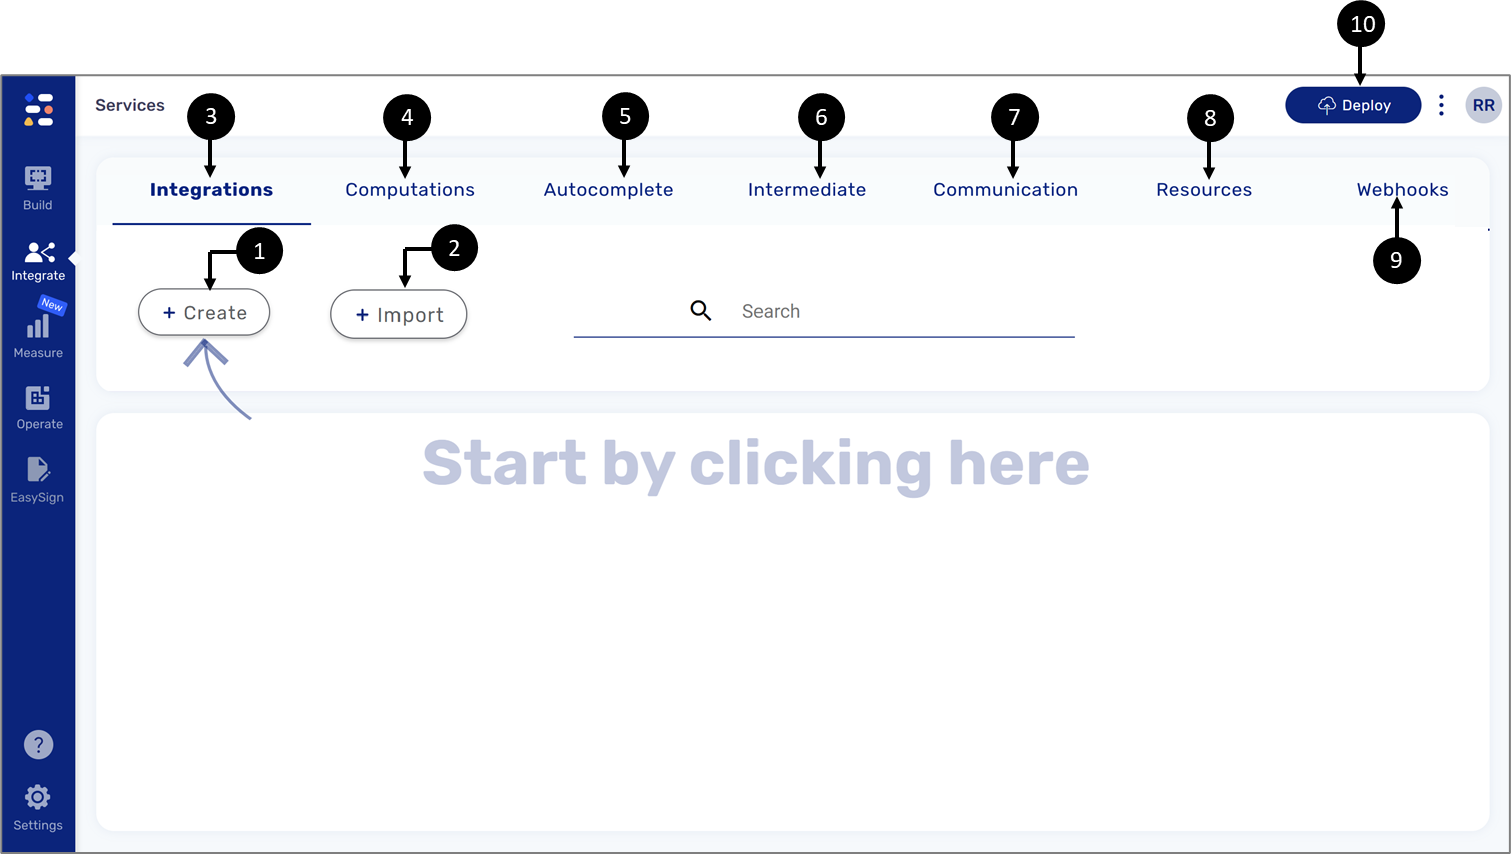
Figure 3: Services Screen
- + Create button (1)
- + Import button (2)
- Integrations tab (3)
- Computations tab (4)
- Autocomplete tab (5)
- Intermediate tab (6)
- Communication tab (7)
- Resources tab (8)
- Webhooks tab (9)
- Deploy button (10)
Buttons Description
- + Create - this button enables to create new services and resources.
- + Import - this button enables to import an existing service that was created by EasySend.
- Deploy - this button enables to deploy a selected service/services to an environment server (development or production).
Integrations Tab
Under this tab, you can create new Integration services or import existing ones. This type of service is used to integrate your digital processes with external apps, resources, and platforms. For example, you can integrate your digital process with your core or CRM systems. The integration will enable the digital process and your systems to share and exchange data between them.
Computations Tab
Under this tab, you can create new Computation services or import existing ones. This type of service enables you to prefill fields with calculated values that are fetched from remote web services/resources in real time.
Autocomplete Tab
Under this tab, you can create new Autocomplete services or import existing ones. The autocomplete service helps digital process end-users fill out information faster by completing their inputs automatically, based on generated predictions.
Intermediate Tab
Under this tab, you can create new Intermediate services or import existing ones. An intermediate service can be used by other services. It can be added to other services as an additional step.
Communication Tab
Under this tab, you can create new Communication services or import existing ones. This service is used for communicating with digital process end-users. For example, integrating a digital process with an external provider for sending and receiving text messages.
Webhooks Tab
Under this tab, you can create new custom Webhook services. This service is will be used while creating a new Webhook.
Resources Tab
(See Figure 5)
Using the Resources tab you can create (1) the following resources:
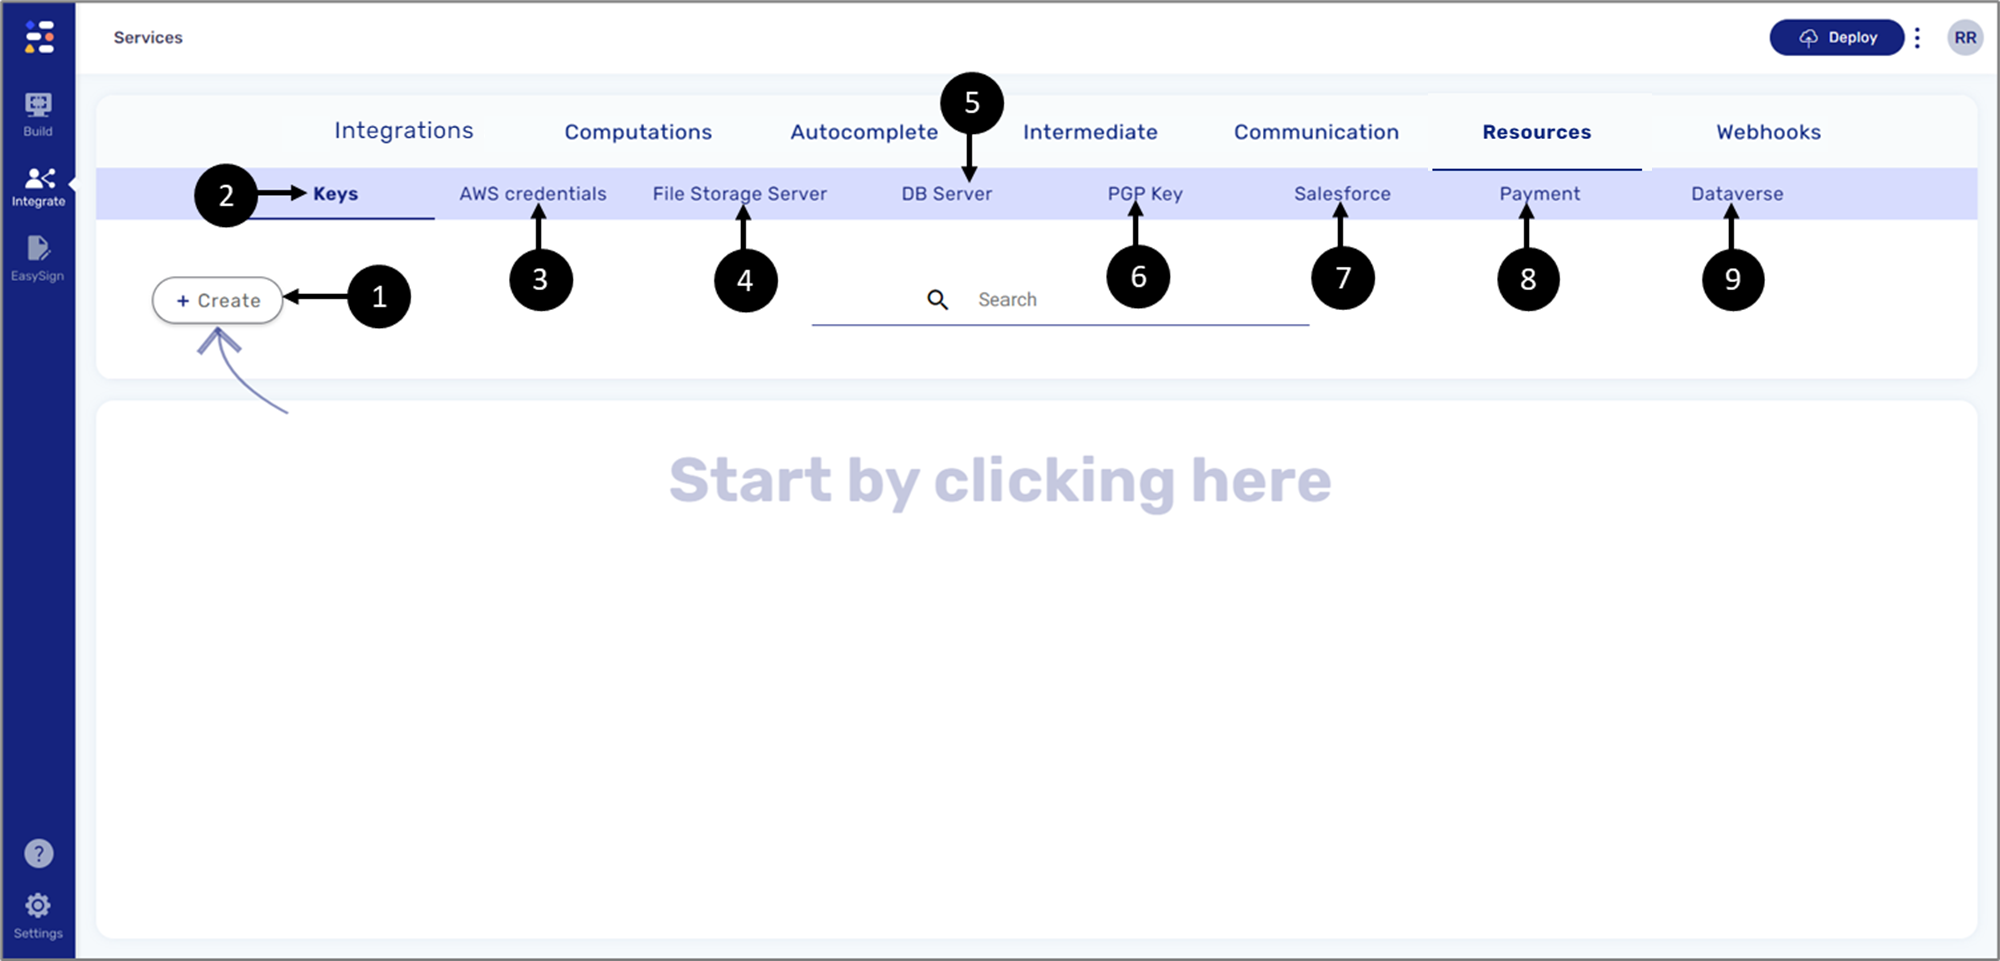
Figure 5: Resources Screen
- Keys (2)
- Amazon Web Services (AWS) credentials (3)
- File Storage Server (4)
- Database (DB) Server (5)
- Pretty Good Privacy (PGP) Key (6)
- Salesforce (7)
- Payment (8)
- Dataverse (9)
Keys
(See Figure 6)
Key-based authentication is a more secure and encrypted method of authorization that allows a user to gain access to target resources with the help of secret keys that are stored and guarded in a secure location by the end user. This resource can be used in the File Encode-Decode step within a service.
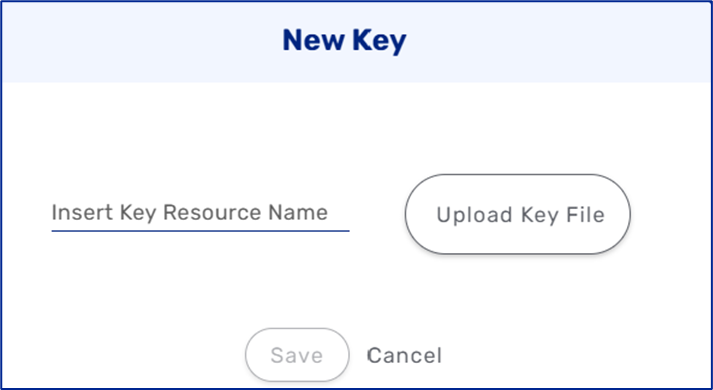
Figure 6: Creating a New Key
AWS Credentials
(See Figure 7)
When interacting with AWS, you use your AWS security credentials to verify your identity and whether you have permission to access the resources that you are requesting. AWS uses the security credentials to authenticate and authorize your requests. For example, if you want to download a protected file from an Amazon Simple Storage Service (S3) bucket, your credentials must allow that access. If your credentials are not authorized to download the file, AWS denies your request.
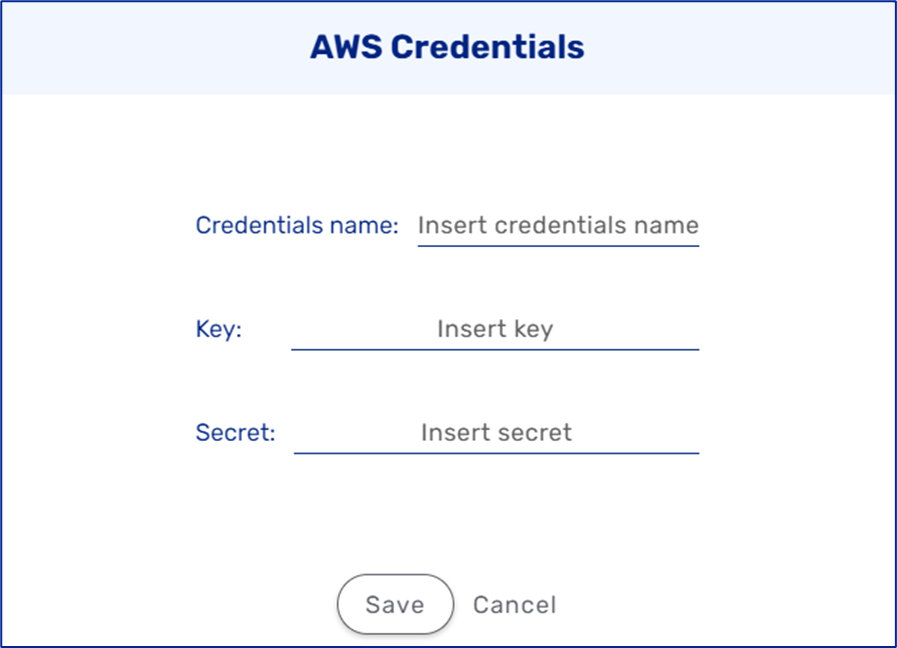
Figure 7: AWS Credentials
File Storage Server
(See Figure 8)
A file storage server is responsible for the storage and management of data files. It enables users to share information over a network without having to physically transfer files. Using EasySend's platform, files that were uploaded while using a digital process can be sent to different locations using different protocols by creating resources and integrations.
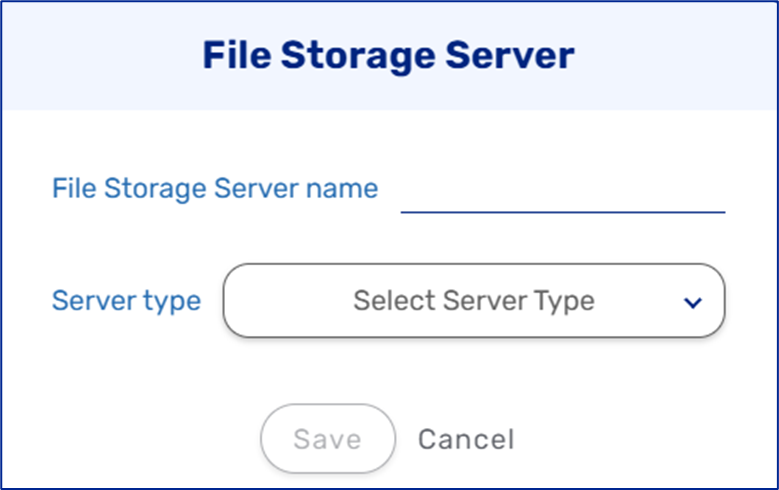
Figure 8: File Storage Server Selection
DB Server
(See Figure 9)
This resource creates a DB server. This type of server uses a database application that provides database services to other computer programs or computers, as defined by the client–server model. Database applications available to select in EasySend are:
- MySQL
- PostgreSQL
- Microsoft SQL
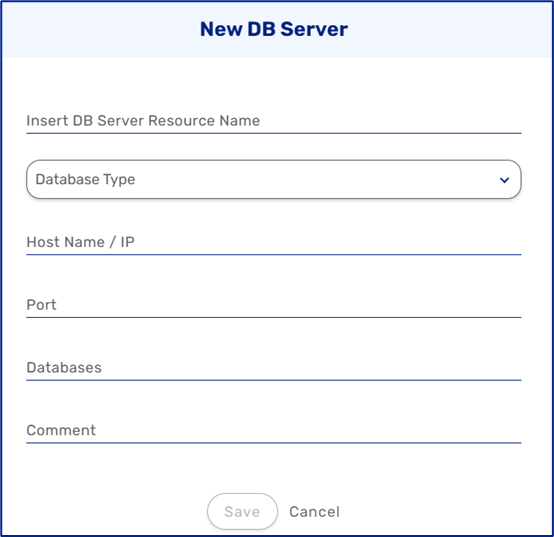
Figure 9: New DB Server
PGP Key
(See Figure 10)
This resource creates a new PGP key. A PGP key is a public encryption key. It can be used to sign and encrypt emails and files. When you create a PGP key, a key pair having a public key and a private key is generated. You can share the public key with anyone who sends you encrypted messages or files, but the private key must be known only to you and used to decrypt received messages.

Figure 10: New PGP Keys
Salesforce
This resource Creates a new Salesforce environment. For detailed information about Salesforce two-way integration, see the Salesforce EasySend Two-way Integration article.
Payment
(See Figure 11)
Creates a new payment resource:
- Credit Guard - for additional information, click here.
- Stripe - for additional information, click here.
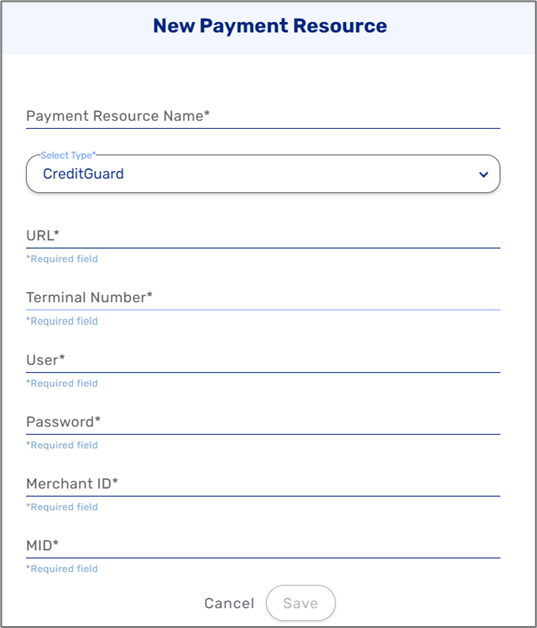
Figure 11: New Payment Resource - Credit Guard
Dataverse
Creates a new Dataverse environment. For detailed information about Dynamics 365 two-way integration, see the Dynamics 365 EasySend Two-Way Integration article.
Deploying Services
After creating or changing a service it is mandatory to perform a deployment to the relevant environment.
Single Service Deployment (SSD)
EasySend's platform supports the ability to deploy a single service or multiple services, instead of deploying all of them at once. This allows you to select specific desired services for deployment and avoid potential deployment errors that occur when all services are automatically deployed because some of them may contain bugs or are still under development. This feature is available to all platform users under the Services screen but using it will require upgrading your environment servers to version 20.19 or above.
How to Perform single Service Deployment?
(See Figure 12)
To perform single service deployment, use the checkboxes (1) to select the desired service and then click the Deploy button (2) and select the desired environment (3):

Figure 12: Services Screen - Selecting Services
Deployment Scenarios
The following sections describe different deployment scenarios.
Scenario 1 - Deploying a single Service/Multiple Services to a Non-Updated Environment
(See Figure 13)
If your environment servers are not upgraded to version 20.19 or above, clicking the Deploy button in the Services screen will deploy all the services at once and the following message will appear:
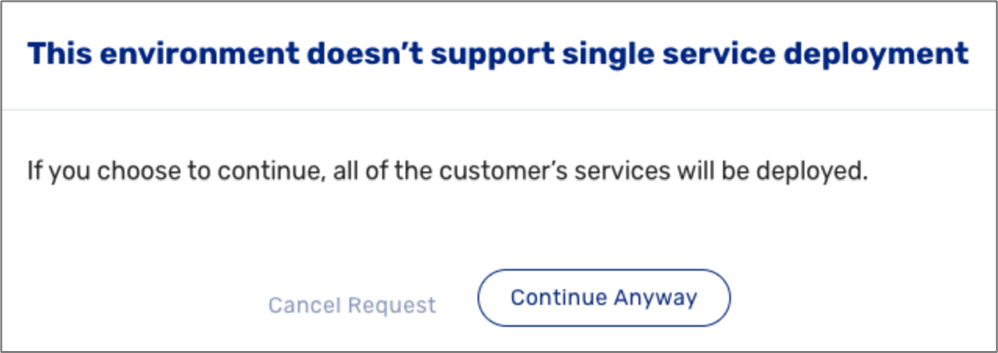
Figure 13: Unsupported Server
Clicking continue Anyway will deploy all services.
Scenario 2 - Deploying to a supported Server
(See Figure 14)
If your environment servers are upgraded to version 20.19 or above, before clicking the Deploy button you must select at least one service for deployment. If no services were selected, the following message will appear:
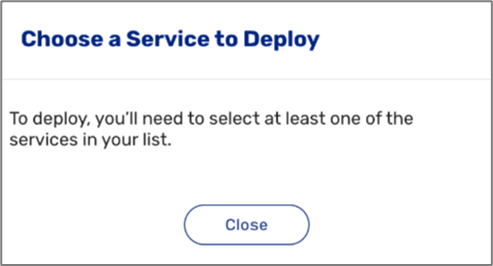
Figure 14: Service Selection Before Deployment
Clicking close will return you to the Service screen where you will select at least one service and then click the Deploy button again.
Scenario 3 - Deploying After Service Deletion
(See Figure 15)
A Service can be deleted from the platform by clicking . Some services that were deleted from the platform can still exist in your environment serves. When deploying after deletion, a message will appear with three options:
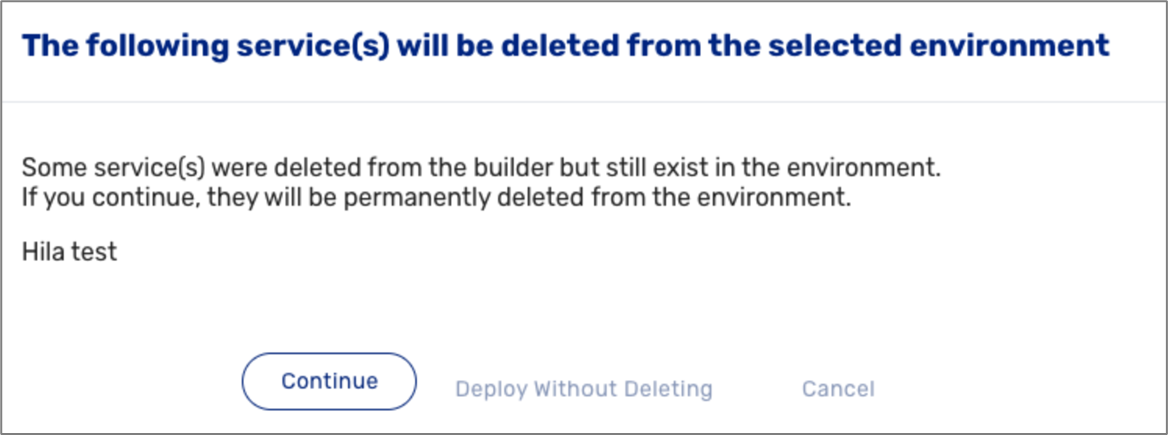
Figure 15: Deployment After Deletion
- Continue - the services that were deleted from the platform will be deleted from the server.
- Deploy Without Deleting - the services will not be deleted from the server.
- Cancel - aborts the action.
Impacting Live Transactions
(See Figure 16 and Figure 17)
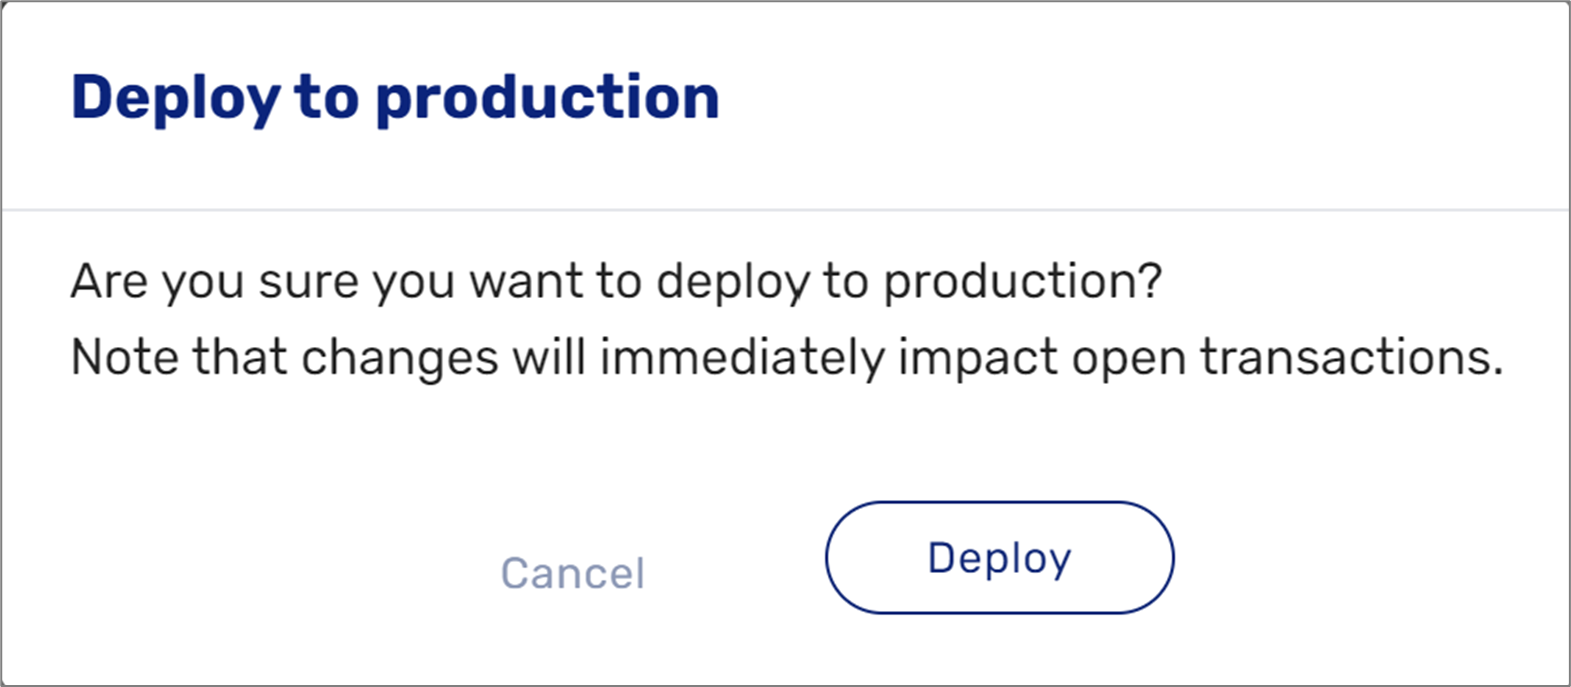
Figure 16: Deploy to Production
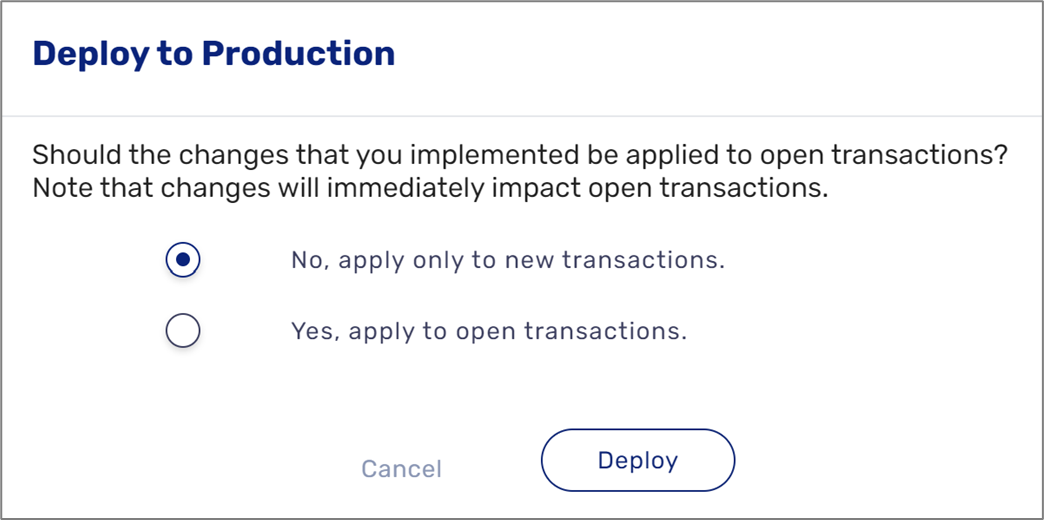
Figure 17: Deploy to Production - Apply to Transactions