Article Overview
The following acrtile describes how to tag, connect, and define PDF fields. In addition, the article also describes how to add additional PDF pages or PDFs.
Tagging PDF Fields
(See Figure 1 to Figure 3)
An uploaded PDF is used for displaying the end-user's inputs while interacting with the journey. After uploading a PDF, use the icon (1) to enter edit mode and tag its fields.
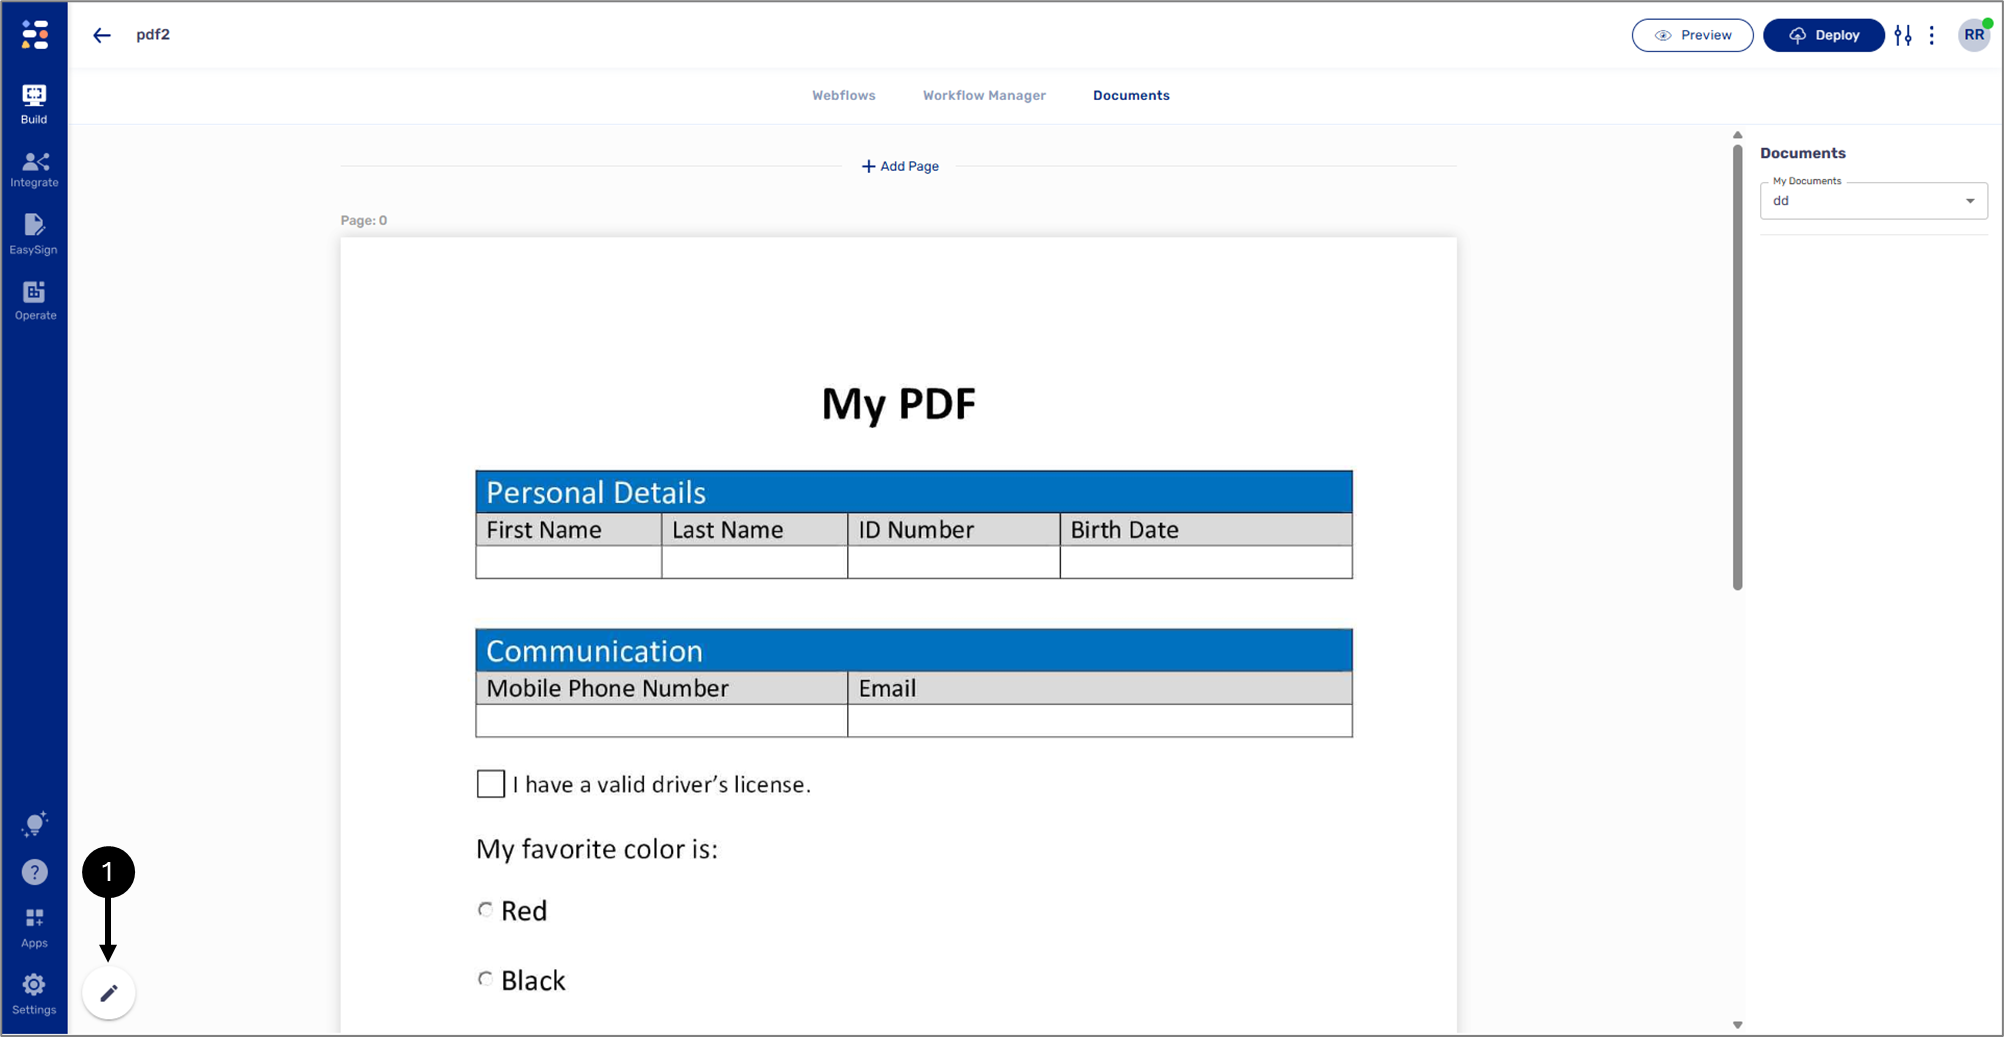
Figure 1: Edit Mode Icon
Once in edit mode, use the left click of the mouse to tag fields, for example (2):
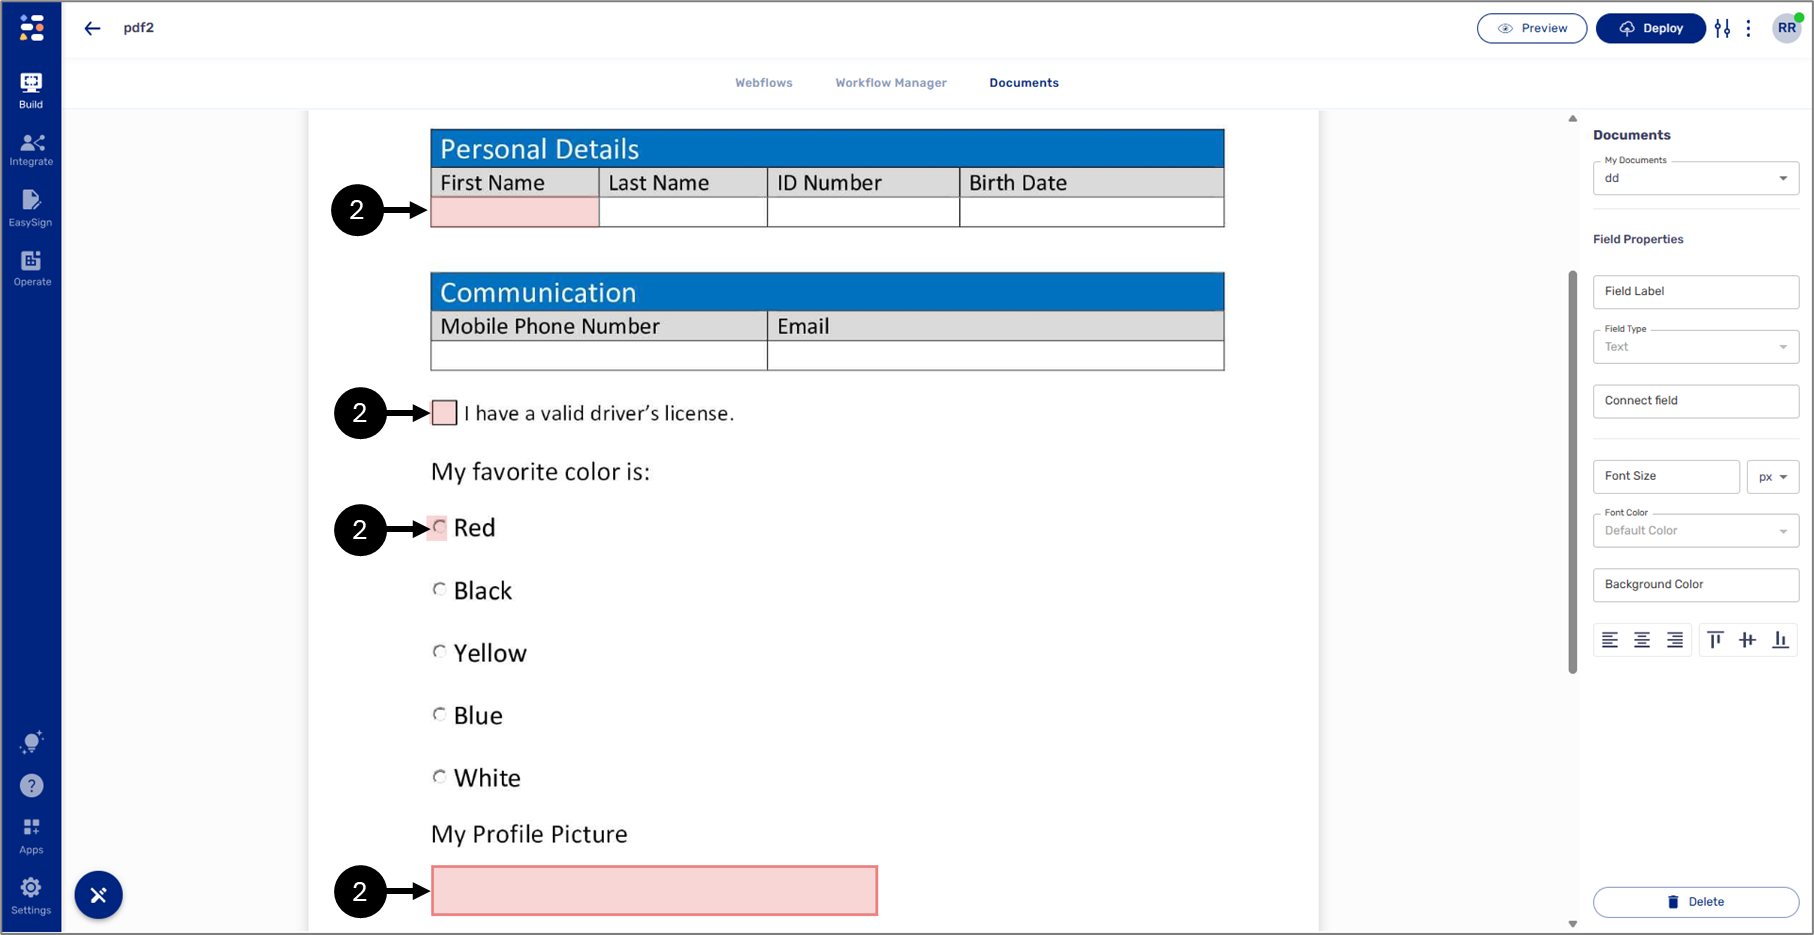
Figure 2: Tagged Fields
A tagged field has different properties (3) used for connecting it to a data item and designing the look and feel of the displayed data.
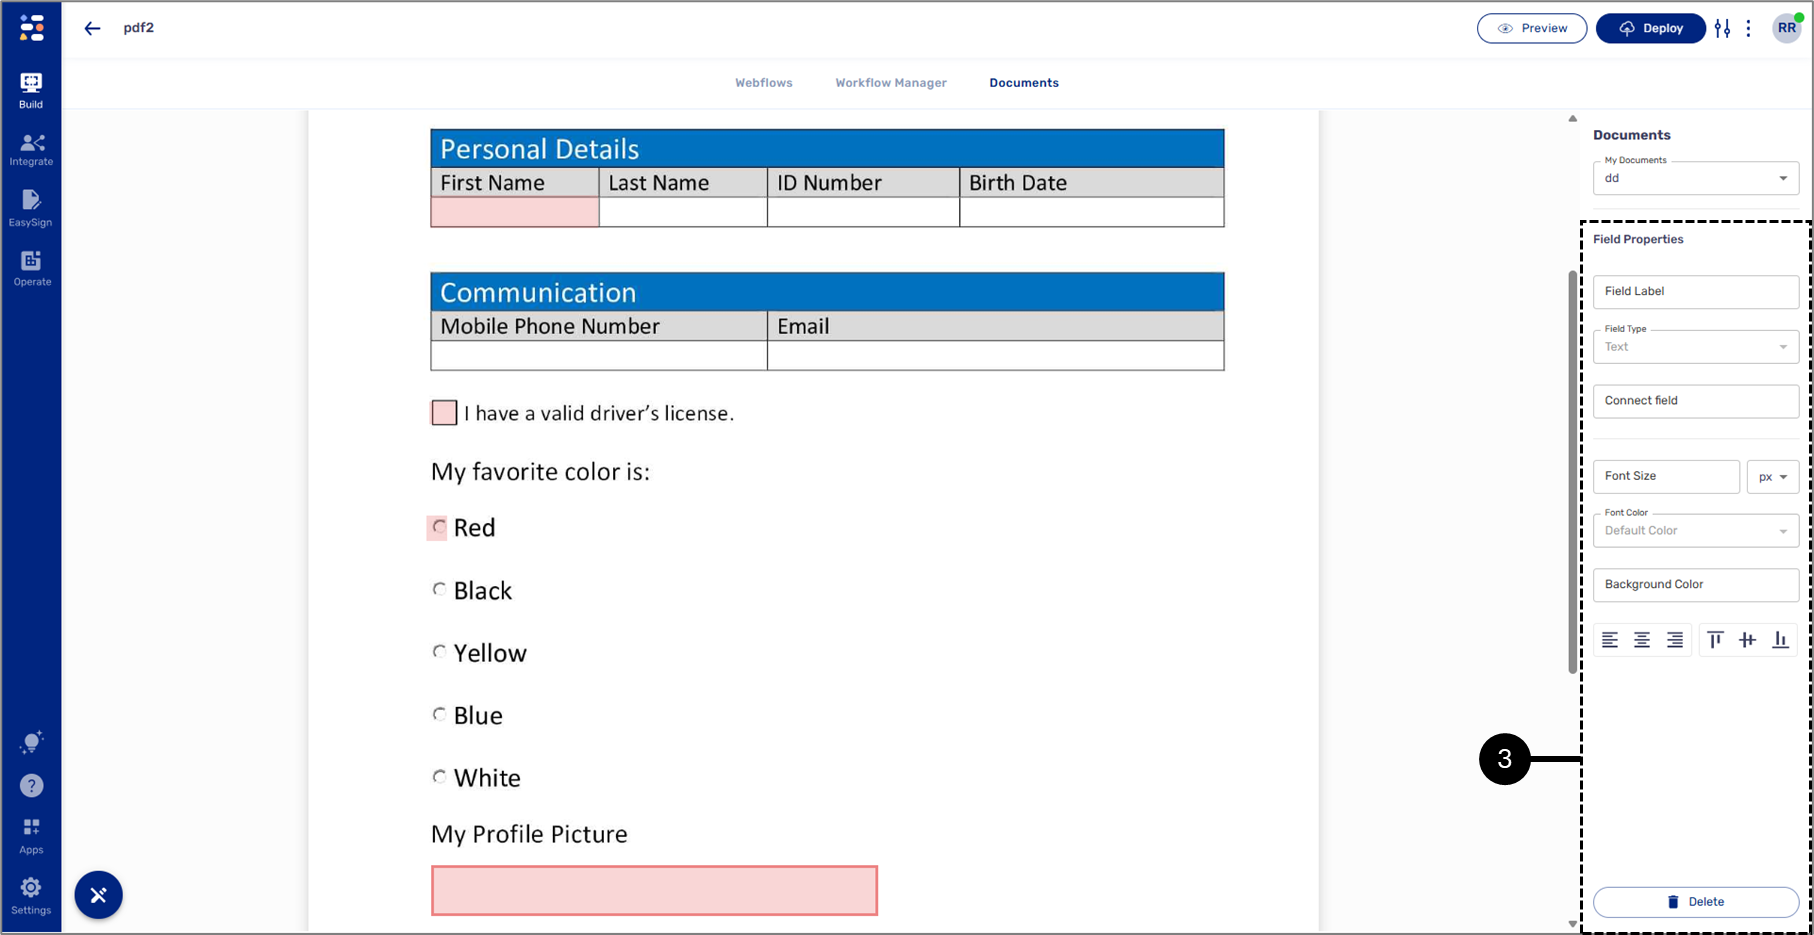
Figure 3: Field Properties
By default, each tagged field type is set to Text. To change that, connect a field to a data item to define it.
Connecting and Defining Fields
(See Figure 4 to Figure 6)
Tagged fields must be connected to a data item to be defined and display data. After clicking the Connect Field button (1), select the desired data item from the list (2):
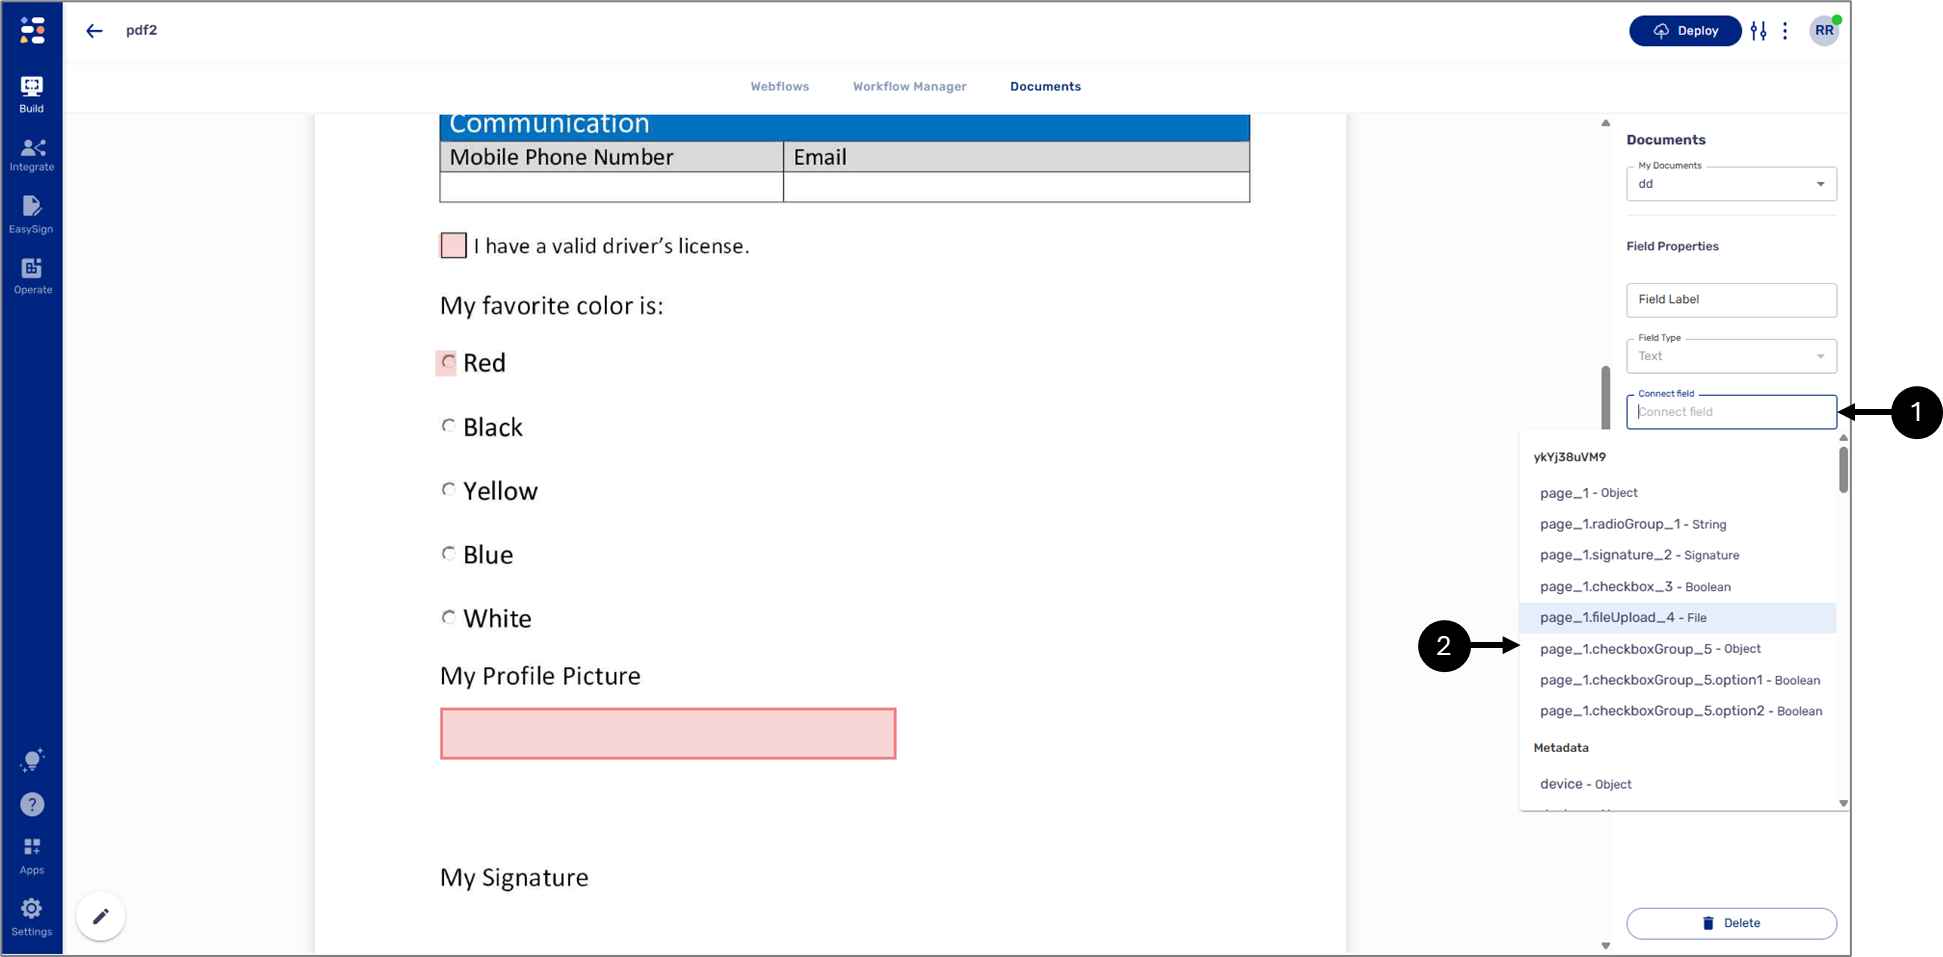
Figure 4: Connecting PDF Fields
After connecting the field, its type (3) will be defined according to the data item (4):
- Text - for example - Text Field or Dropdown
- Date Input - Date
- Image - Upload File
- Radio question
- Checkboxes - single or multiple
- Signature
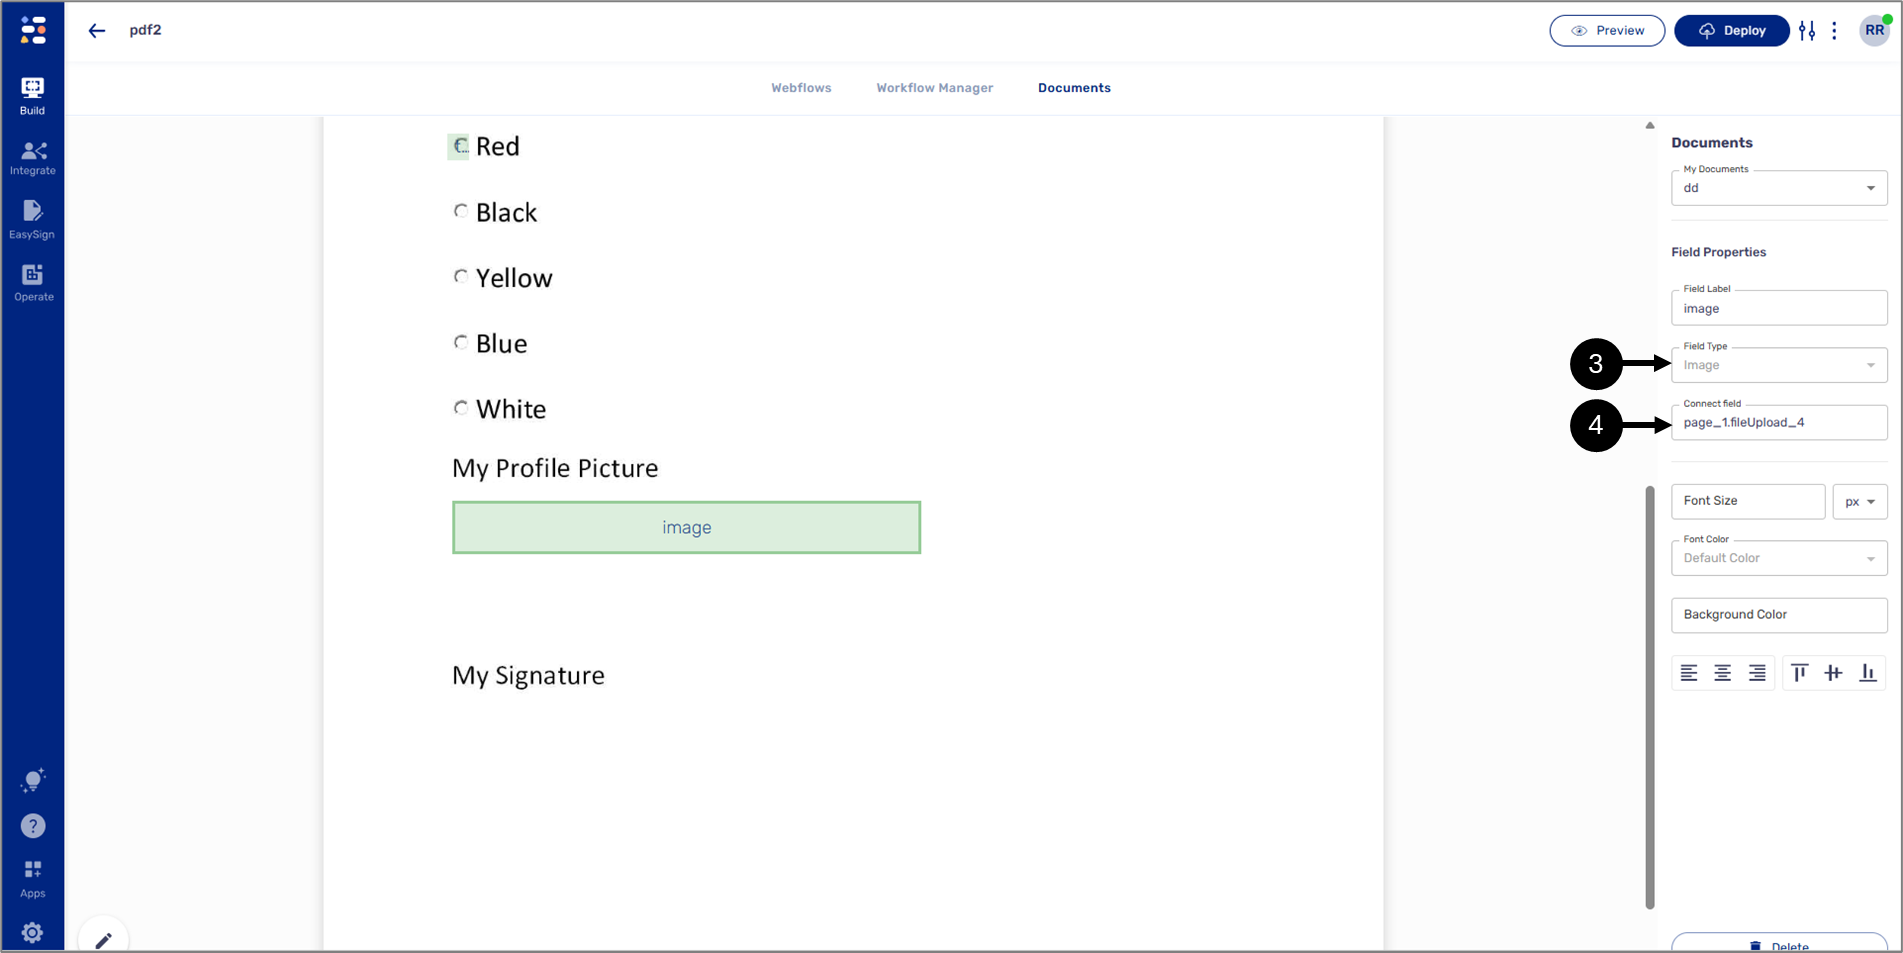
Figure 5: Connected and Defended Field
When connecting a Radio Question data item to a tagged PDF field, additional dropdowns appear:
- Value - a radio question option, must be selected to display data reflecting the end-user's input (4).
- Mark Type - the mark that will be displayed on the PDF when the end-user selects the option (5):
- O Mark
- X Mark
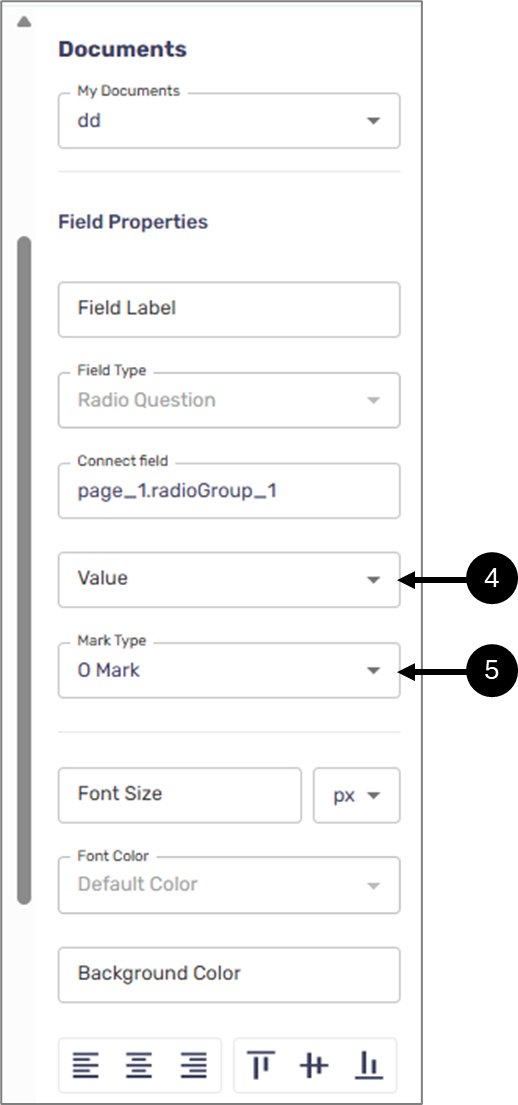
Figure 6: Additional Dropdowns
Adding Pages and Additional PDFs
(See Figure 7 to Figure 9)
To add additional pages to the current PDF, click the + Add Page option (1) in the relevant location and select a PDF file to upload.
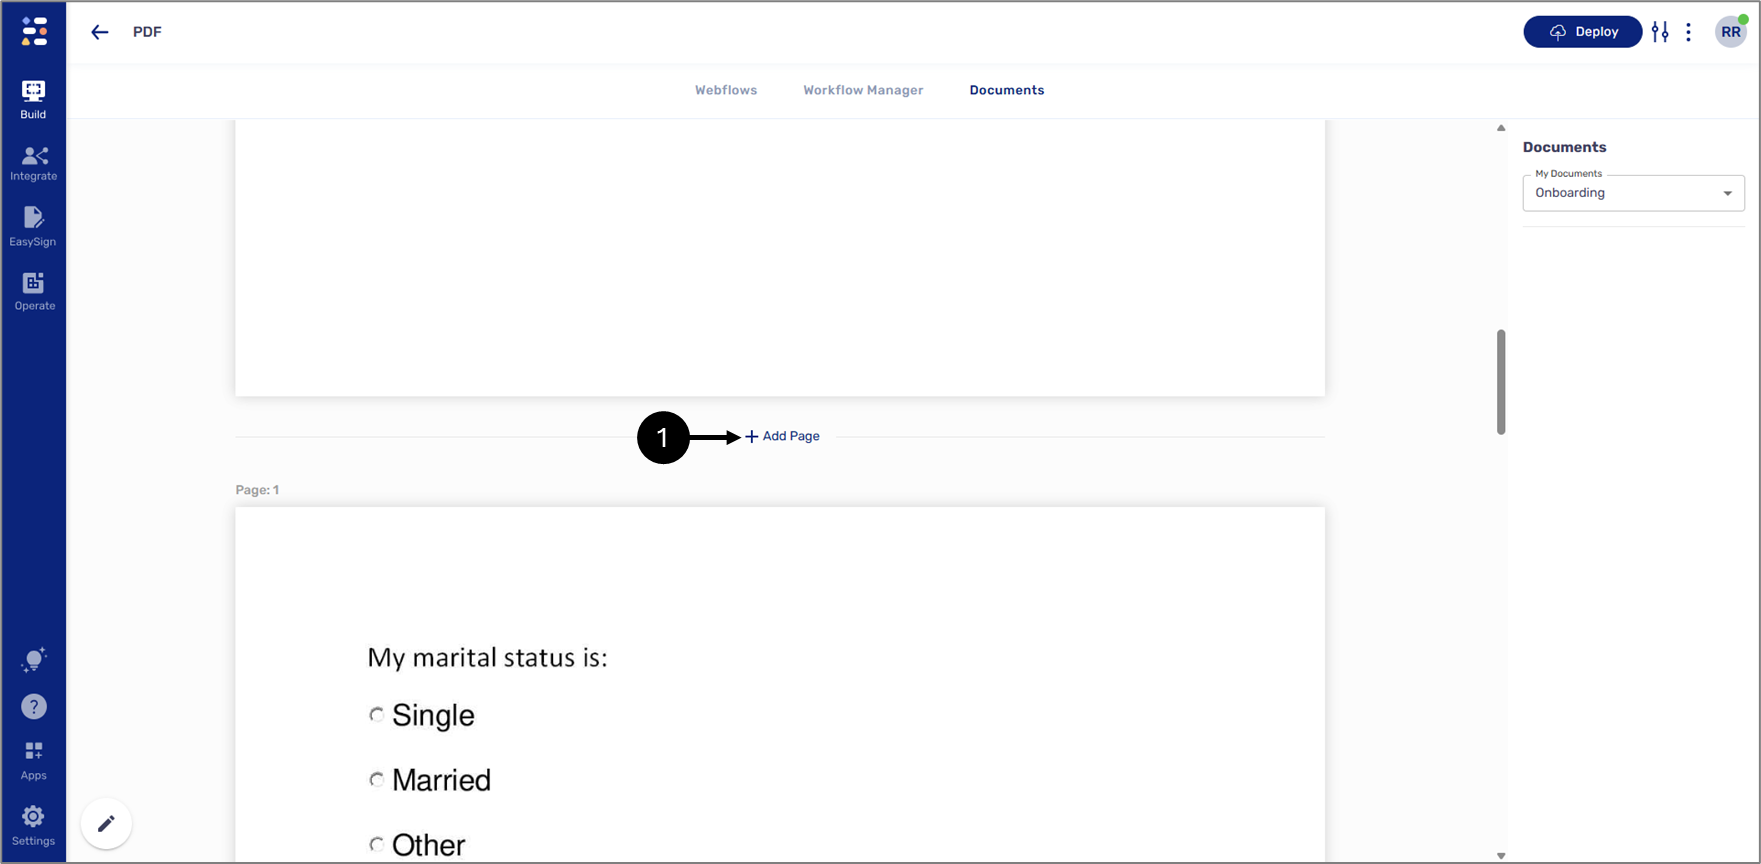
Figure 7: Adding Additional Pages
To add additional PDFs to the Documents tab, perform the following steps:
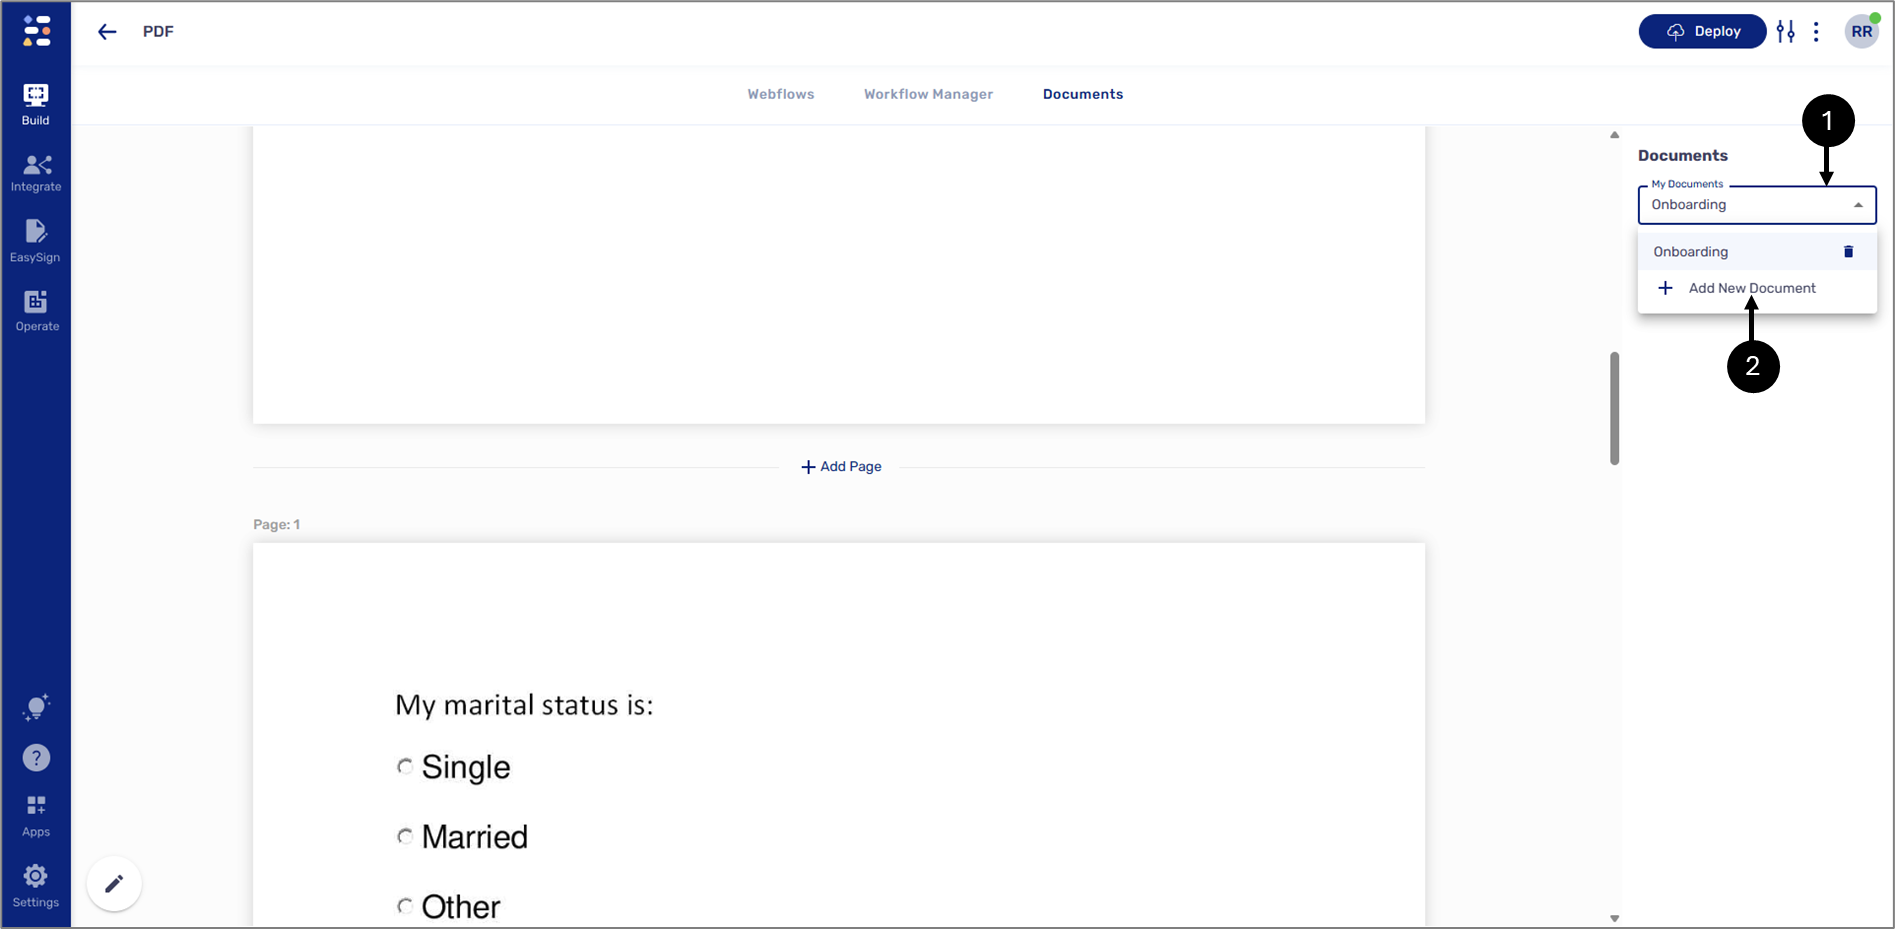
Figure 8: Adding a New PDF
- Click the My Documents dropdown (1).
- Click + Add New Document (2).
Result:
The Create New Document window appears:
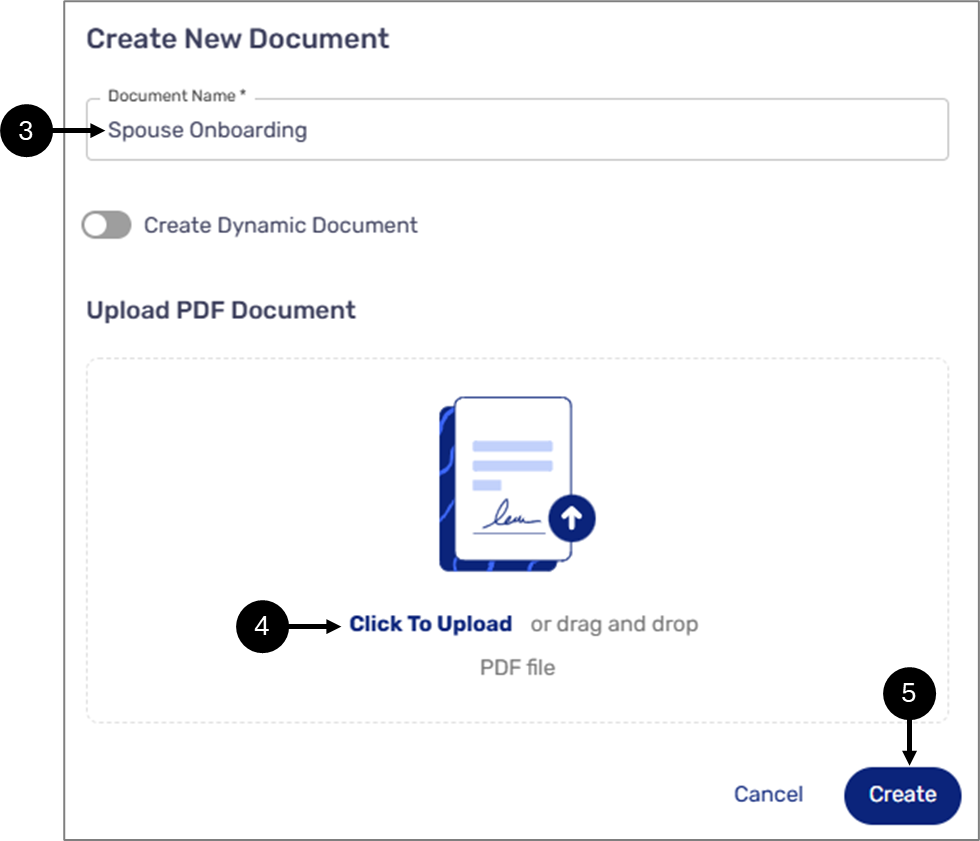
Figure 9: Create New Document Window
- Enter a Document Name (3).
- Upload a new PDF (4).
- Click Create (5).