- PDF
Services
- PDF
Article Overview
The following article describes the building blocks located under the Services category.
Services
(See Figure 1)
The Services category contains the Integration building block.
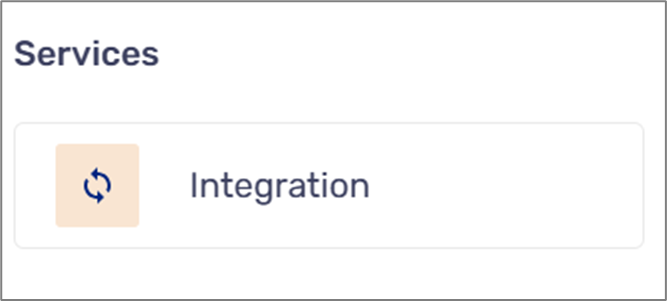
Figure 1: Services
Integration
(See Figure 2)
The Integration building block enables you to initiate and activate services. It contains the following options and fields:
- Service dropdown to select a specific service
- Unique Identifier
- Set Input/Outputs - becomes available after selecting a service
- Repeat:
- When checked - enables to run the service for every item in a selected array
- When not checked - the service will run only once
- Description
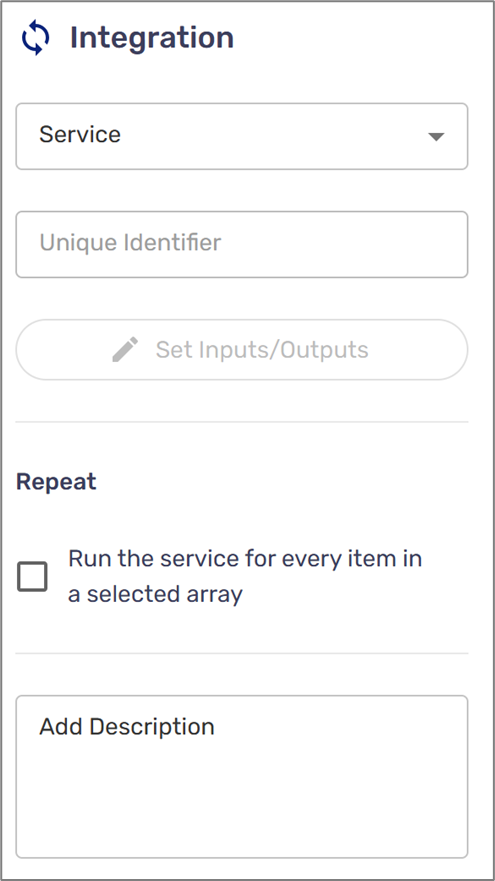
Figure 2: Integration
Set Inputs/Outputs
(See Figure 3 to Figure 7)
Clicking the Set Inputs/Outputs button displays the Service Settings window. The window includes two sections:
- Inputs - this section defines the data that the integration needs to function by mapping the data of this workflow to the integration inputs below
- Outputs (optional) - this section defines if data that the integration generates and passes back to your workflow needs to be stored in the process model.
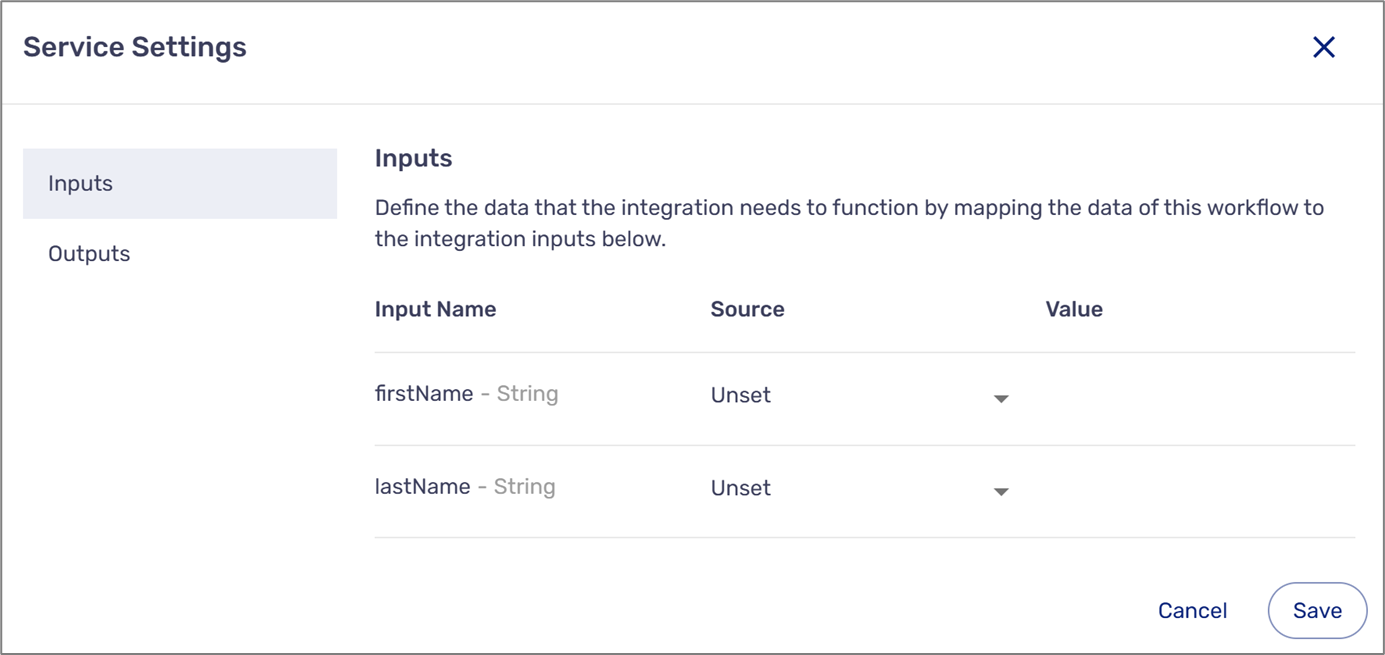
Figure 3: Service Settings Window
Inputs and Outputs will appear as they were defined in the selected service. If the service does not include inputs or outputs, indication messages will appear, for example:
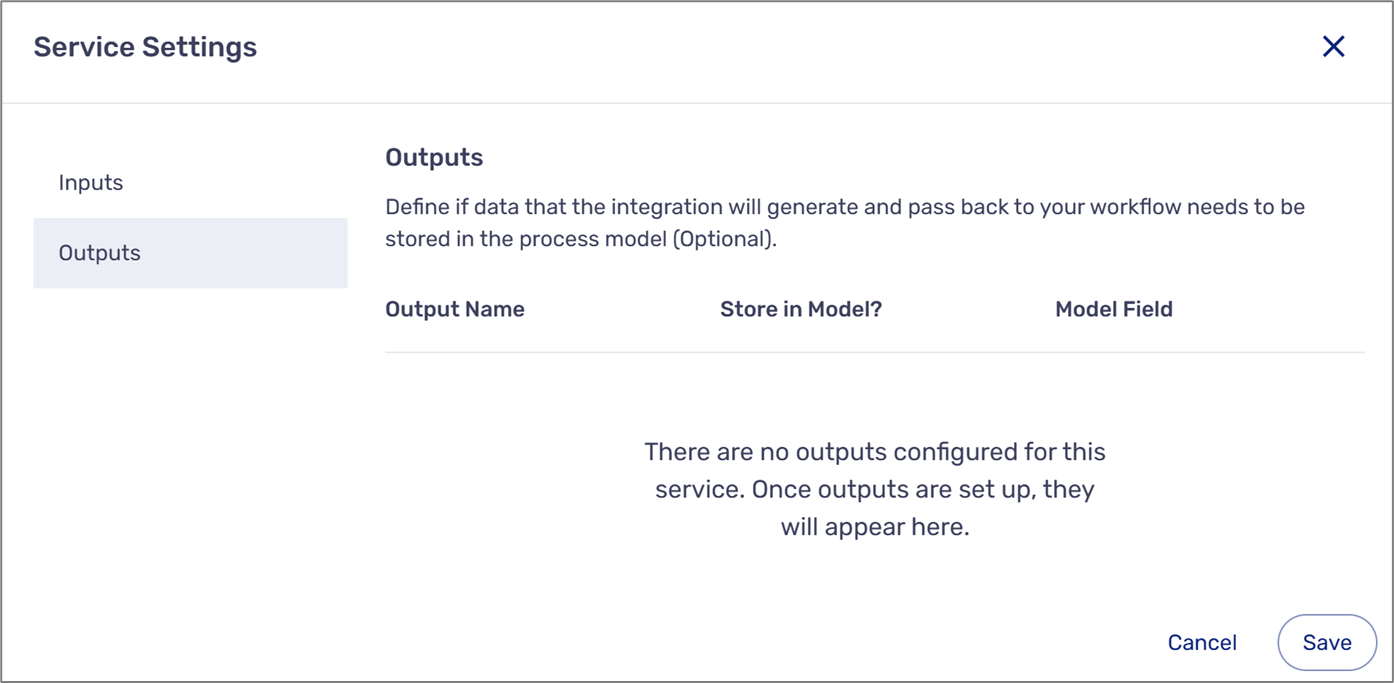
Figure 4: Service Without Outputs
For Inputs, a source can be:
- Unset
- Process Data (and the value would be a data item or metadata item)
- Constant - static value
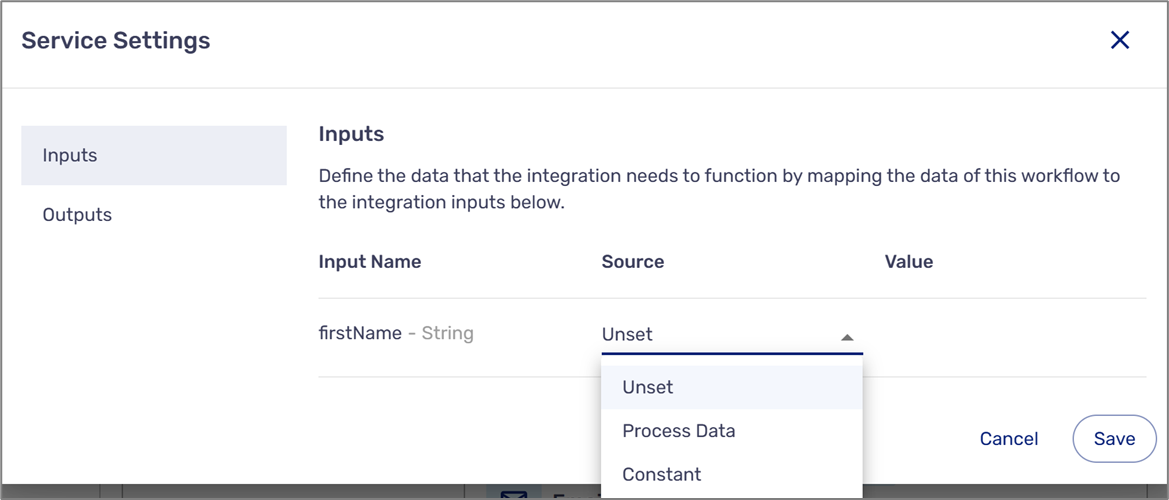
Figure 5: Inputs
For Outputs, if you store a value in a Model, the selected Model data item or metadata item must match the output type (for example, string and string). In addition, you can also use the Model Field to create new data items of the same type to match and store the output.
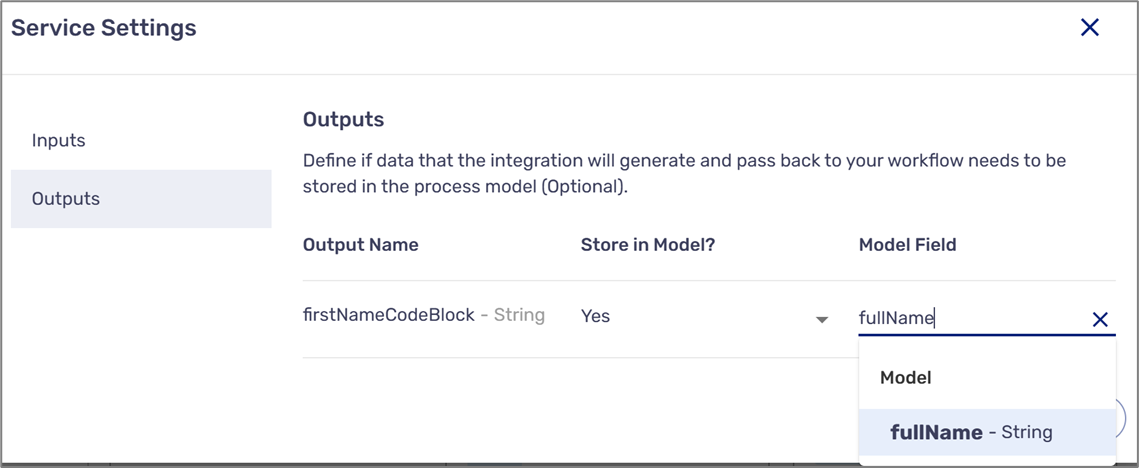
Figure 6: Outputs
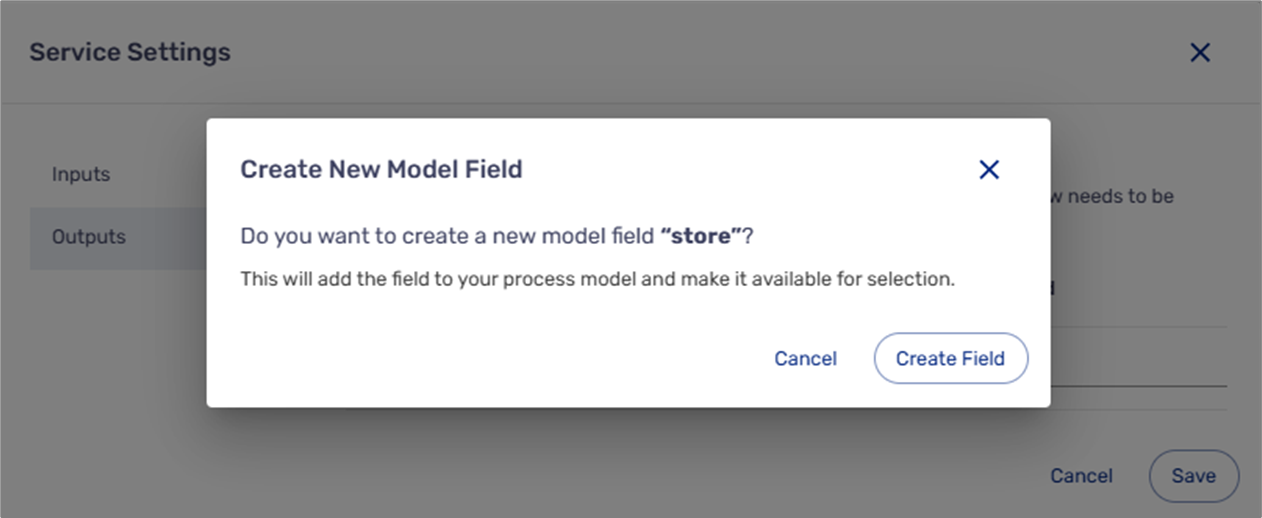
Figure 7: Create a new Model Field
To learn more about services, click here.
Integration Usage Example
(See Figure 8 to Figure 13)
In the following flow, an email will be sent through an integration once a process is submitted.

Figure 8: Simple Flow
The service named Thank You Email that is used in the flow contains two inputs that are taken from the process:
- Customer name
- Customer email
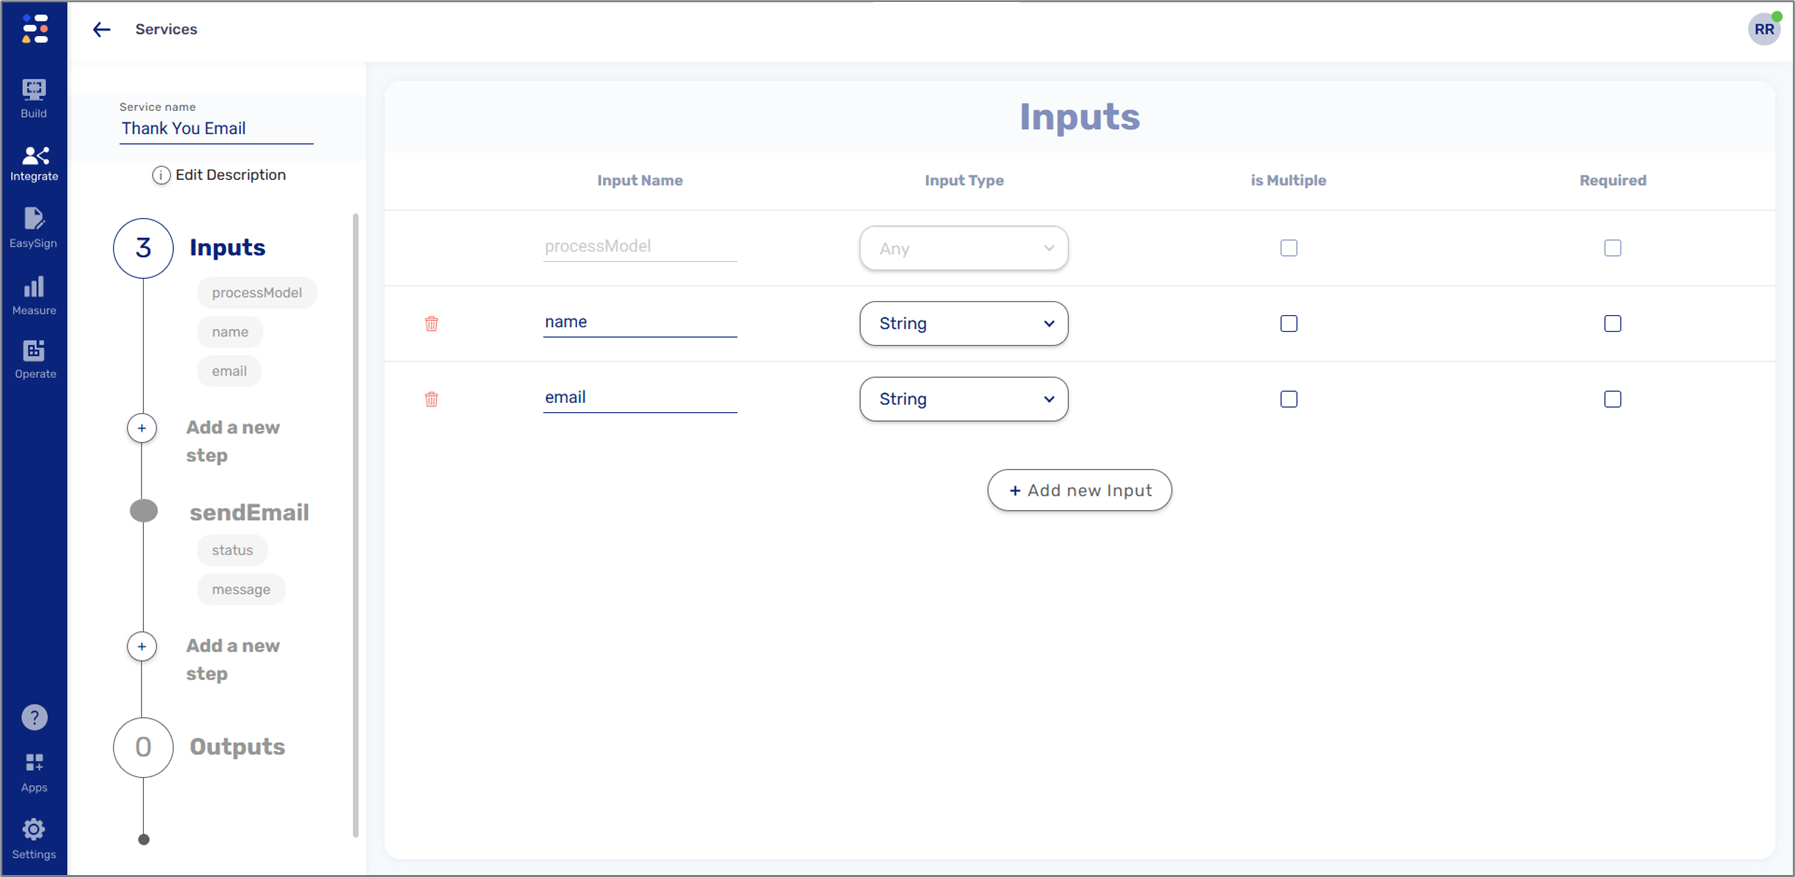
Figure 9: Integration Inputs
In addition, the service also contains an Email step named sendEmail. The step utilizes three dynamic fields:
- inputs.email for the recipient's email address
- model.inputs.name for the recipient's name in the email subject
- inputs.name for the recipient's name in the email content
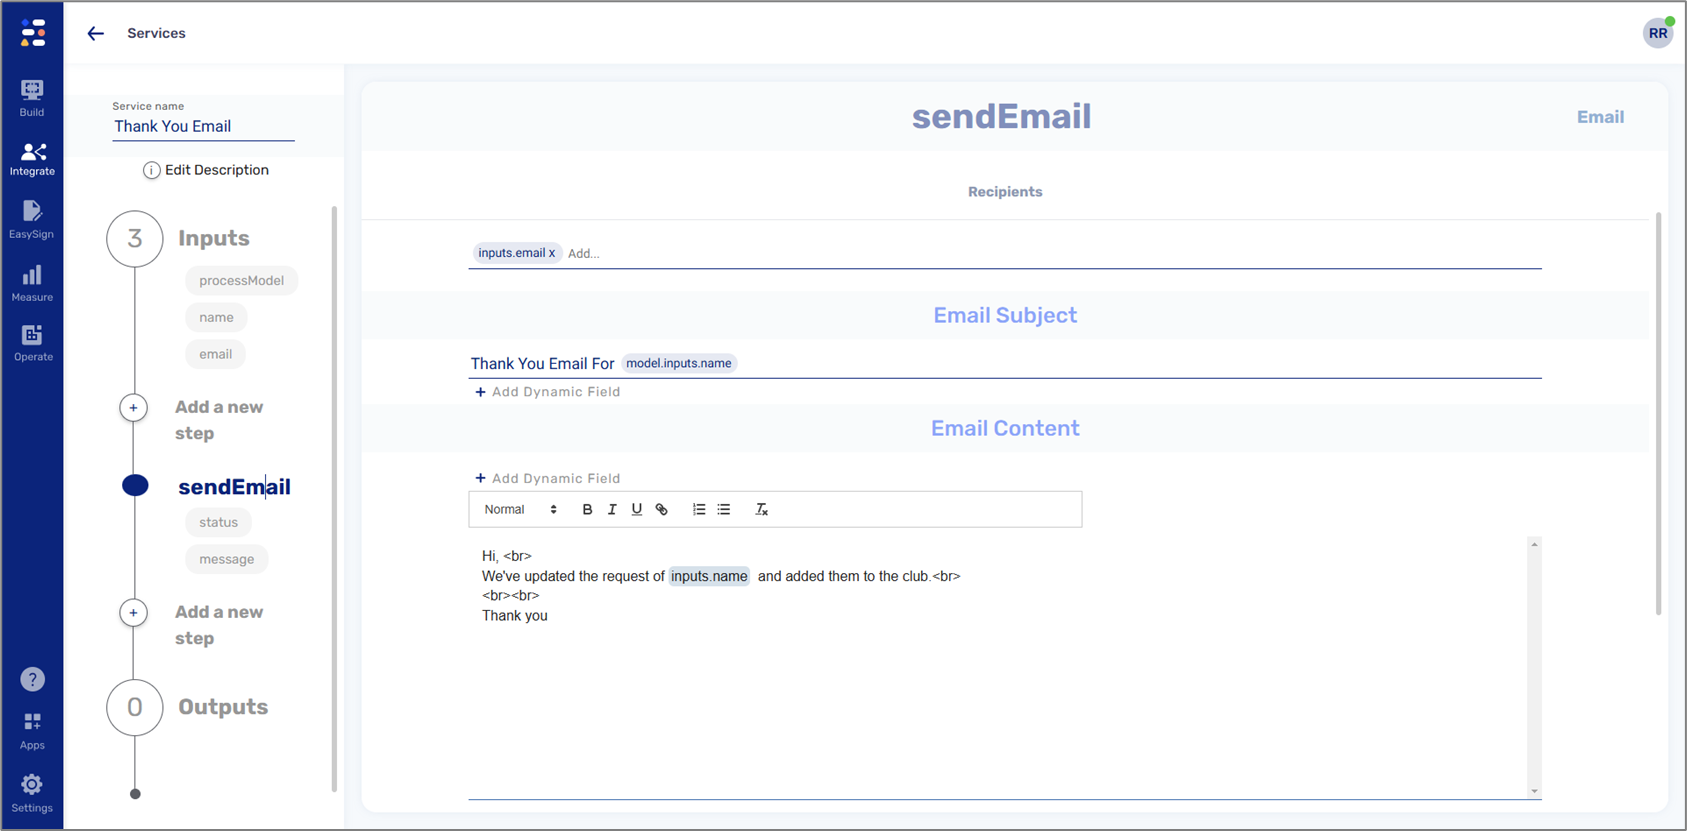
Figure 10: Email Step
To initiate the service as part of the flow, the Integration building block was added in the desired location. In this case, to be initiated once the process is submitted.
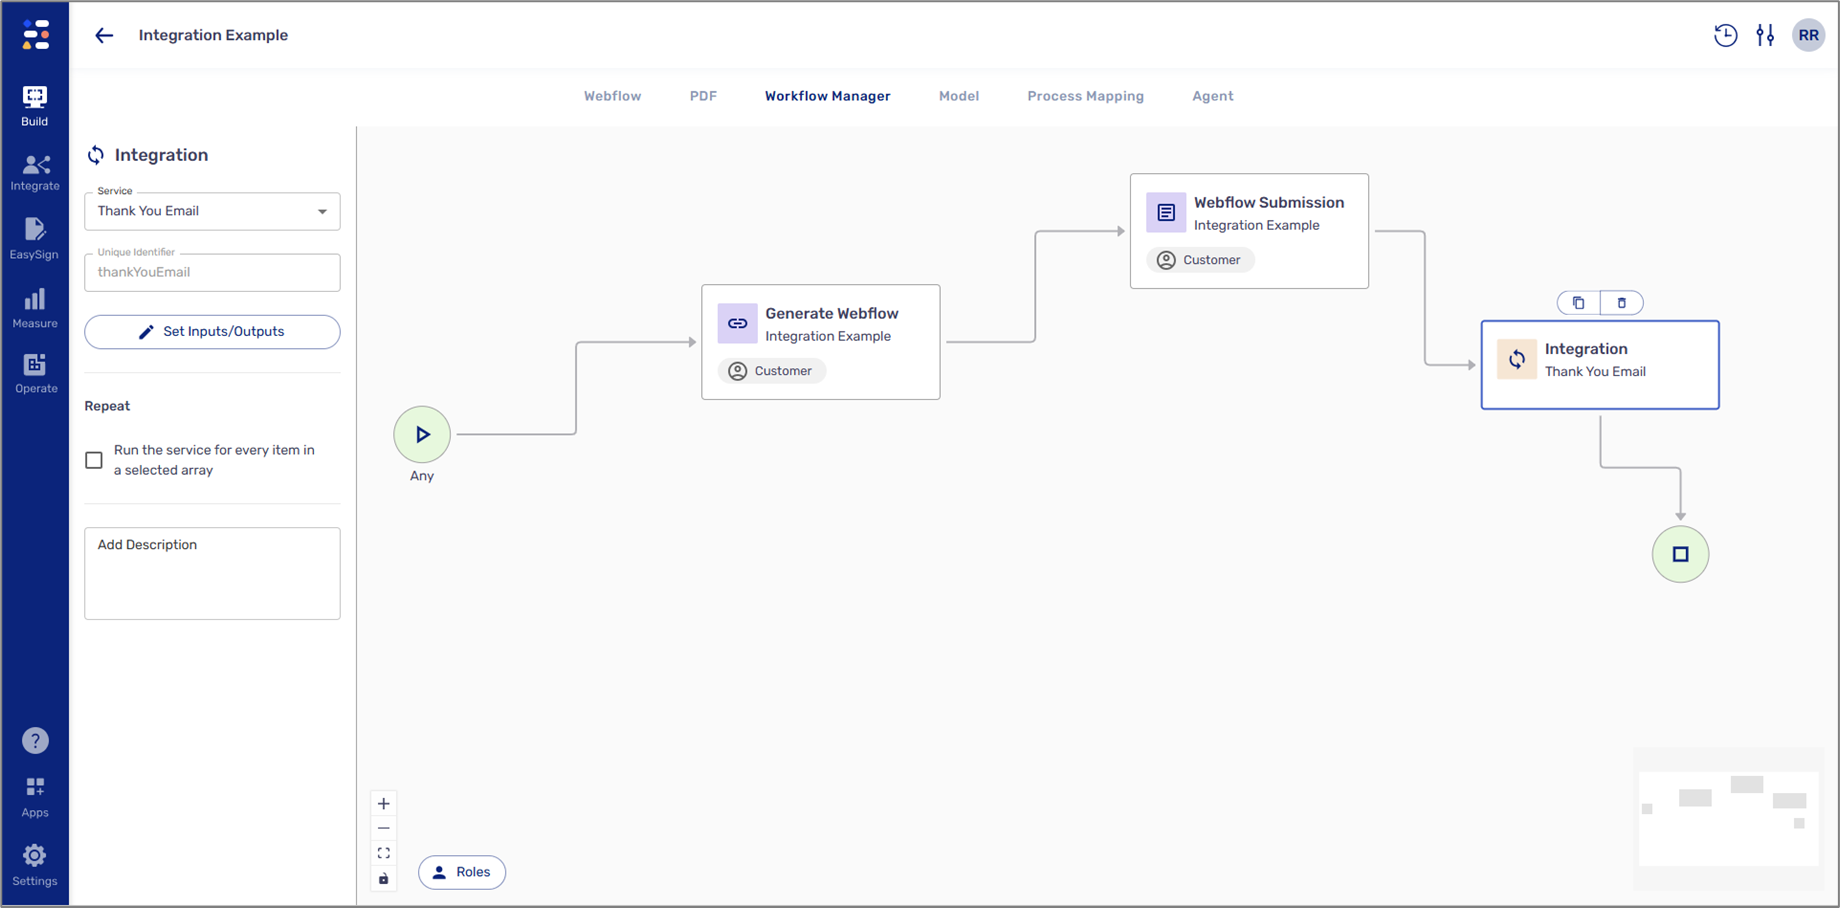
Figure 11: Integration and Service
The Inputs/Outputs were set as defined in the service:
- Inputs - two data items taken from the process
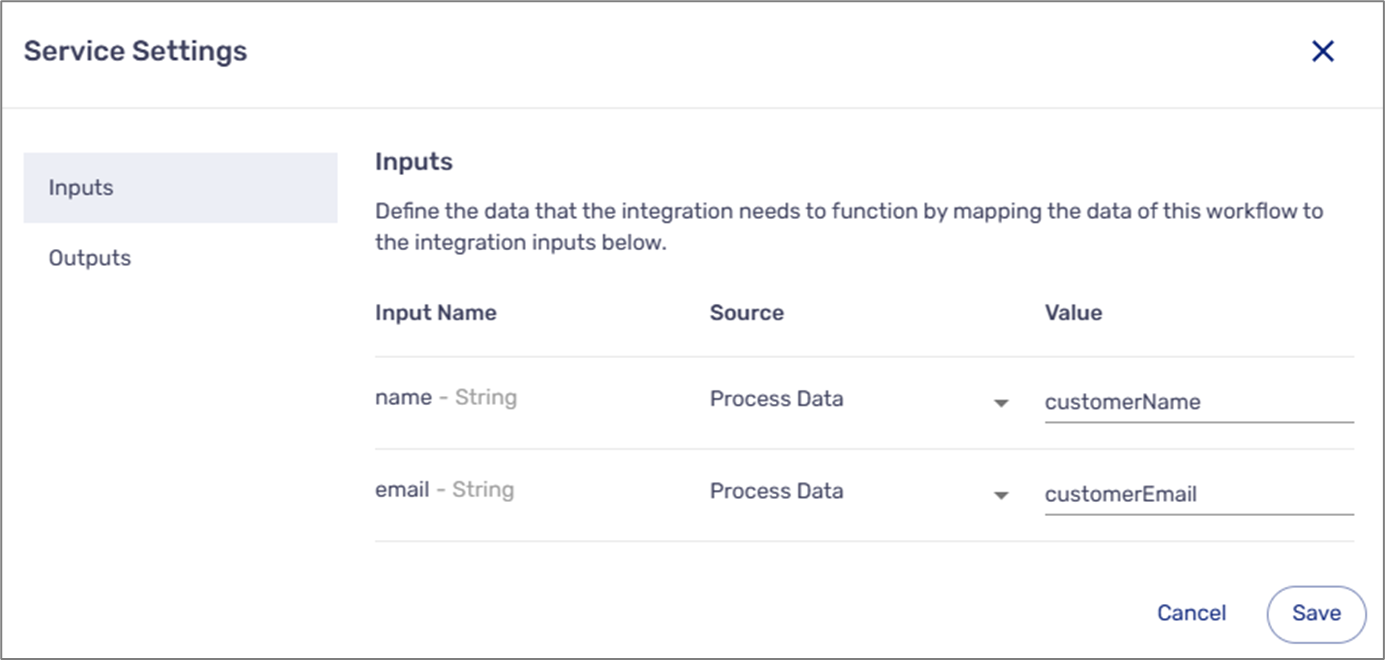
Figure 12: Inputs
- Outputs - not configured for this service
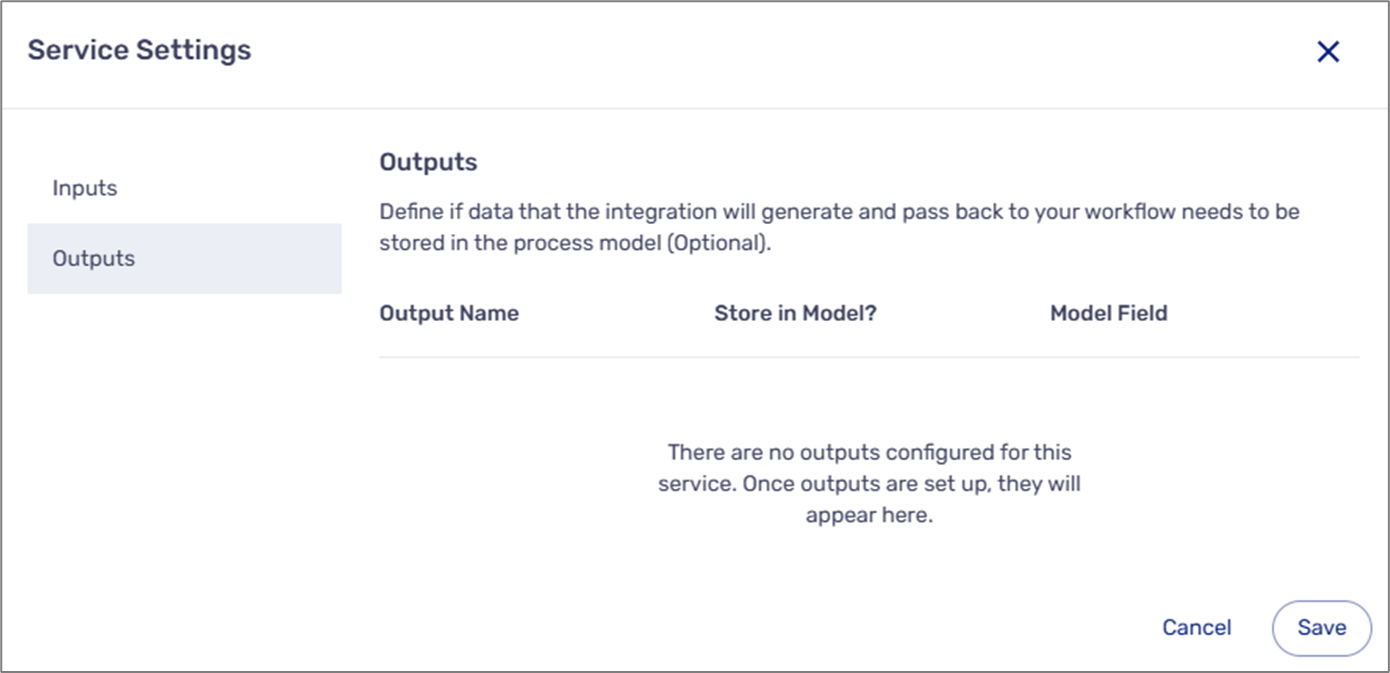
Figure 13: Outputs

