Article Overview
This article explains how to create a new document and how to install the EasySend Microsoft Add-in.
Creating a New Dynamic Document
(See Figure 1 to Figure 4)
To create a new dynamic document, perform the following steps:
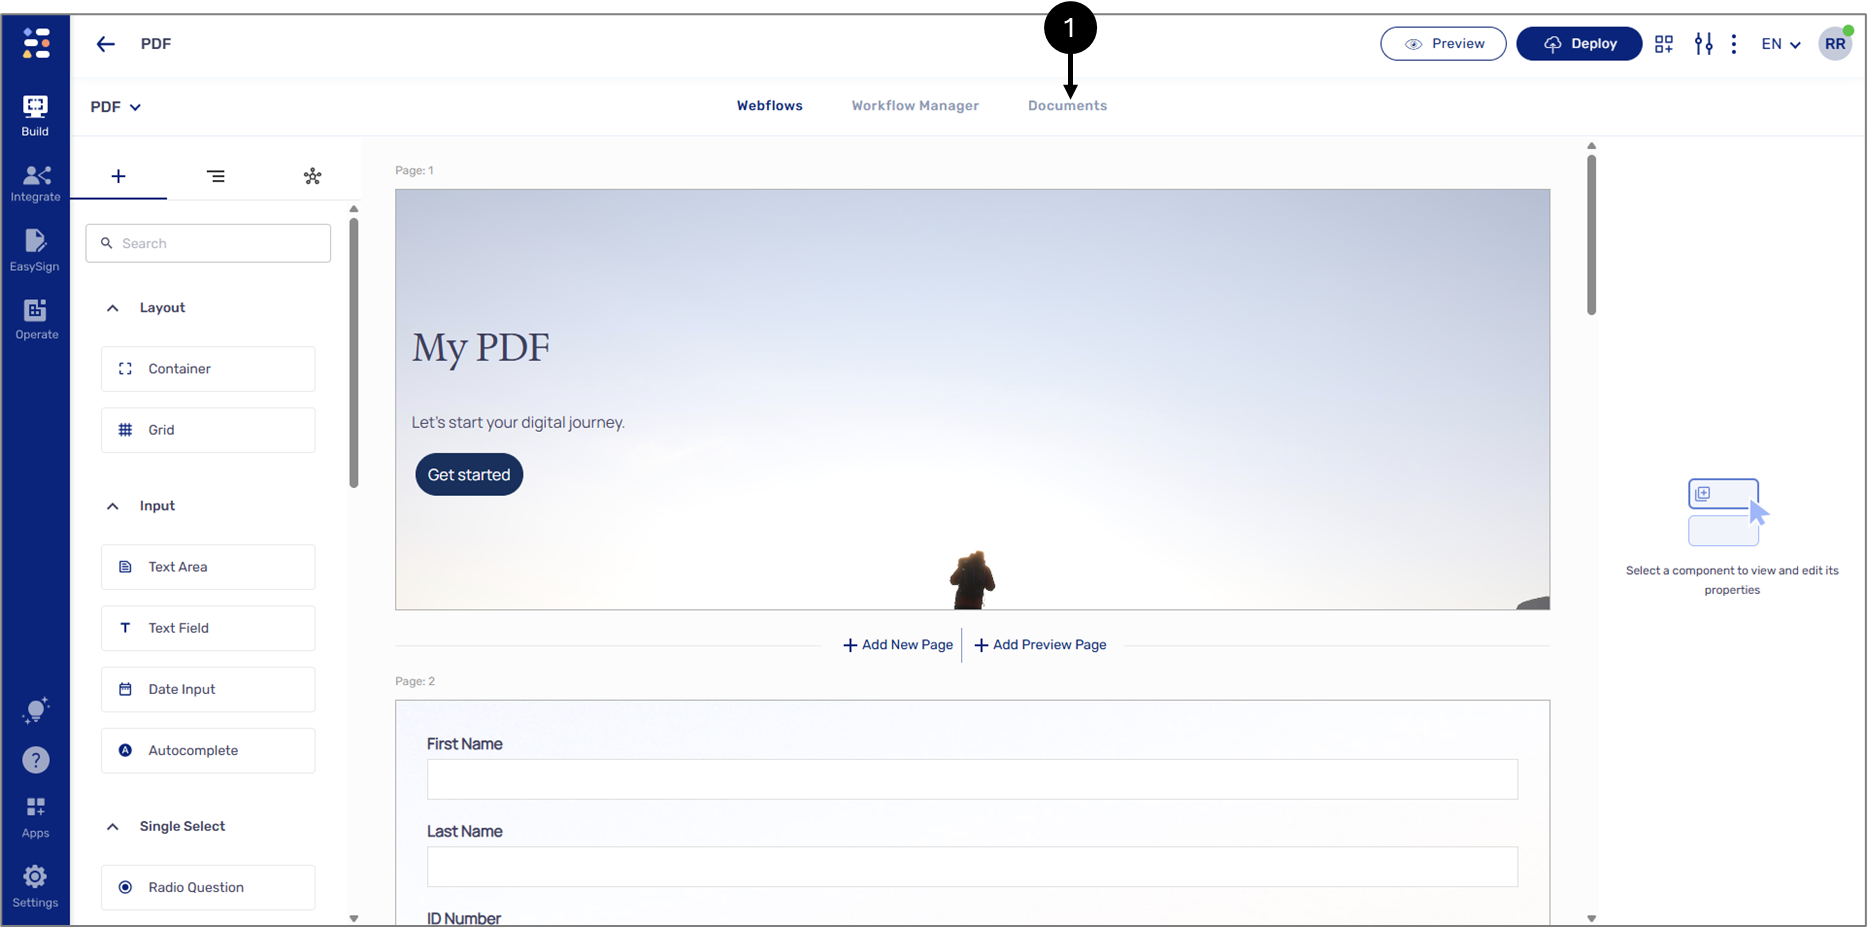
Figure 1: Document Tab
- Click the Documents tab (1) to navigate to the Documents screen.
Result:
The Documents screen appears:
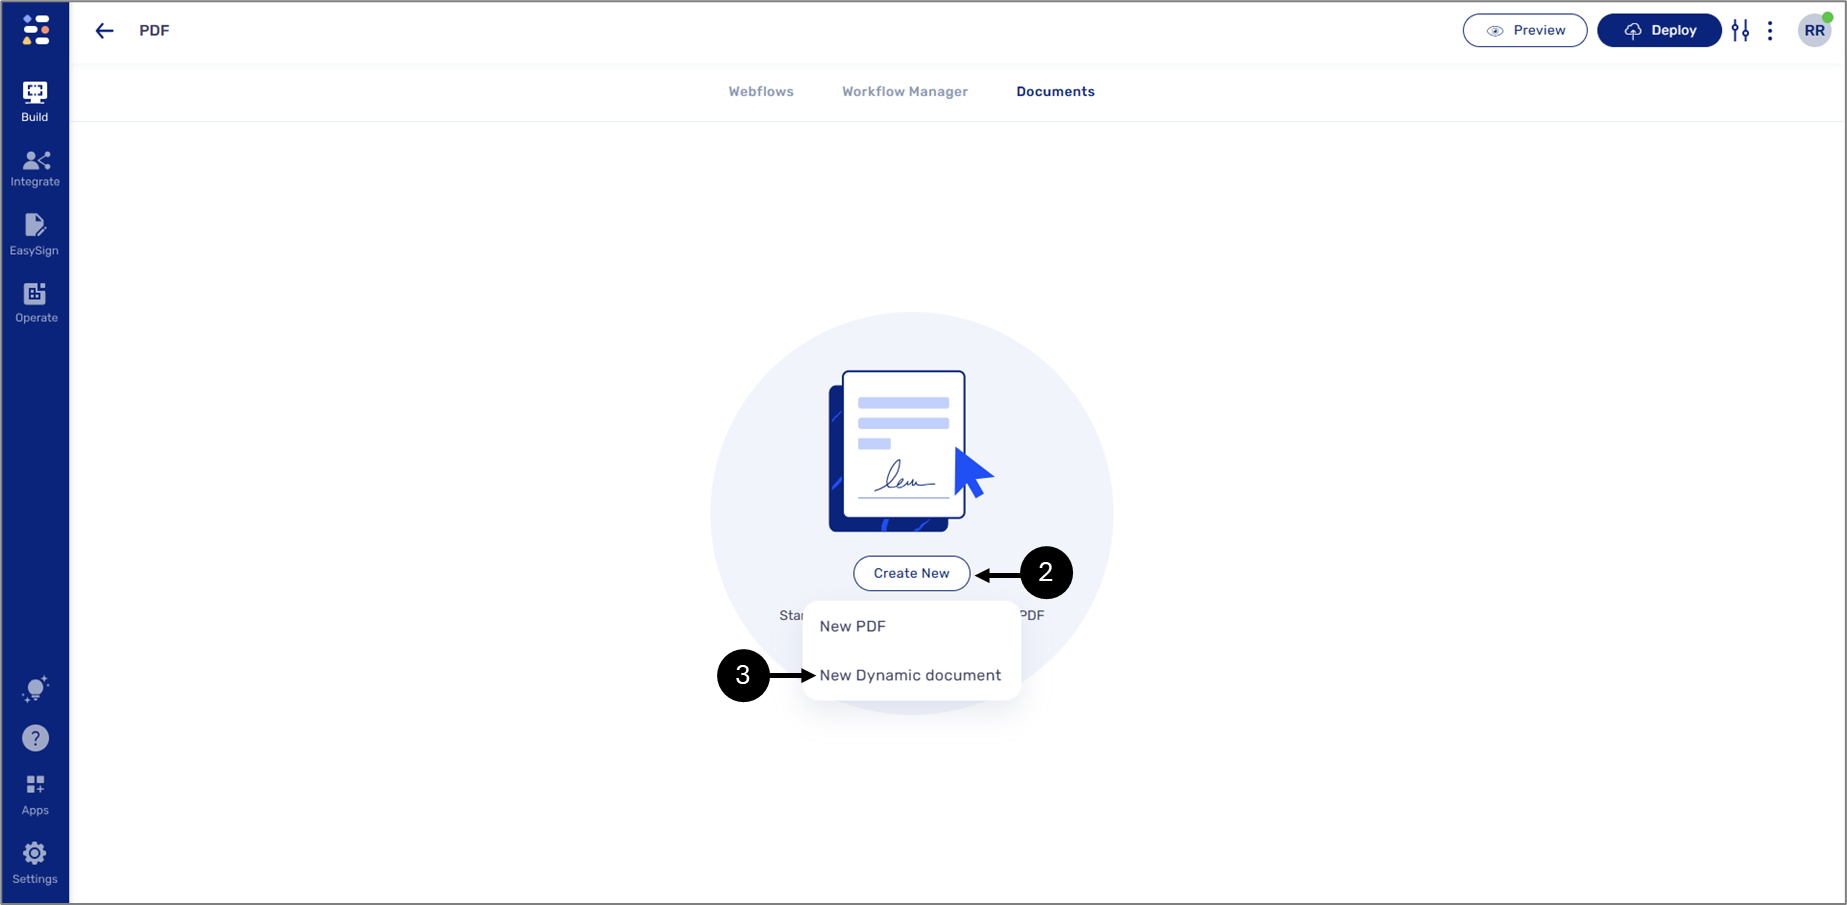
Figure 2: Create New
- On the PDF screen, click Create New (2) and then New Dynamic Document (3).
Result:
The Create a Dynamic Document window appears:
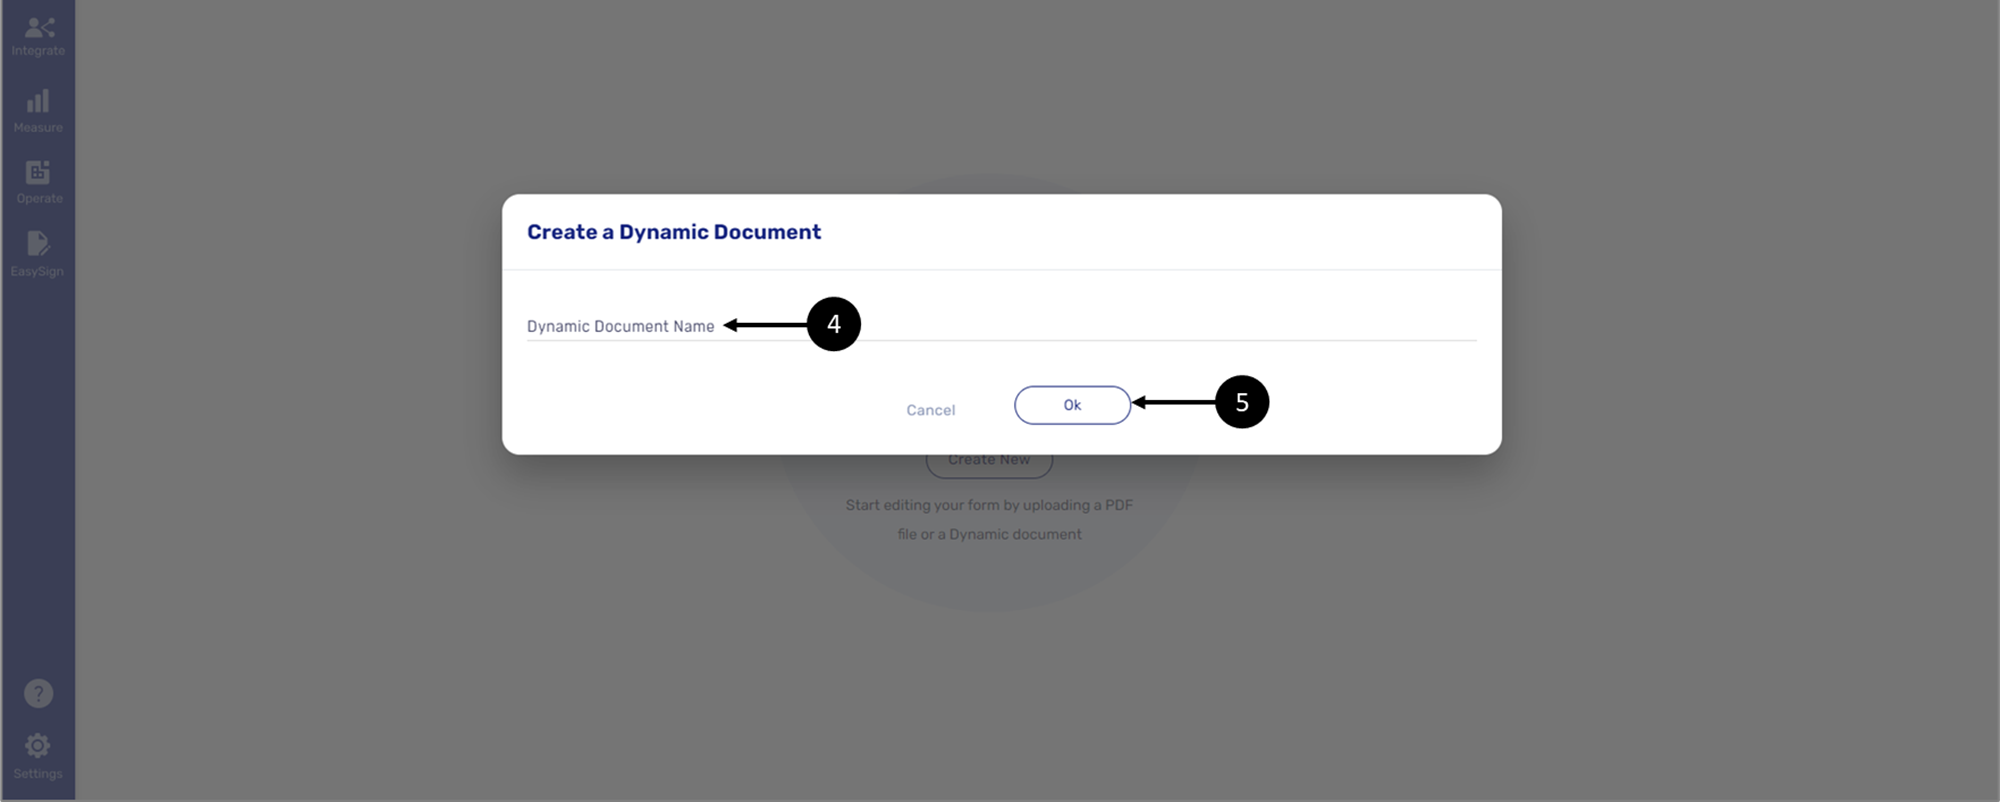
Figure 3: Create a Dynamic Document Window
- Enter a Dynamic Document Name (4) and then click Ok (5).
Result:
A new dynamic document is created.
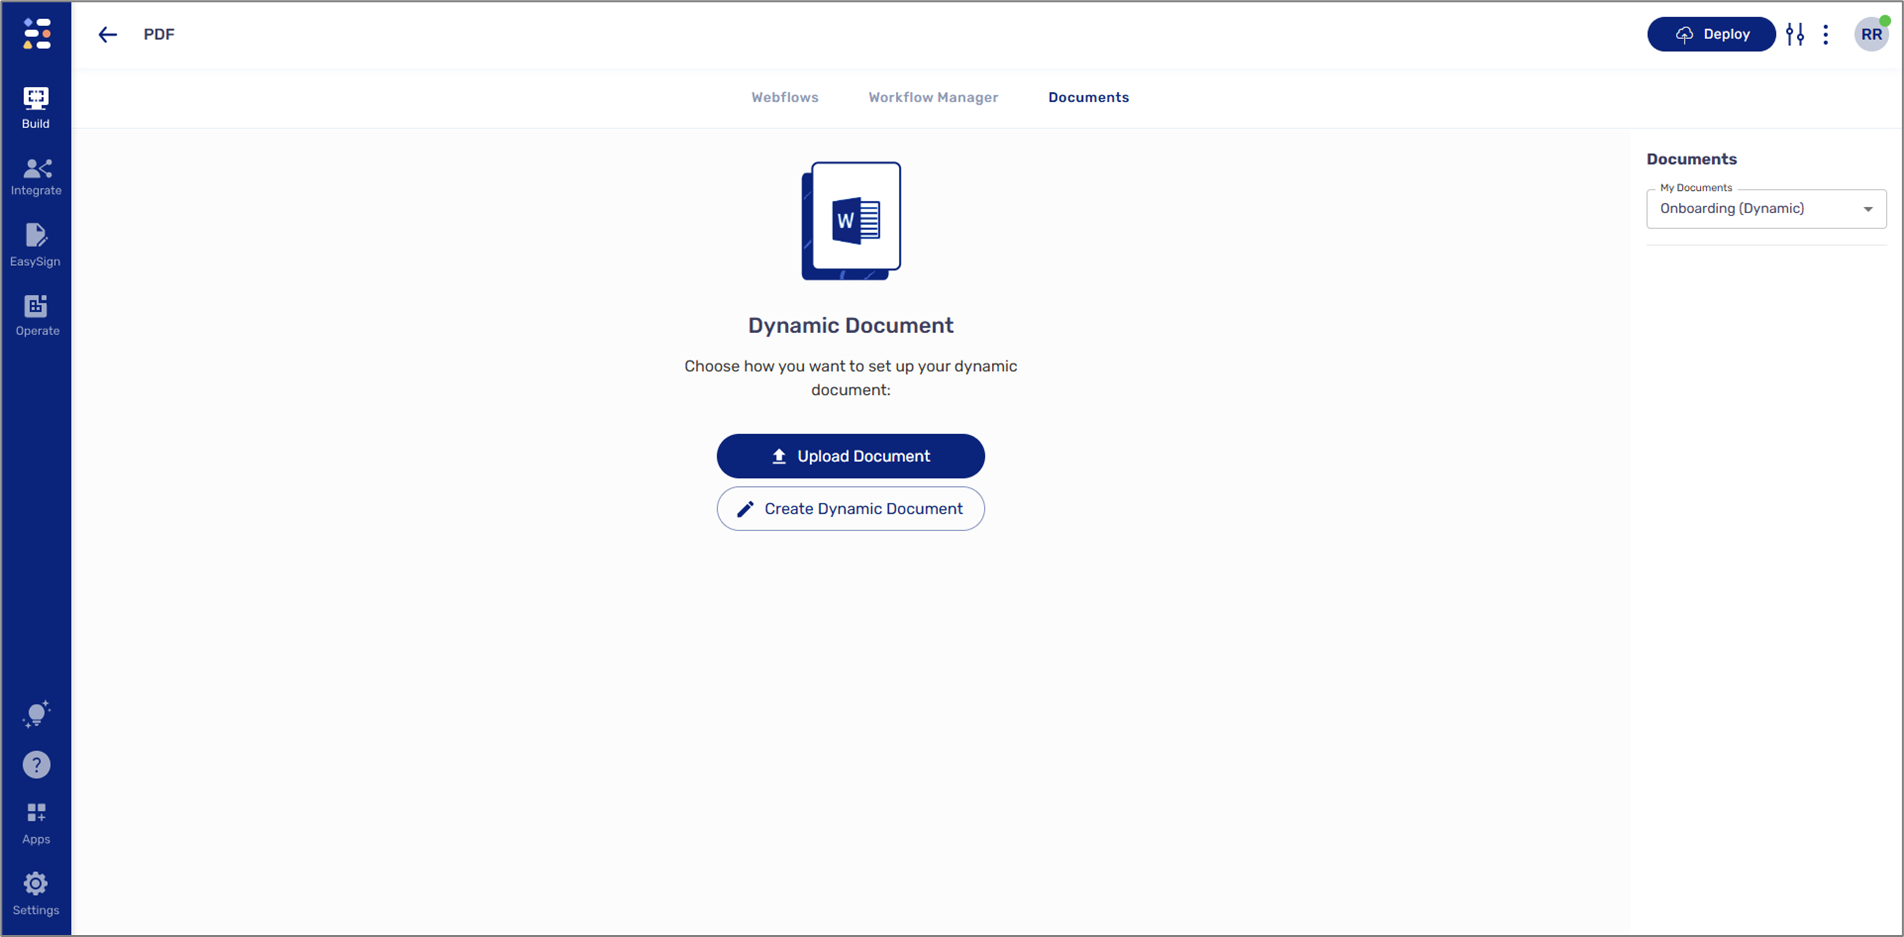
Figure 4: New Dynamic Document
Downloading EasySend Microsoft Add-in
(See Figure 5)
To create and edit a dynamic document, you must use Microsoft Word and EasySend's Microsoft Add-in. To download the Add-in:
- Open your Microsoft Word.
- Navigate to the Home tab (1).
- Search for the EasySend Add-in (2), and follow the instructions on the screen.
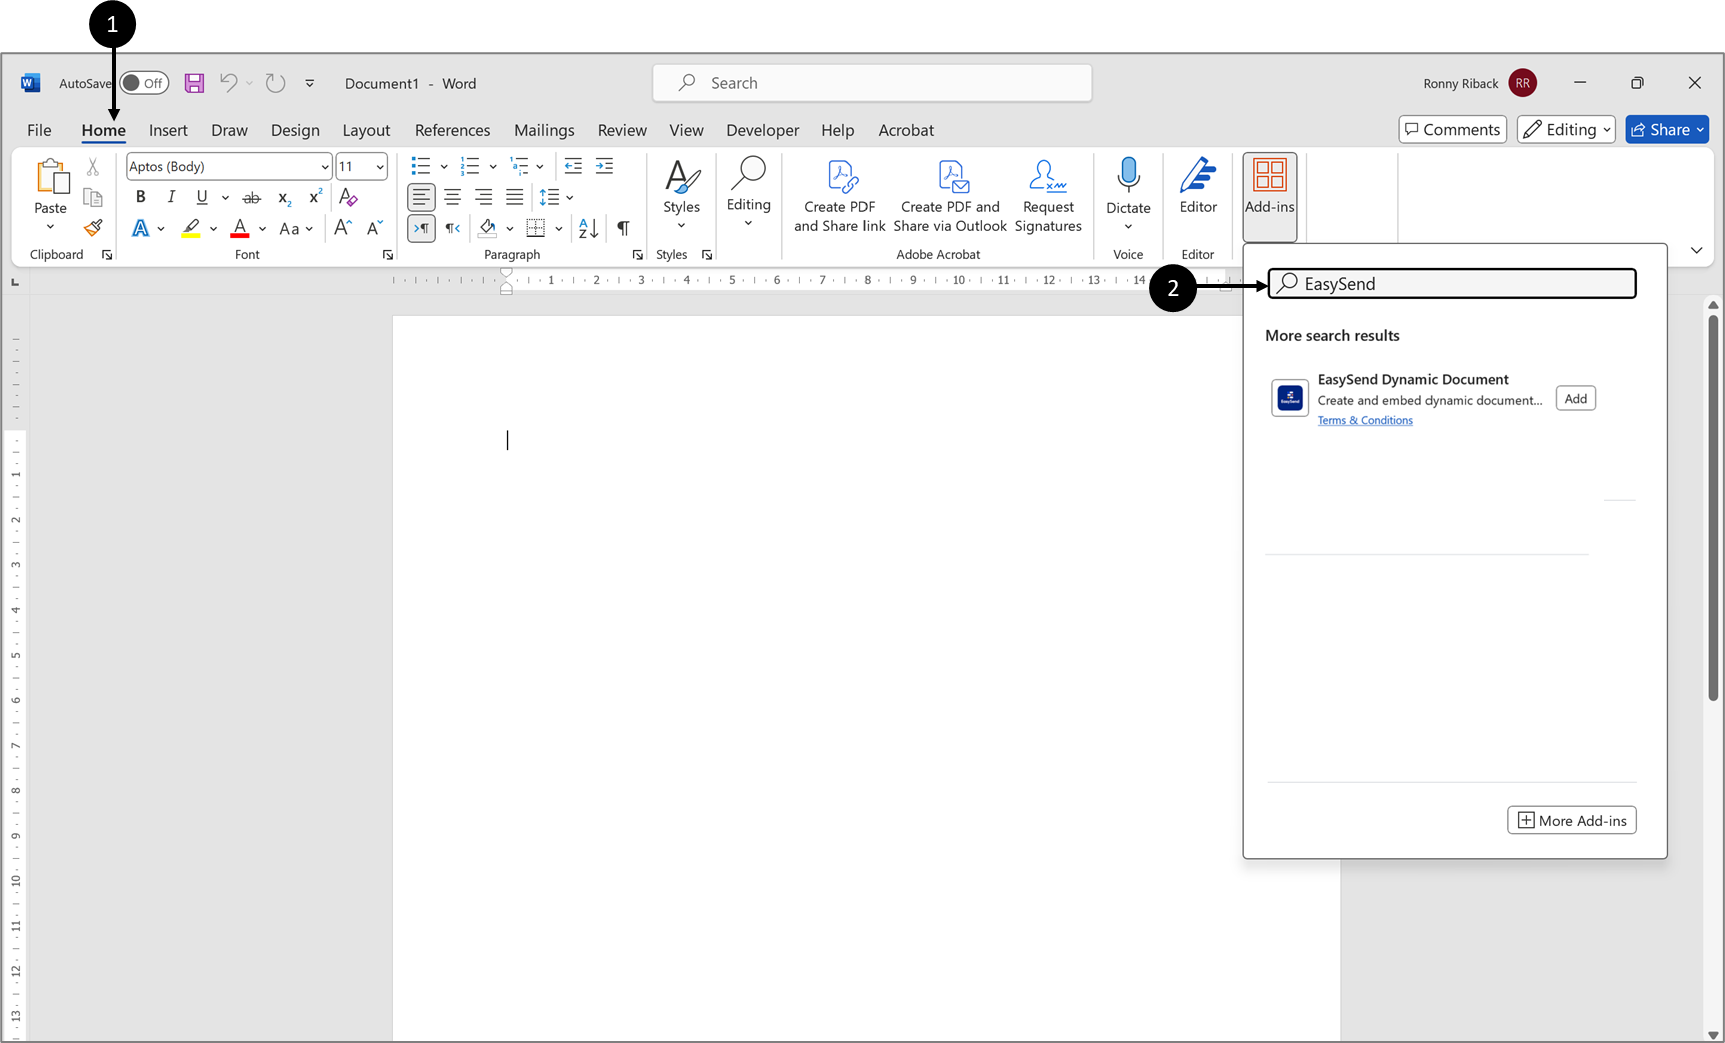
Figure 5: EasySend's Add-in on The App Store
NOTE
The Add-in is also available to download from the Microsoft App Store.
NOTE
If you are not able to install or locate the Add-in, please contact our support team.