- PDF
Overview
- PDF
Article Overview
The following article describes EasySend's roles and permissions mechanism. It details why use role and permissions, the roles and permissions enforcement concept, and how the mechanism works with Single Sign On (SSO).
Introduction
The roles and access permissions mechanism enables you to assign different roles to platform users, granting them access to the Builder platform for their purposes.
Why Use Roles and Permissions
EasySend's roles and permission provide you with an enterprise-grade security management module. Using roles and permissions you can manage your Builder platform users:
- Invite new users
- Edit existing users information
- Delete existing users
- Grant accurate functionality and data access permissions to perform their organization's role
Platform User Roles
- Super Admin
- Admin
- Super Builder
- Builder
- Business Manager
- Agent
Roles and Permissions Enforcement Concept
When a user logs into EasySend's Builder platform, the platform reads the user's permissions. Enforcement of permission is done by various ways:
- Unpermitted features are hidden from the navigation bar (for example, the Build tab).
- Unpermitted capabilities are hidden from the features (for example the Deploy button).
- Data is filtered (for example, only permitted business group processes are shown in reports, Process Manager, and Journey Tracker).
- In addition to application frontend permission protection enforcement, APIs will enforce the role permissions as well.
- Once a user deploys, the list of servers they can deploy to is filtered by the server permissions and If the user role and server permitted roles match, then the user can deploy to the appropriate server.
- Trying to navigate to a not allowed url will result in an error message.
- If the user does not have at least read permissions to Process Manager page as part of his assigned role, the landing page presented will be the first one they have permission to.
Single Sign On (SSO)
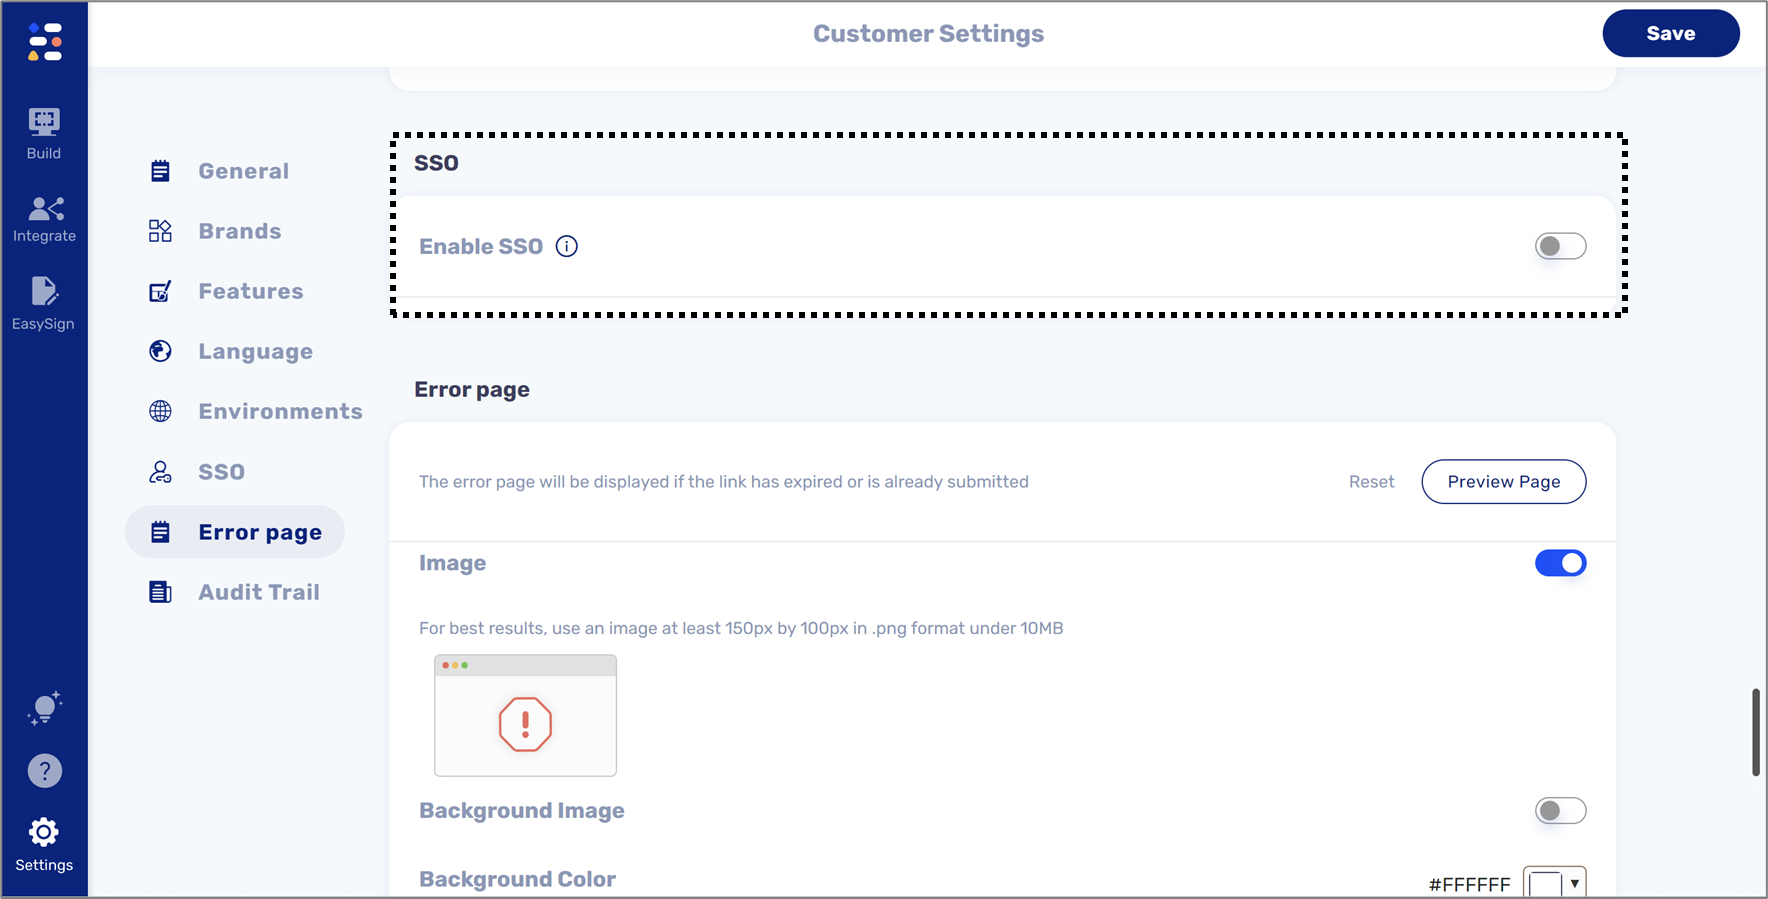
(See Figure 1)
EasySend supports enterprise customers SSO connection. As part of our roles and permissions mechanism, EasySend integrates with the customer Active Directory (AD) and allows you to manage the user permissions independently.
You need to create a corresponding group with a group ID and name. Your AD will send the group ID and the platform will map the name and assign the user to the relevant predefined group.
If you are connected via SSO and your customer setting SSO is enabled, the option to assign users to groups manually by user configuration will be blocked.

Figure 1: Customer Settings SSO

