- PDF
Multi-Factor Authentication
- PDF
Article Overview
The following article describes EasySend's Multi-Factor Authentication (MFA) mechanism.
What is MFA?
MFA (Multi-Factor Authentication) is a security method that requires users to provide two or more verification factors to access their Builder environment. Instead of just relying on a password, MFA adds extra layers of protection, such as a code sent to your email, phone, or security token. This mechanism helps to reduce the risk of unauthorized access by making it harder for attackers to gain entry.
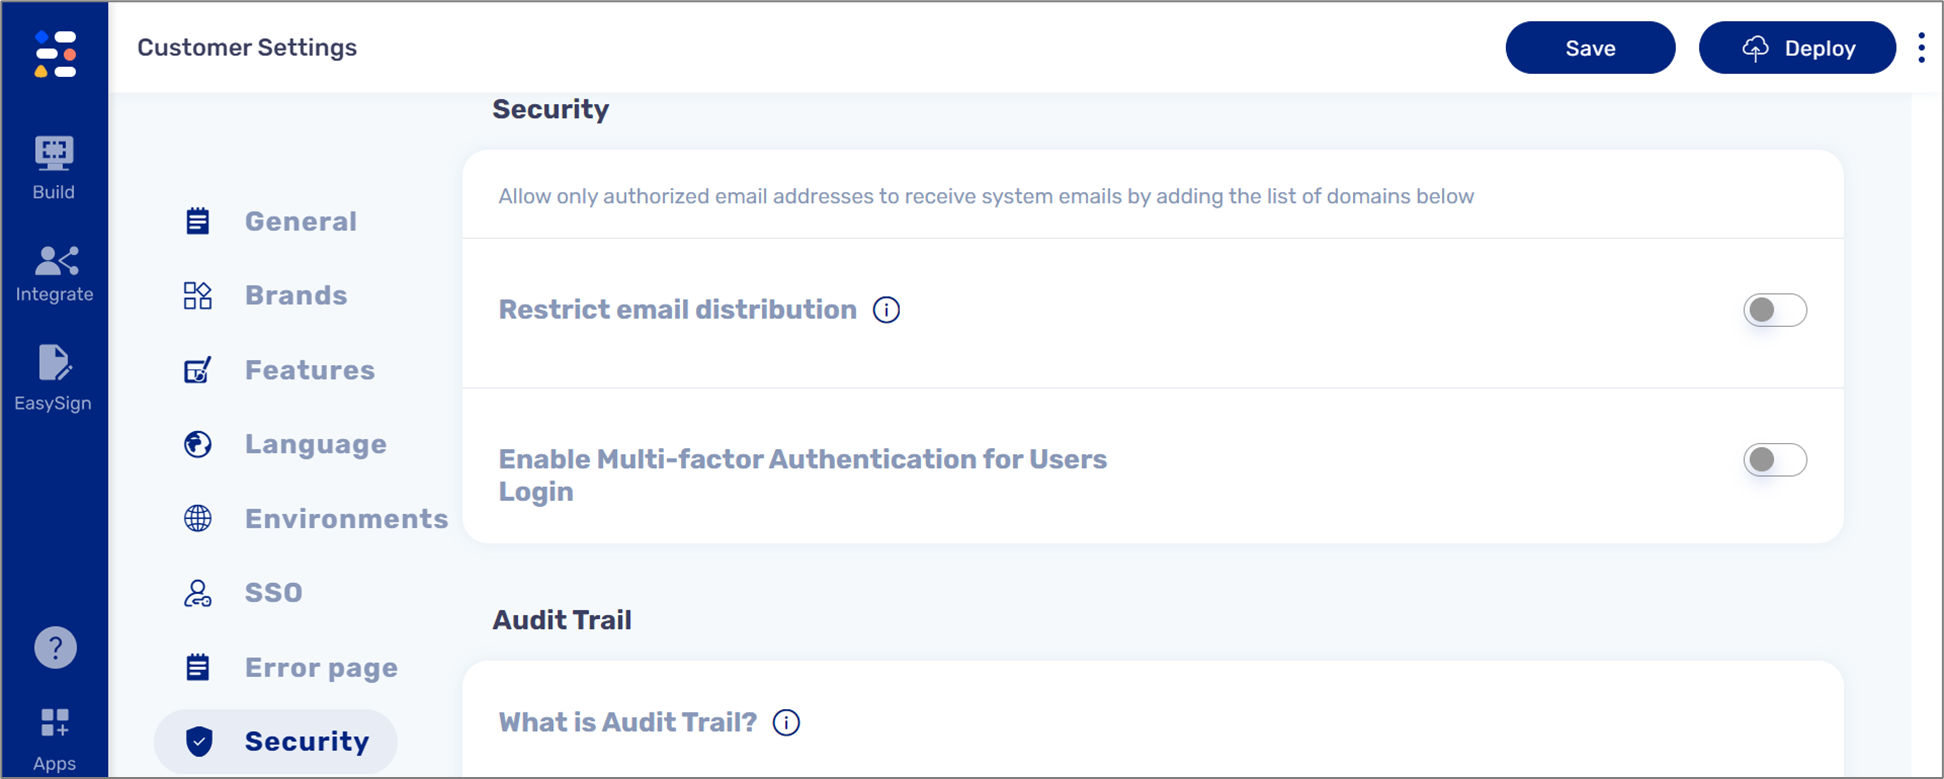
MFA Configuration
(See Figure 1 and Figure 2)
MFA can be enabled for all users or specific users.
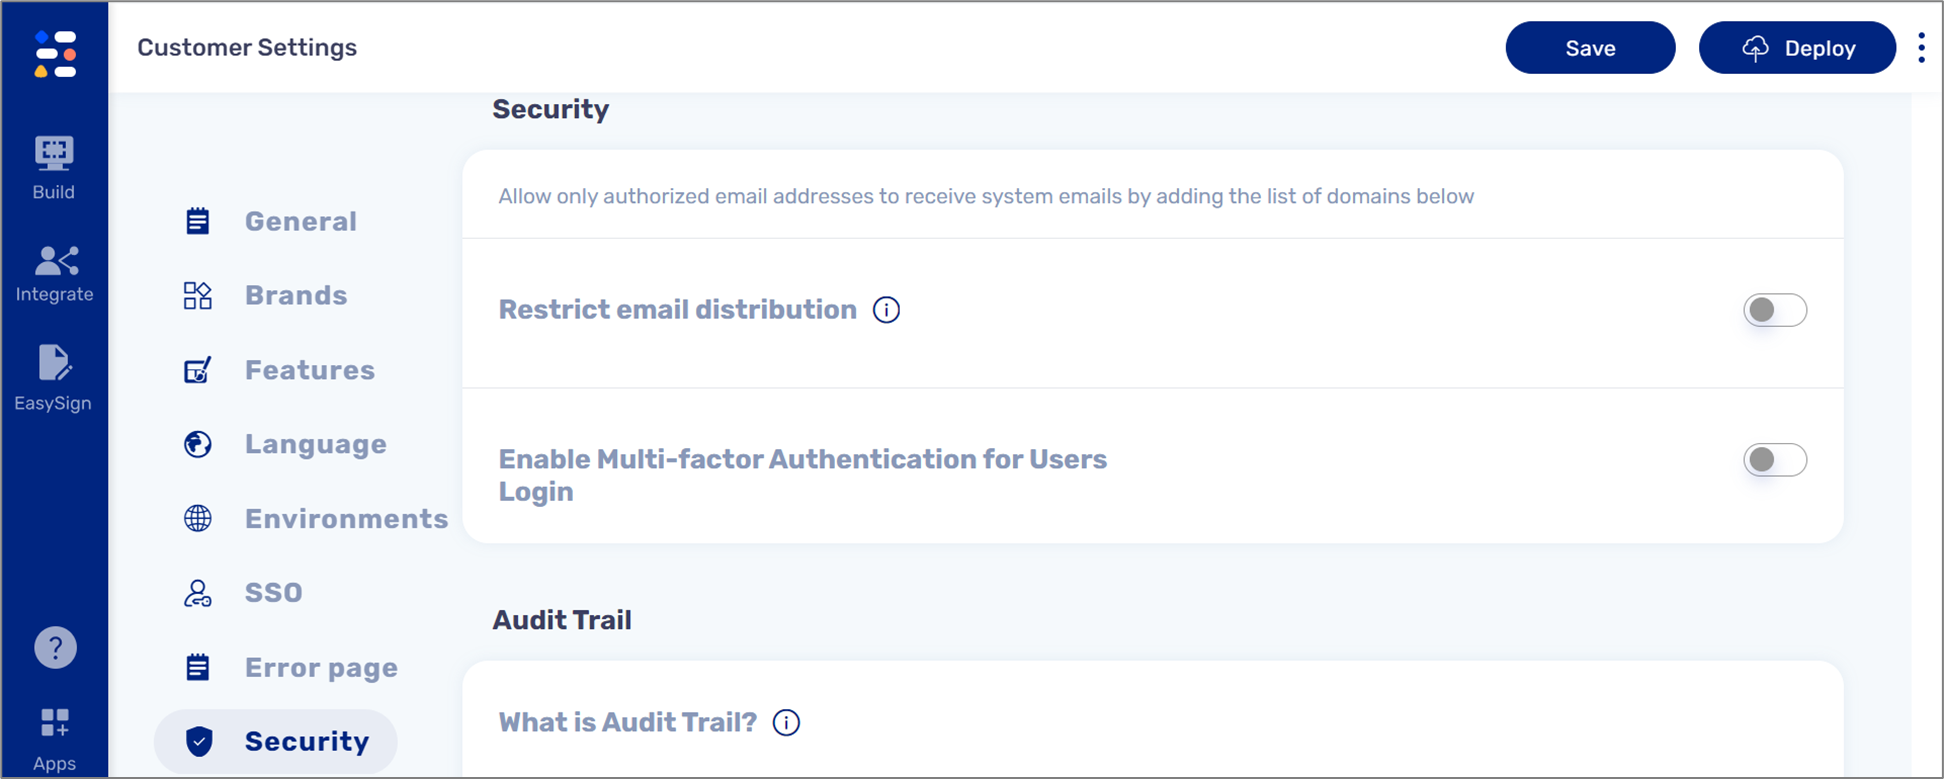
Figure 1: MFA
Once the switch is toggled to on, the following options appear:
- Enforce Multi-factor Authentication for All Users - when this switch is toggled to on, all users will be required to use MFA at each login. When the switch is toggled to off, you can configure MFA individually for each user or a group of users in the User Management screen.
- Enabled Multi-factor Authentication methods - this dropdown contains a list of authentication methods:
- SMS
- Authenticator App

Figure 1: MFA Options
User Management Screen
If the Enforce Multi-factor Authentication for All Users switch is toggled to off, you can configure MFA individually for each user (see Figure 3) or a group of users (see Figure 4).
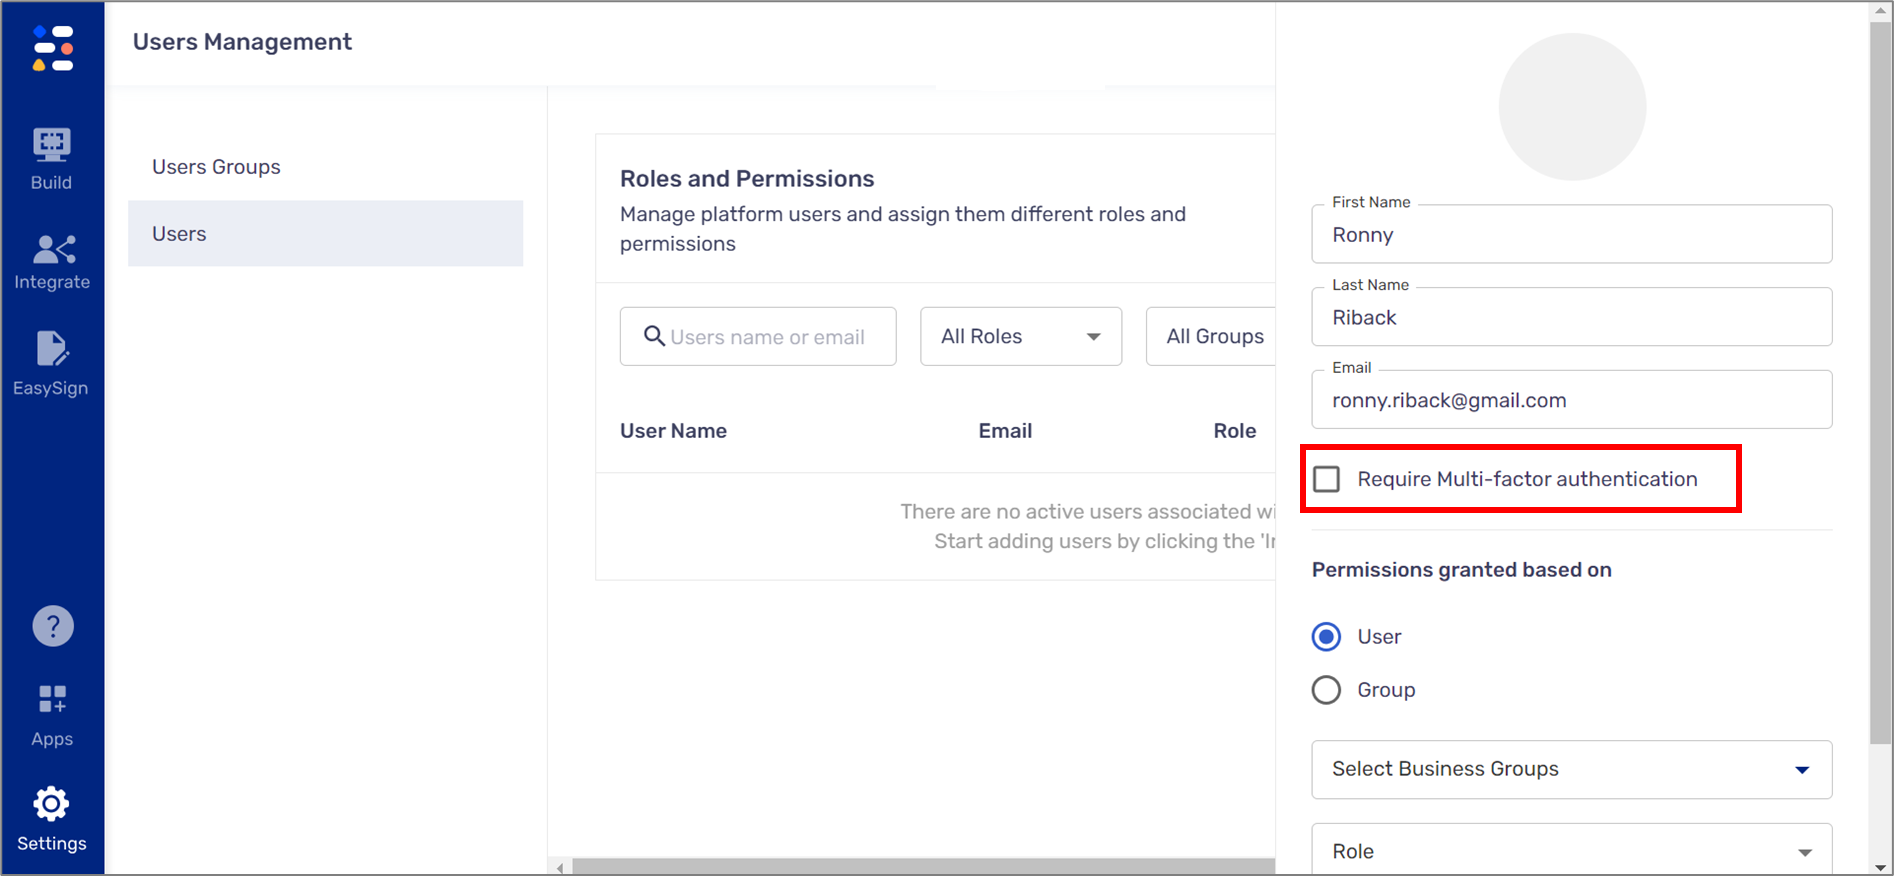
Figure 3: Inviting a New User
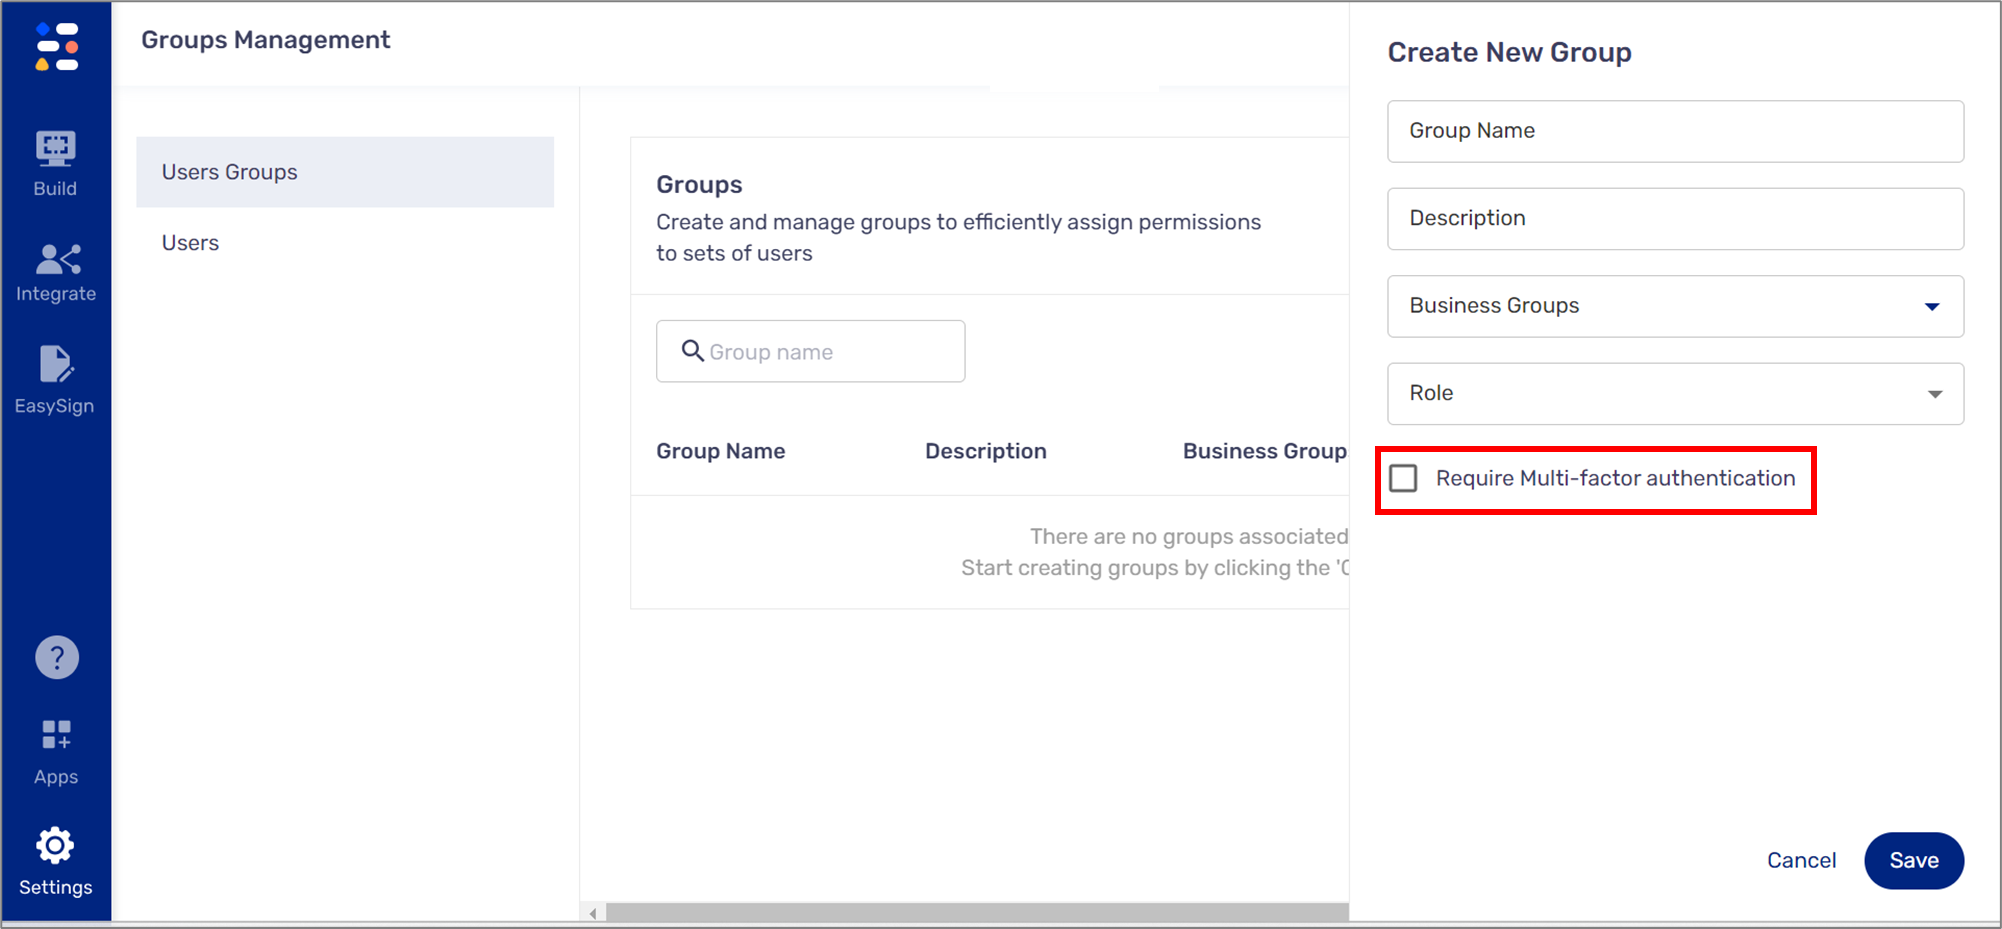
Figure 4: Creating a New Group
MFA Sequence Example With Email
When a user with an MFA requirement logs in the Builder environment they first input their password (see Figure 5). Once the first authentication is approved, the MFA screen to enter a verification code appears (see Figure 6). The code will be sent according to the method or methods selected in the Customer Settings screen, for example, through an email (see Figure 7).
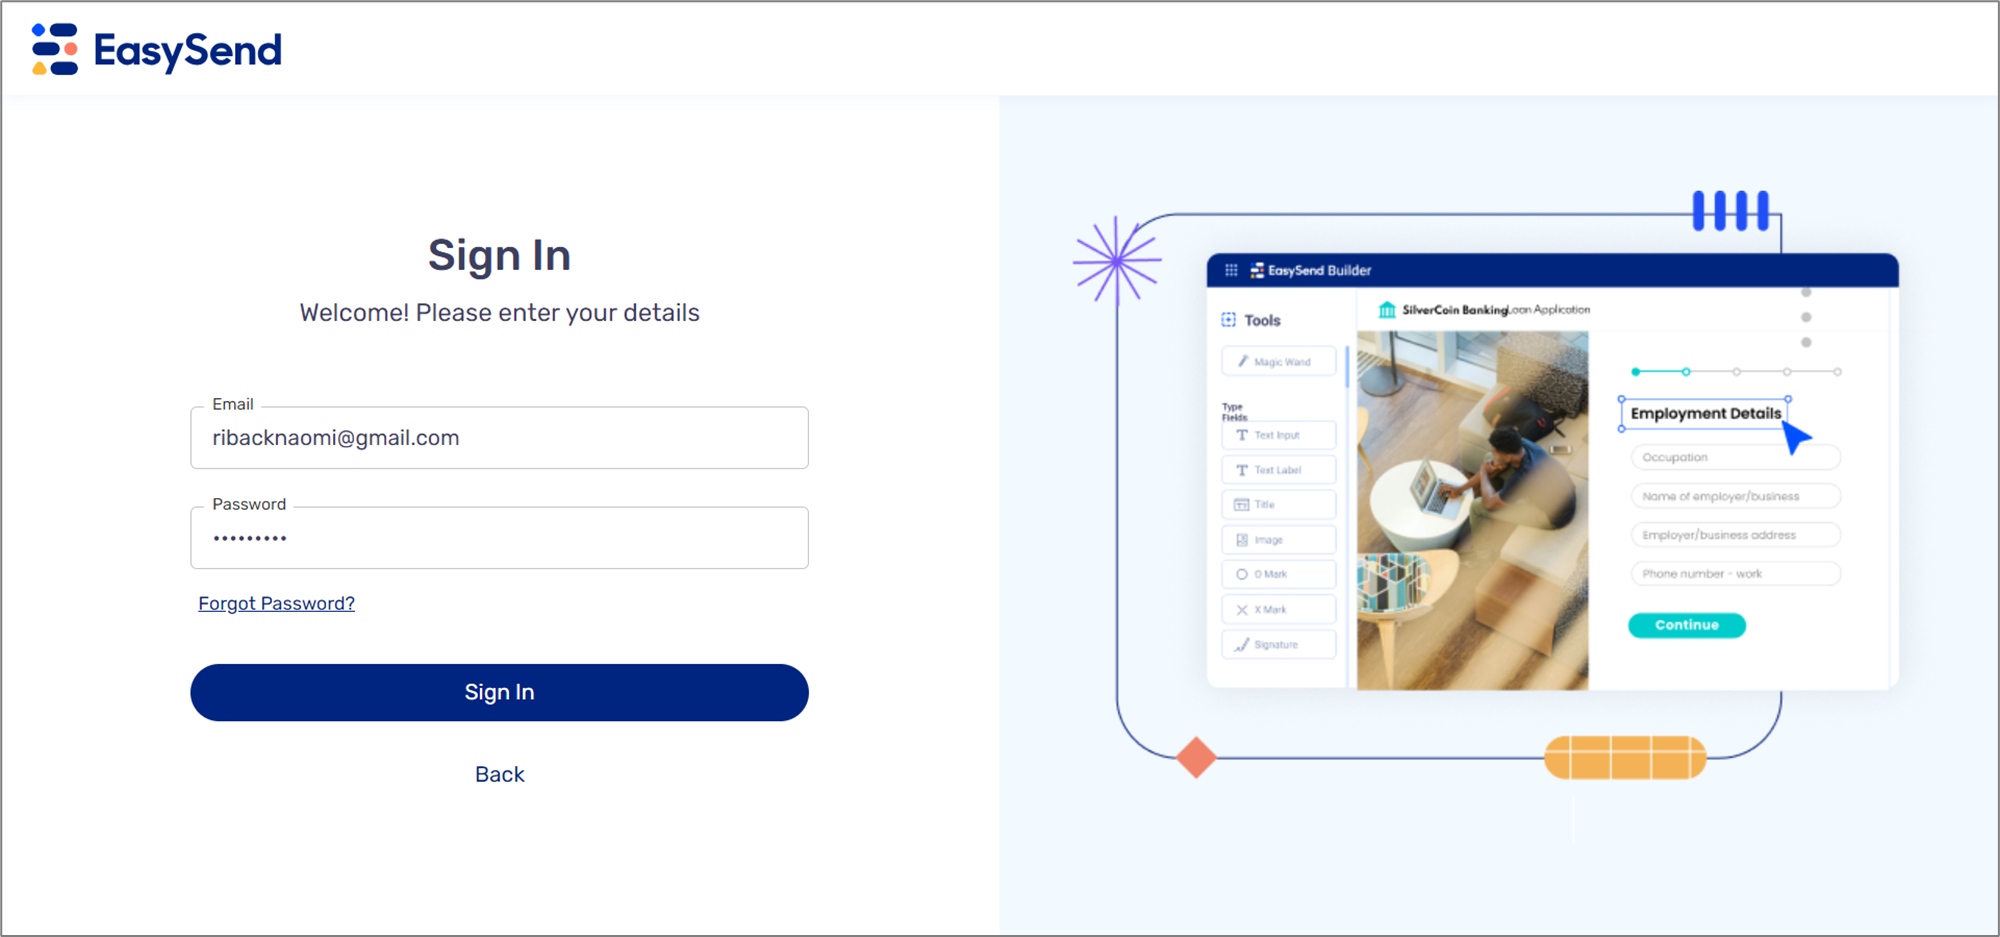
Figure 5: First Authentication
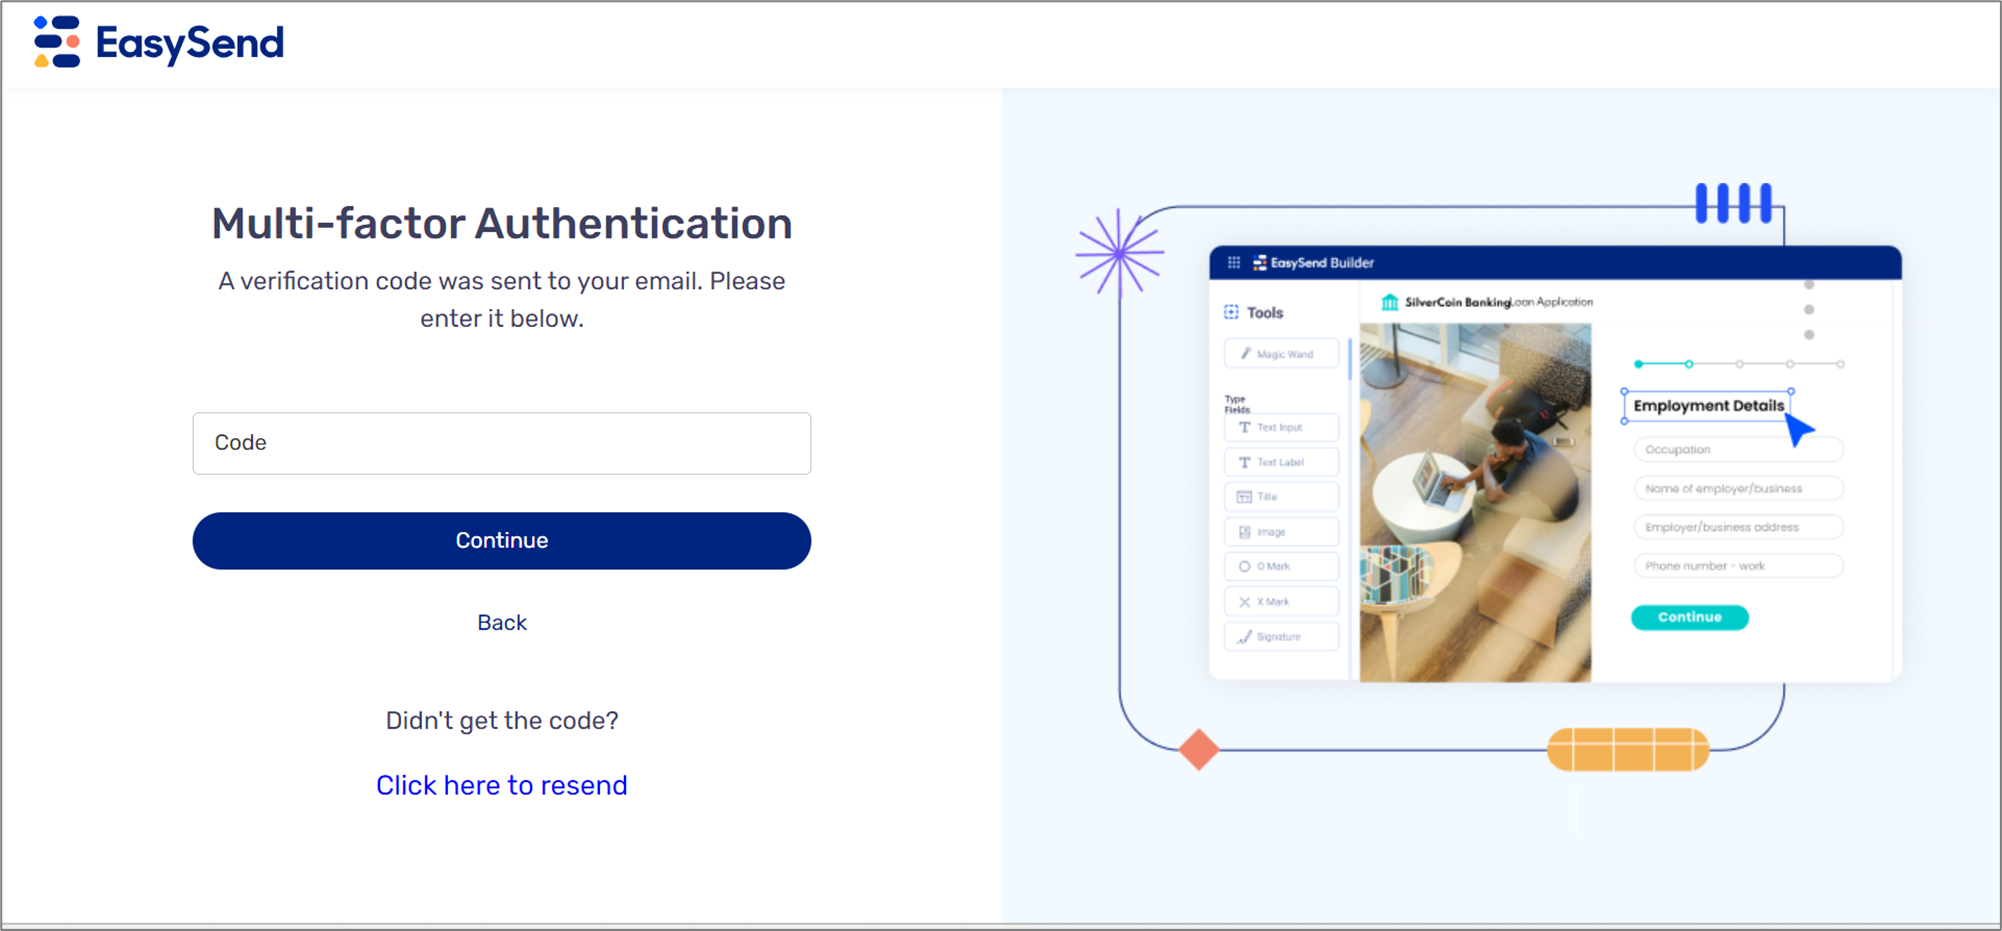
Figure 6: MFA Screen
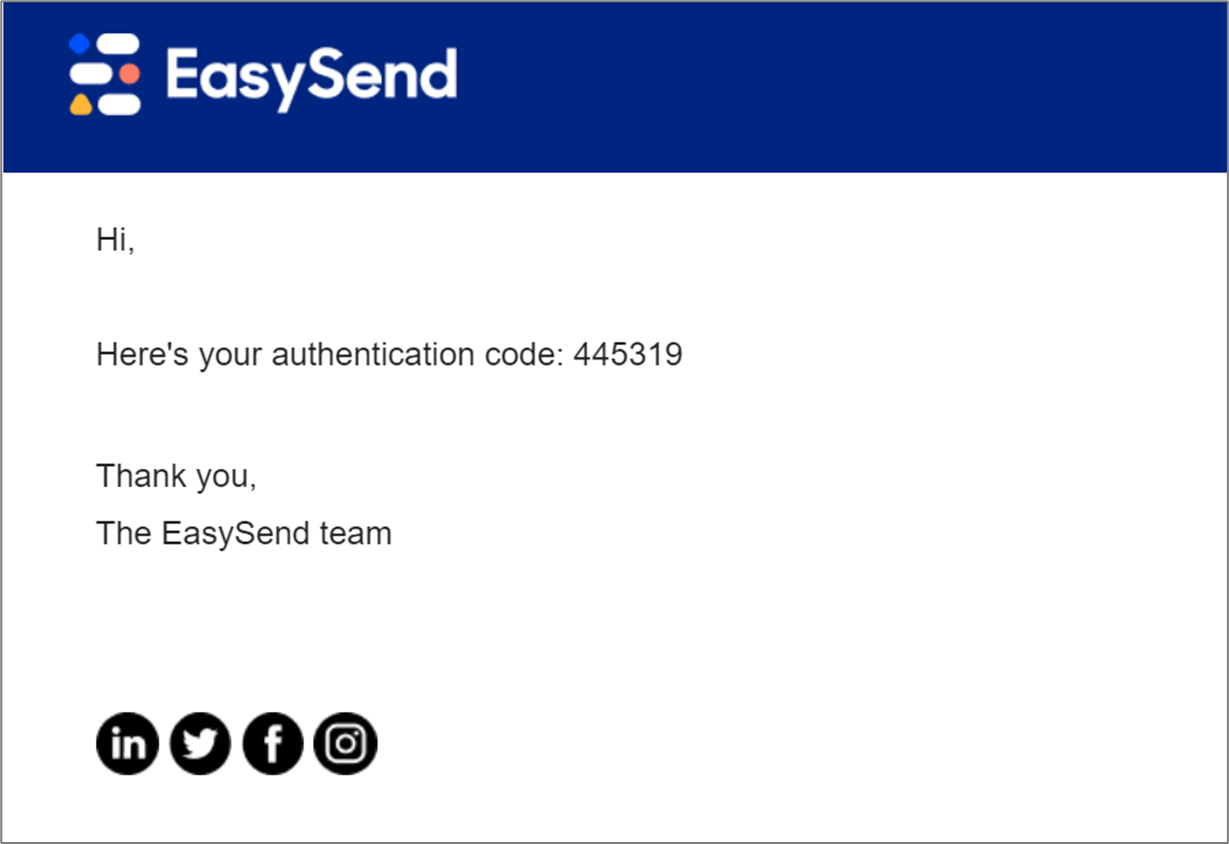
Figure 7: MFA Email Verification Code
MFA Example With SMS
(See Figure 8)
When the selected MFA method is SMS, the user will be requested to input their phone number to receive and enter a code.
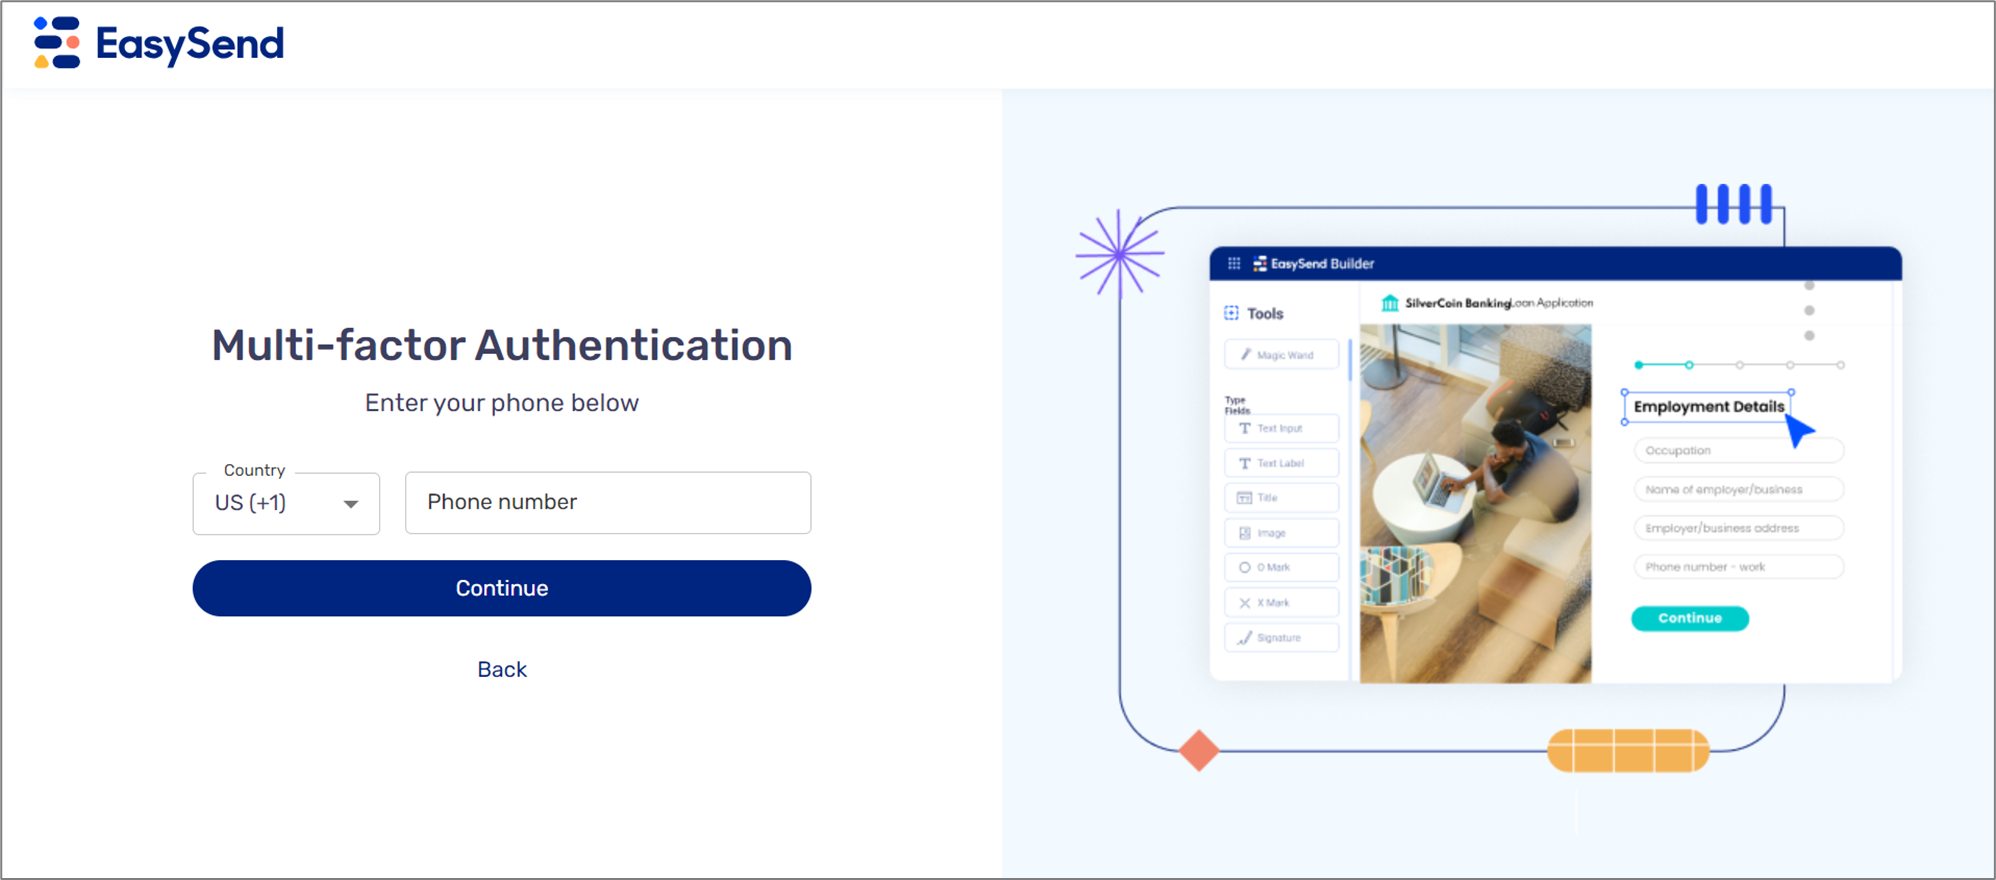
Figure 8: MFA Example With SMS
MFA Example With Authenticator App
(See Figure 9)
When the selected MFA method is Authenticator App, the user will be requested to scan the QR code to open an Authenticator App.
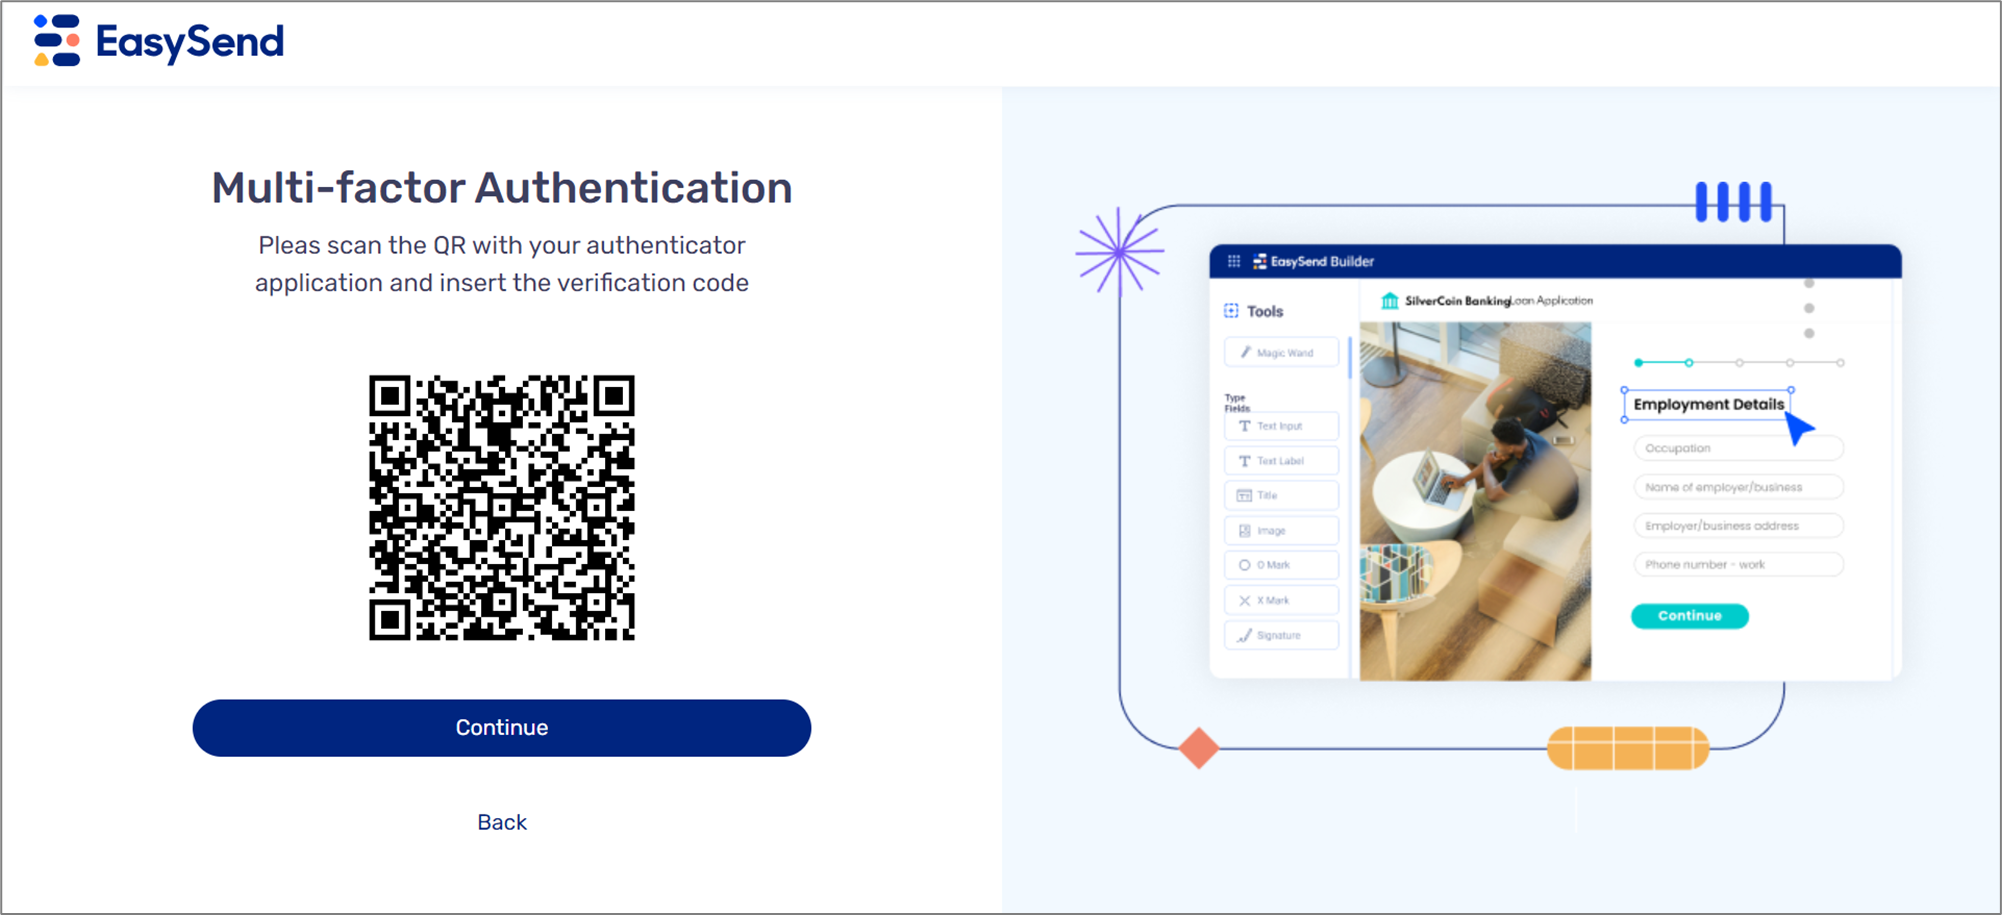
Figure 9: MFA Example With Authenticator App

