How To Create a New EasySign Template
The following sections describe how to create a new EasySign template.
Step 1: Access the Template Screen
(See Figure 1 to Figure 3)
To access the Templates screen, perform the following steps:
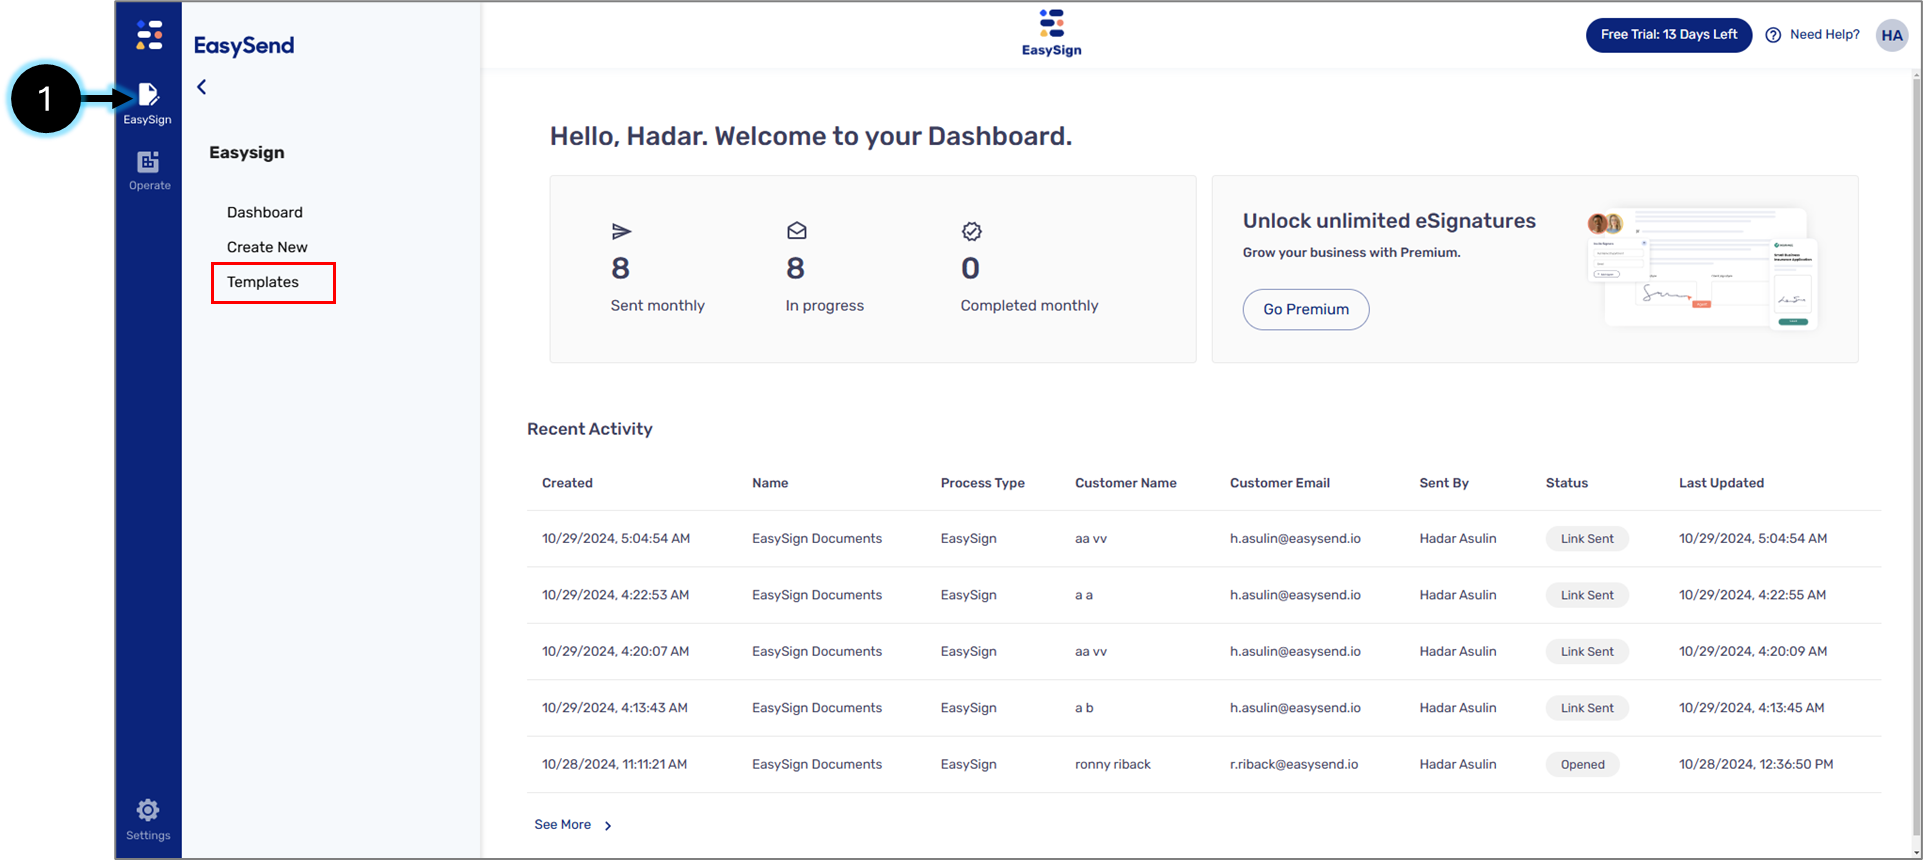
Figure 1: EasySign Tab
- Click the EasySign tab (1) and then the Templates option.
Result:
The Templates screen appears:
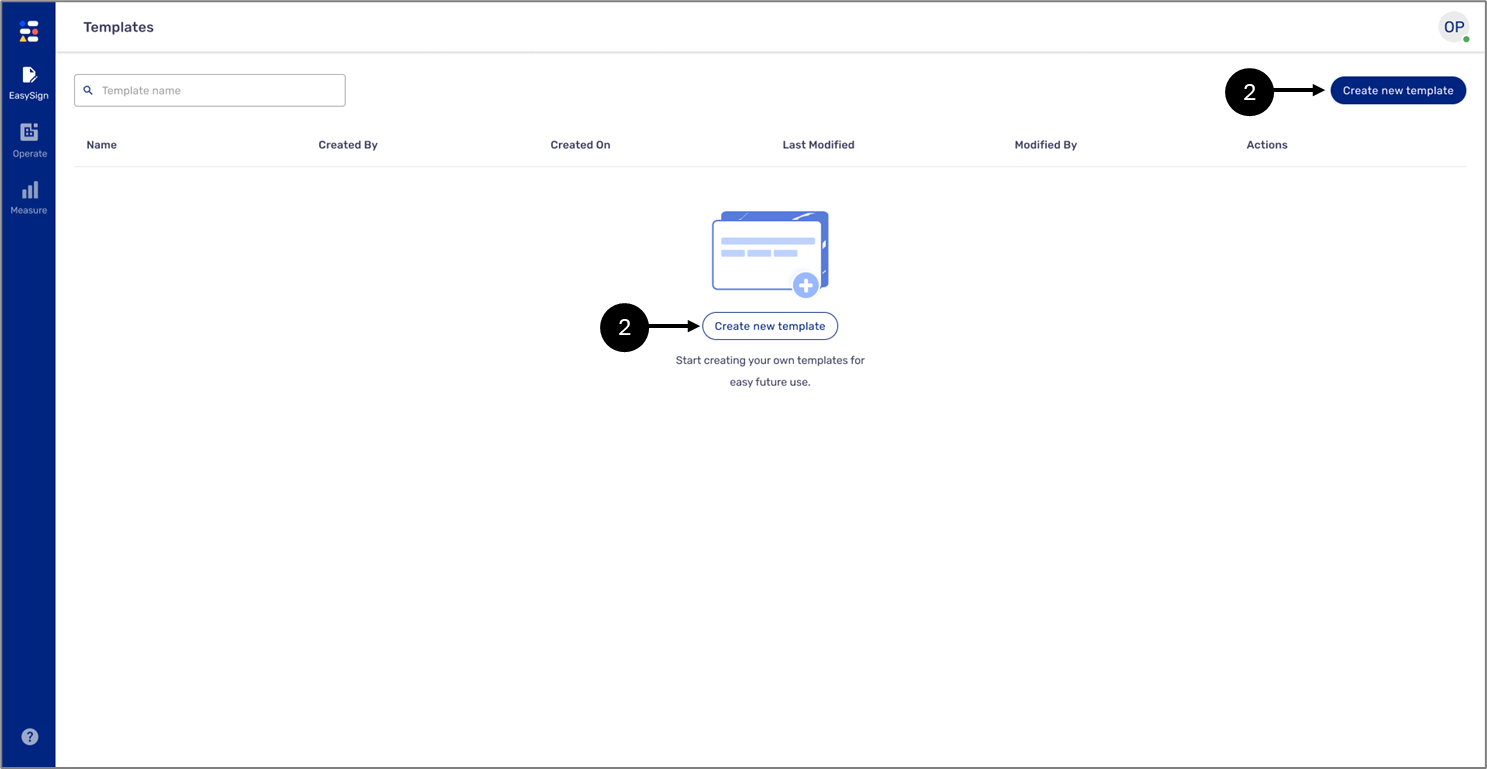
Figure 2: Create new template Button
- Click one of the Create new template buttons (2).
Result:
The Create New Template screen appears:
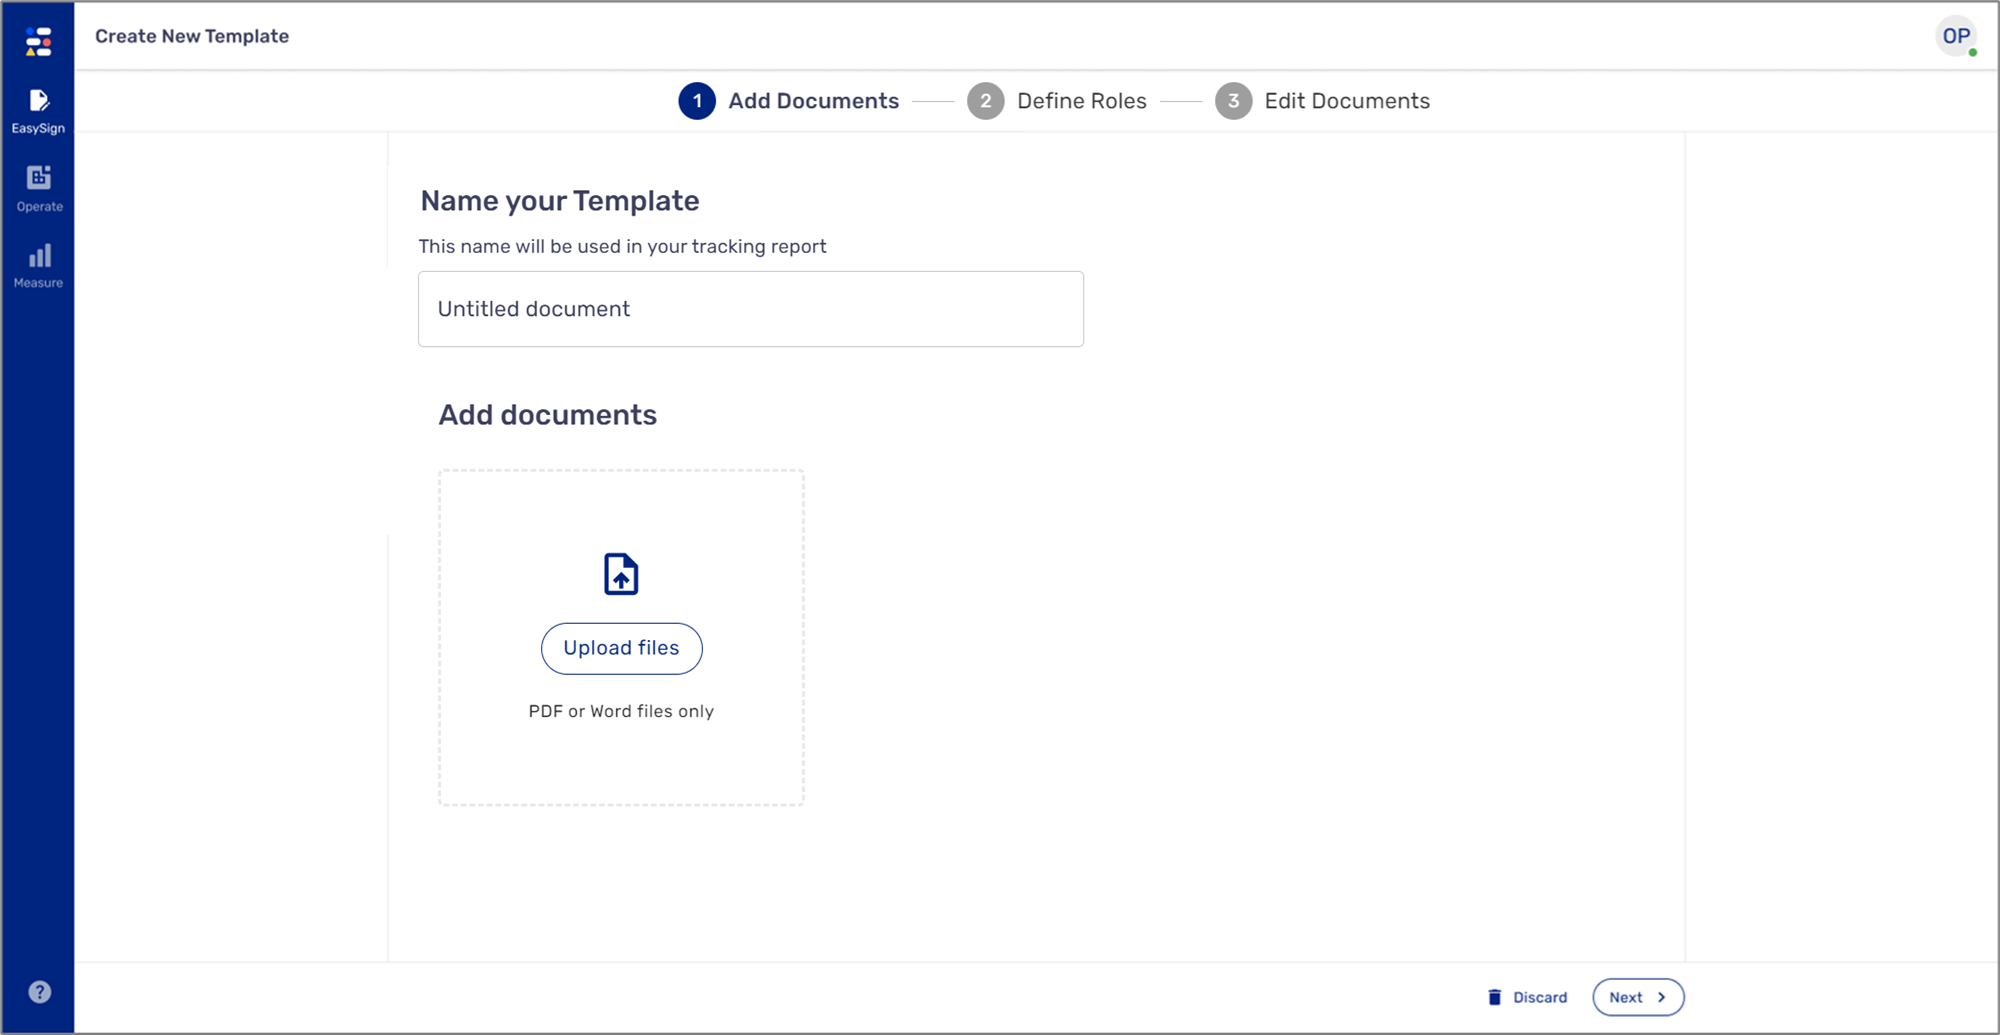
Figure 3: Create New Template Screen
Step 2: Add a Document
(See Figure 4 and Figure 5)
To add a document, perform the following steps:
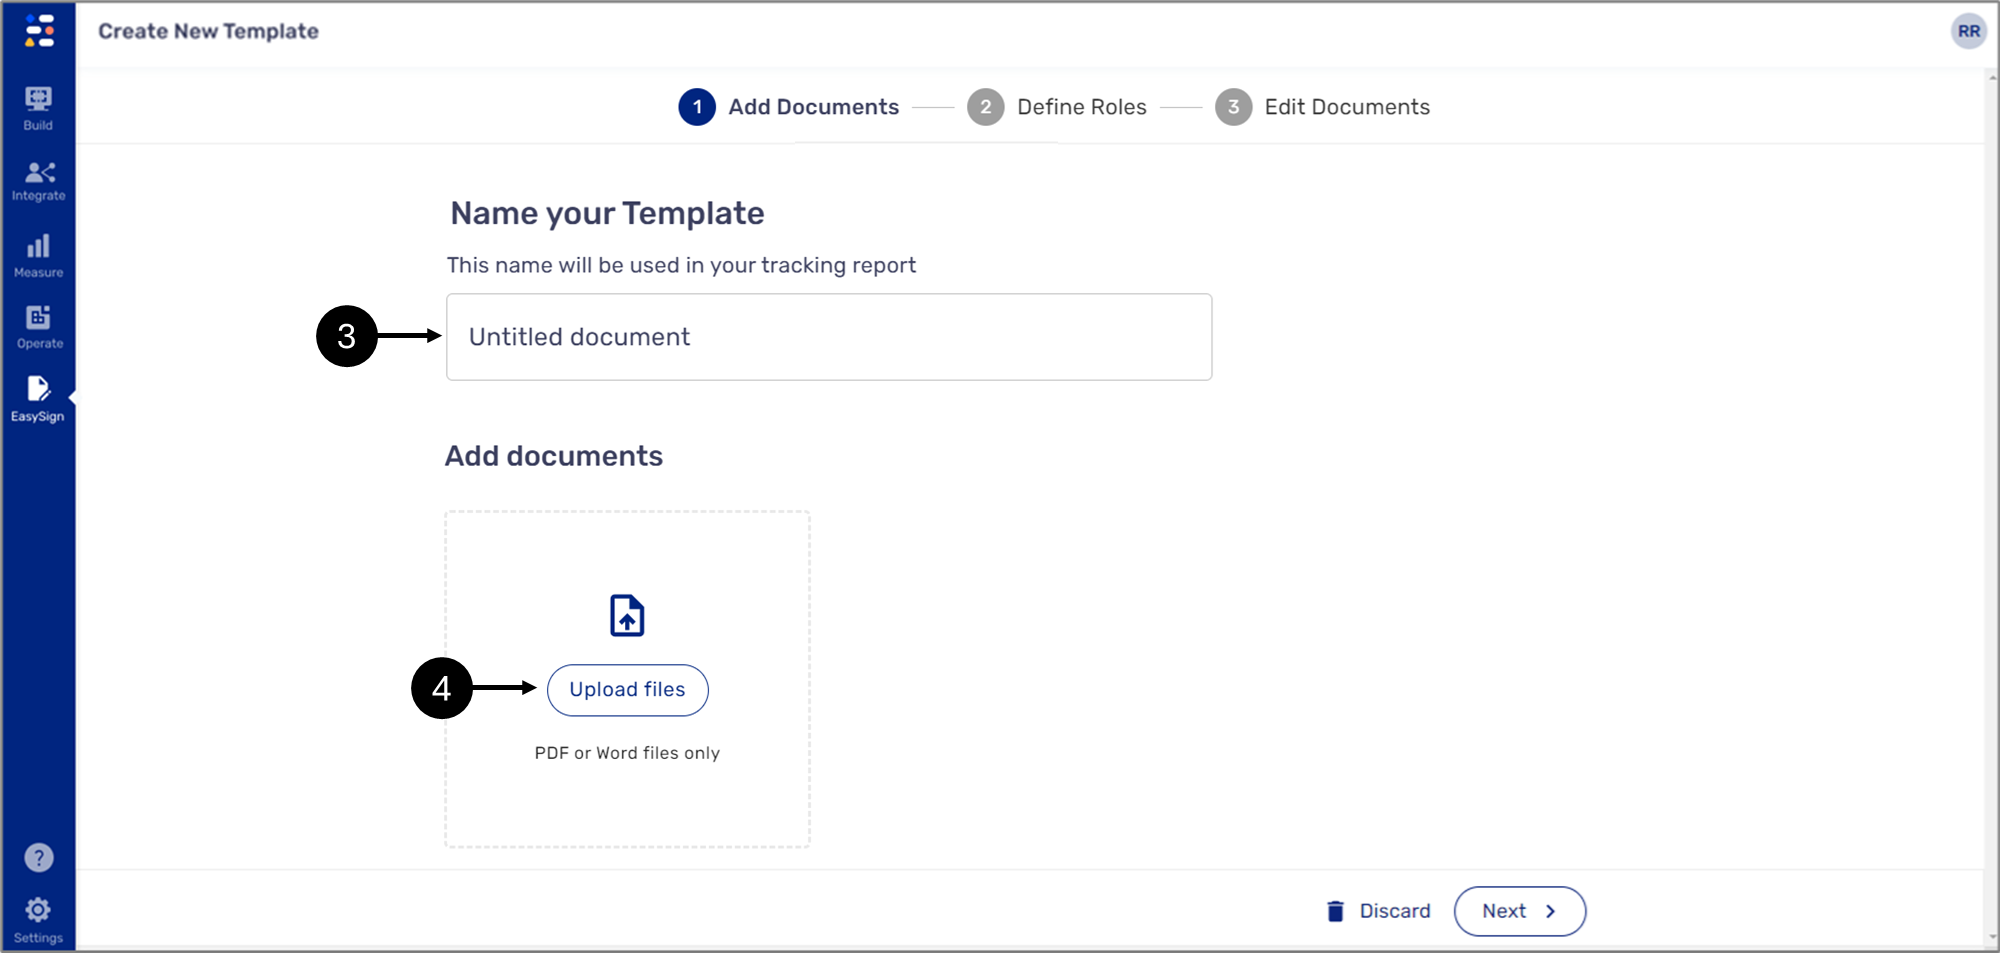
Figure 4: Adding a Document
- Provide a template name (must be unique) (3).
- Click Upload files (4) and select the desired file.
Result:
The document is added:
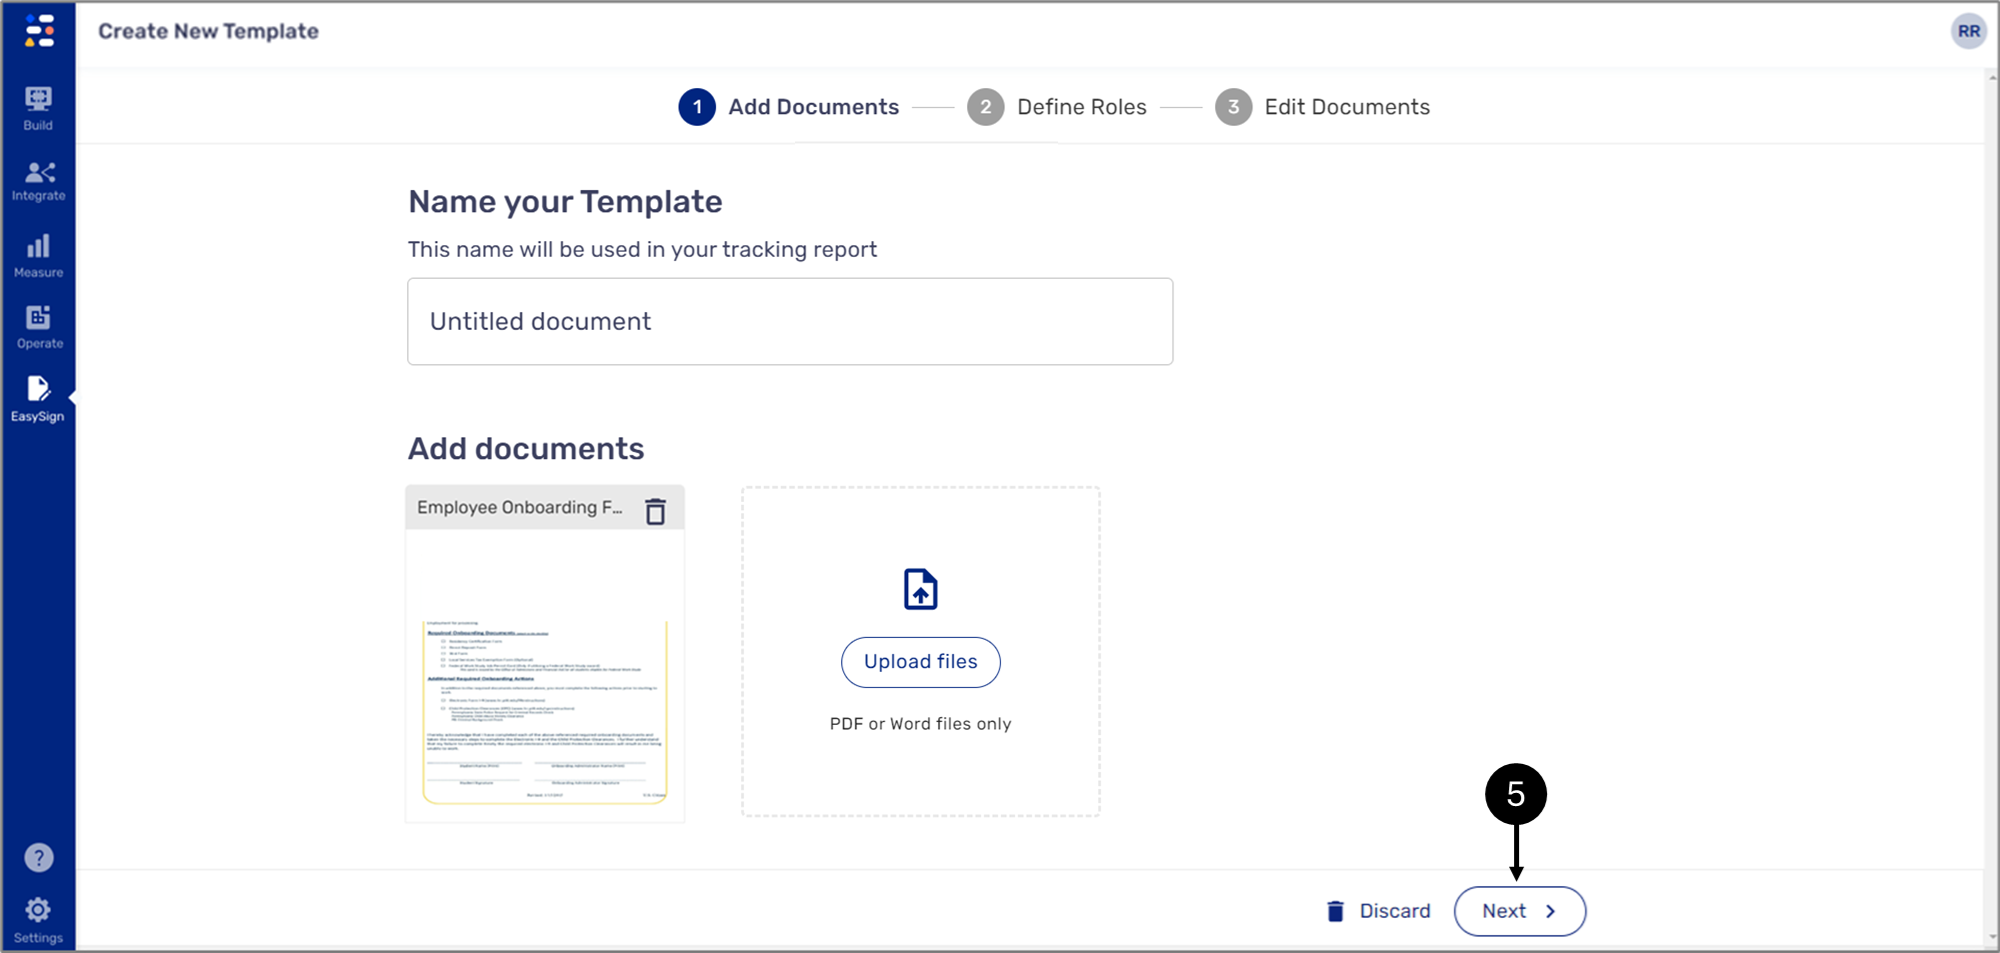
Figure 5: Added Document
- Click Next (5).
Step 3: Define Roles
(See Figure 6)
To define roles, perform the following steps:
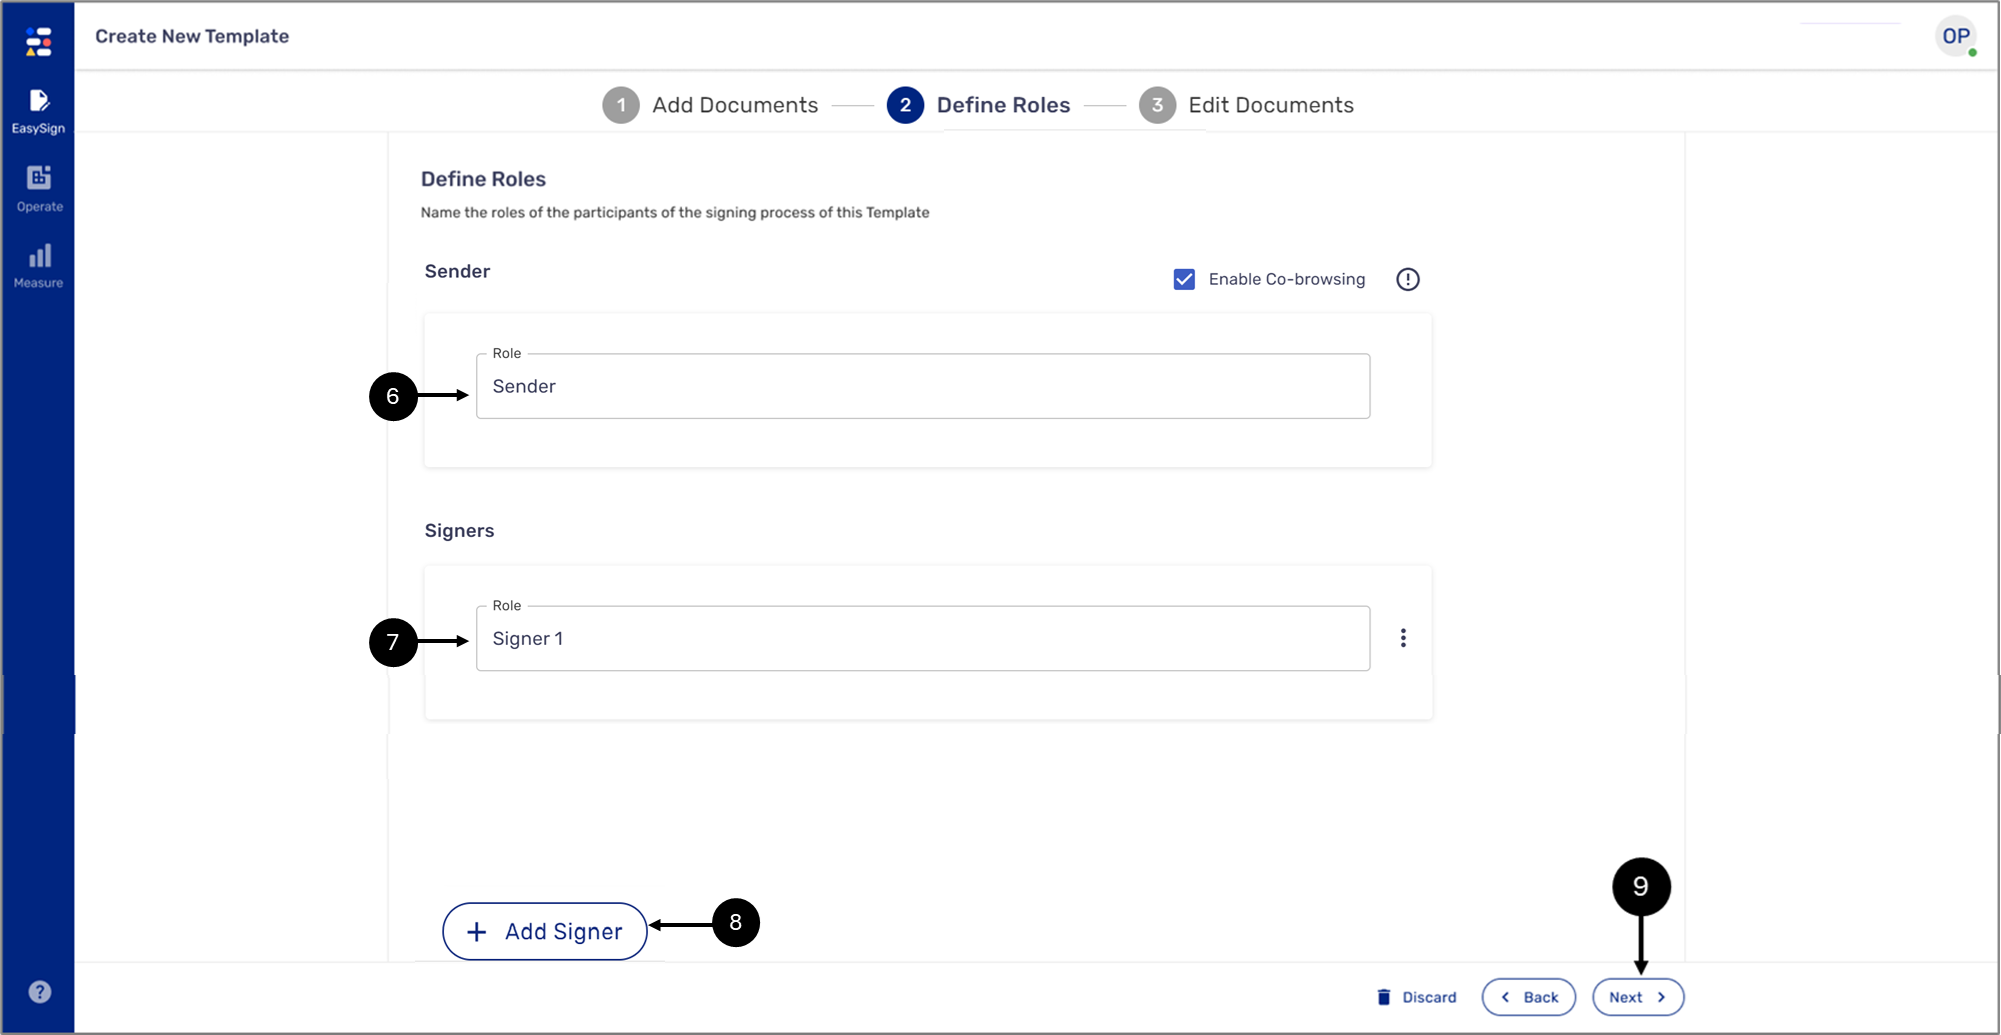
Figure 6: Define Roles
- Define the role if the sender (6).
- Define the role of the first signer (7).
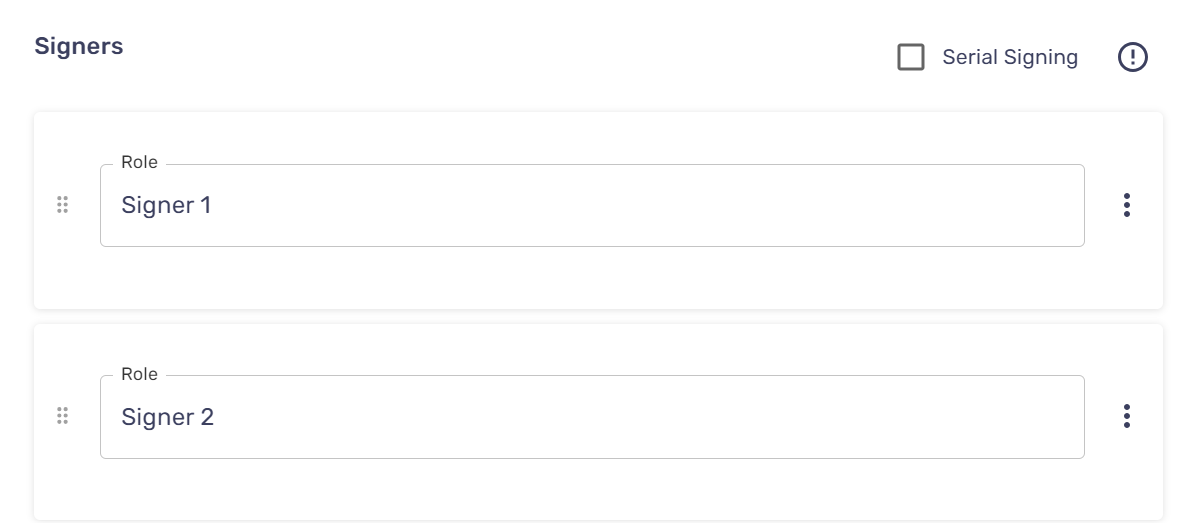
- If necessary, add additional signers (8) and define their roles.
- When you are done, click Next (9).
Step 4: Edit the Document
(See Figure 7 and Figure 8)
To edit the document, perform the following steps:
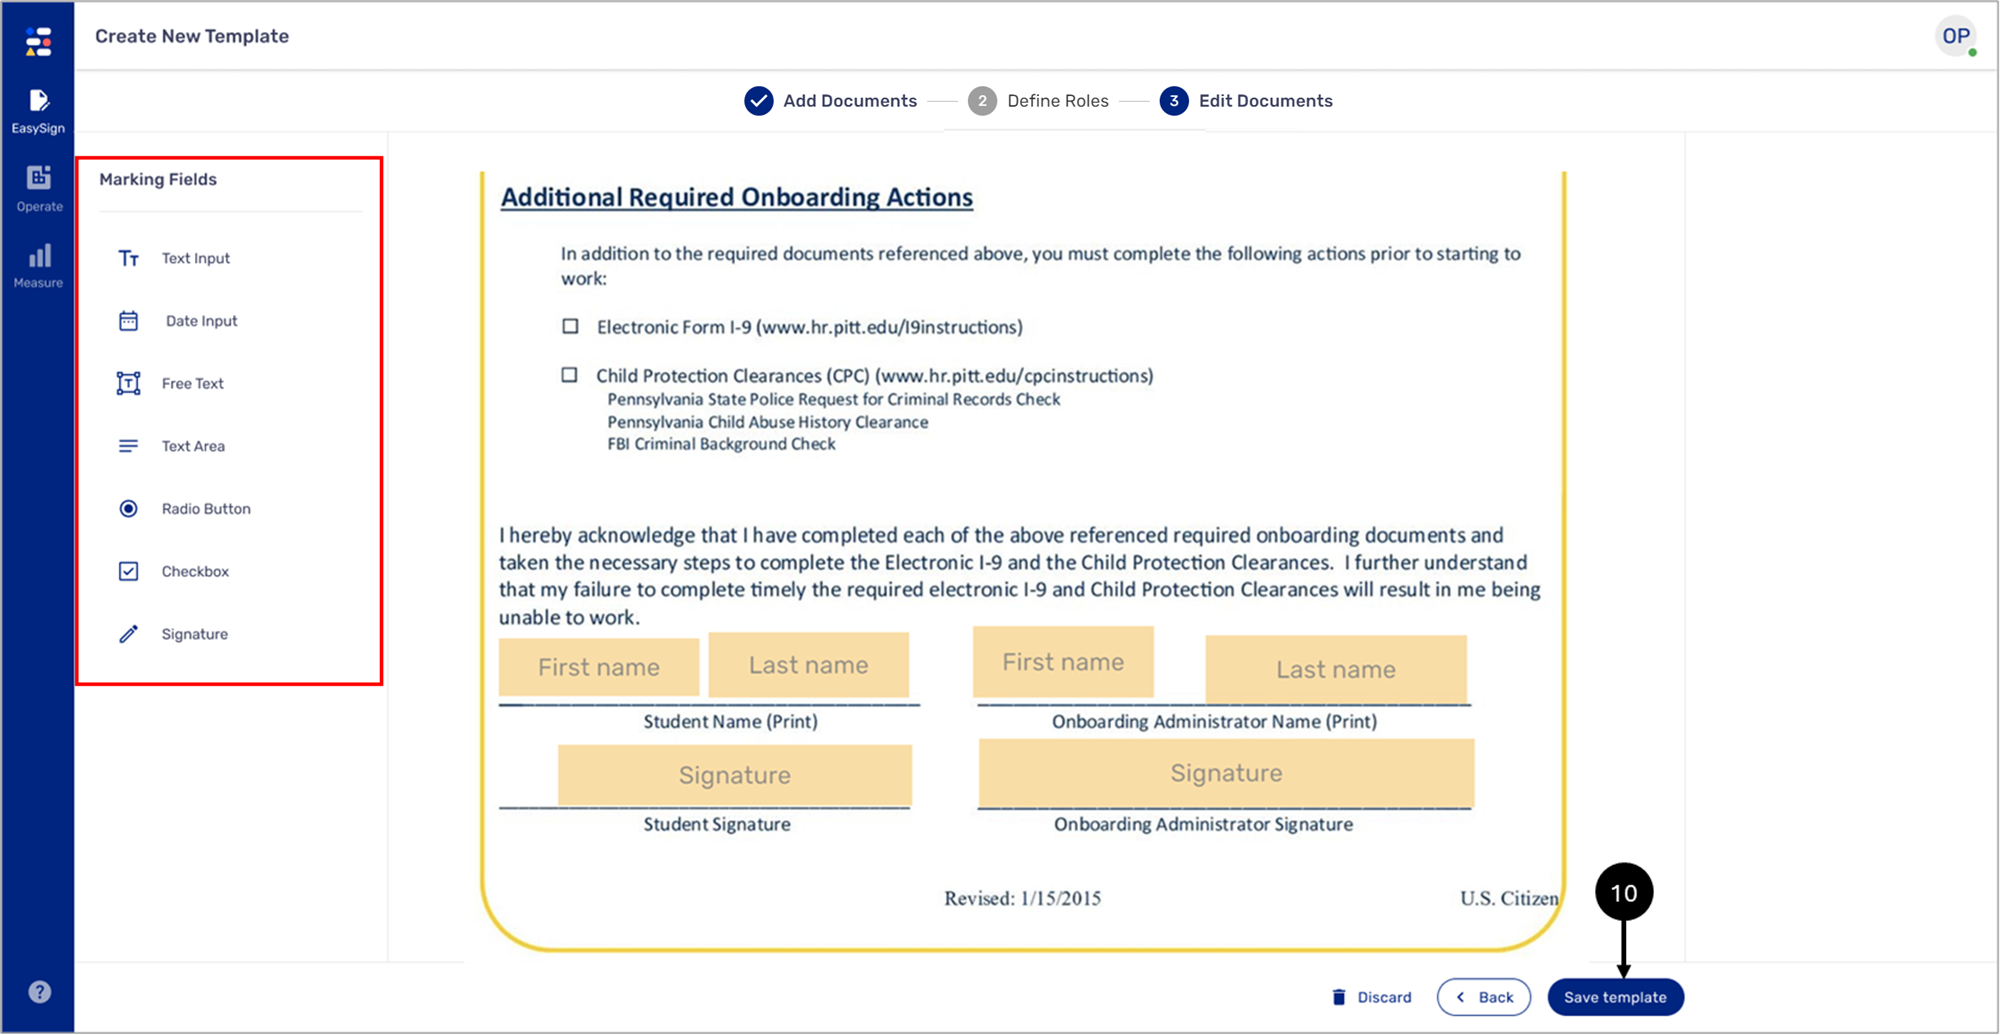
Figure 7: Edit Documents
- Use the Marking fields to define the required fields for providing singer information and signature. For additional information, click here.
- Click Save template.
- Wait for the saving process to finish.
Result:
The following screen appears:
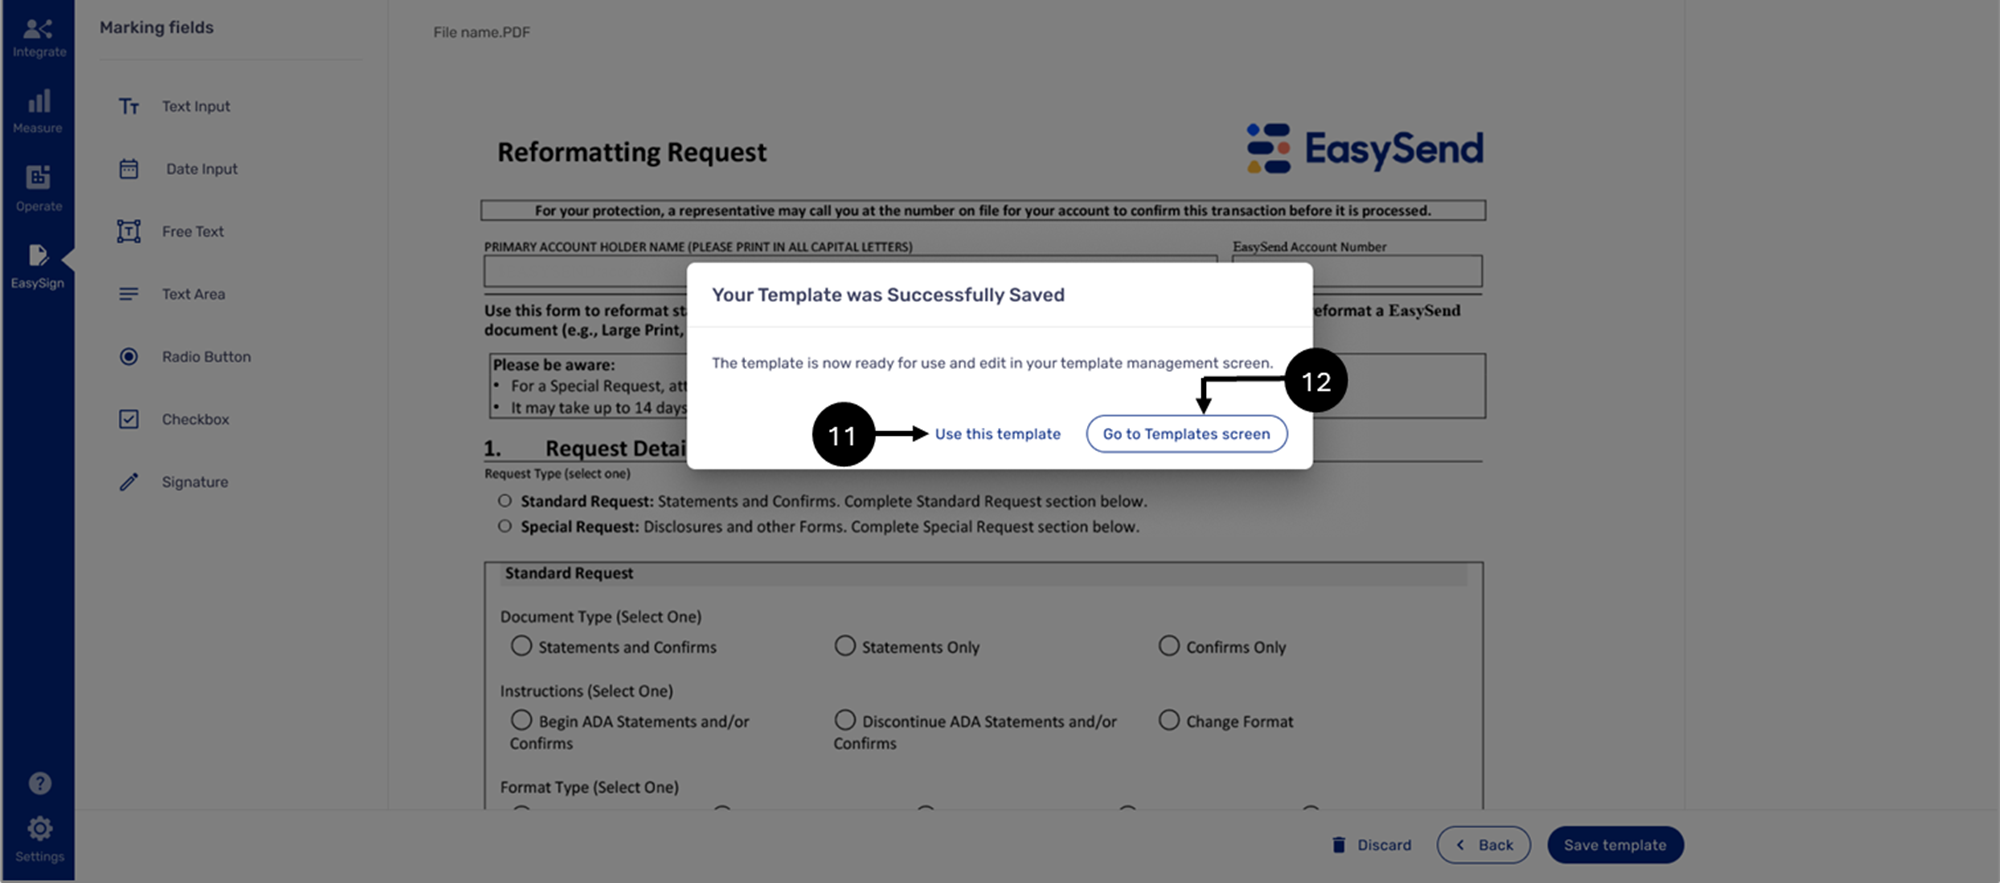
Figure 8: Saved Template
- Select one of the following options:
- Use this template (11) - use the template in a new eSignature request
- Go to Templates screen (12) - navigate to the Templates screen