How To Create a New eSignature Request
The following sections describe how to create a new eSignature request.
Step 1: Upload a Document
(See Figure 1 to Figure 3)
To upload a document, perform the following steps:
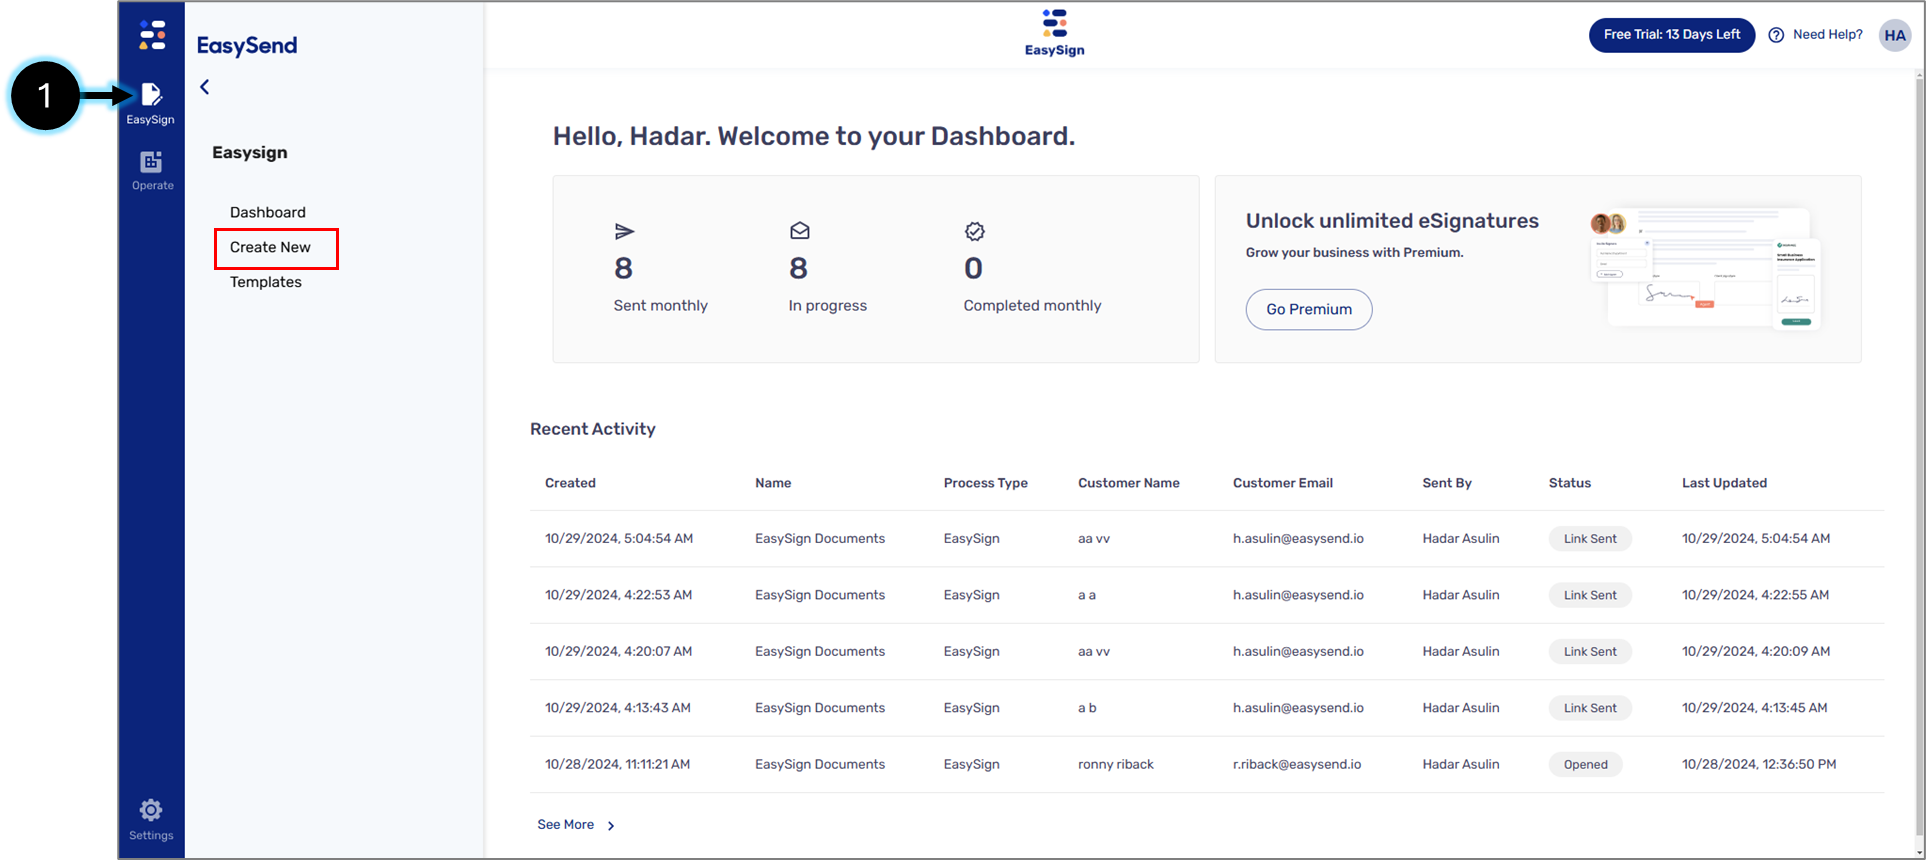
Figure 1: EasySign Tab
- Click the EasySign tab (1) and then the Create New option.
Result:
A new eSignature request appears:
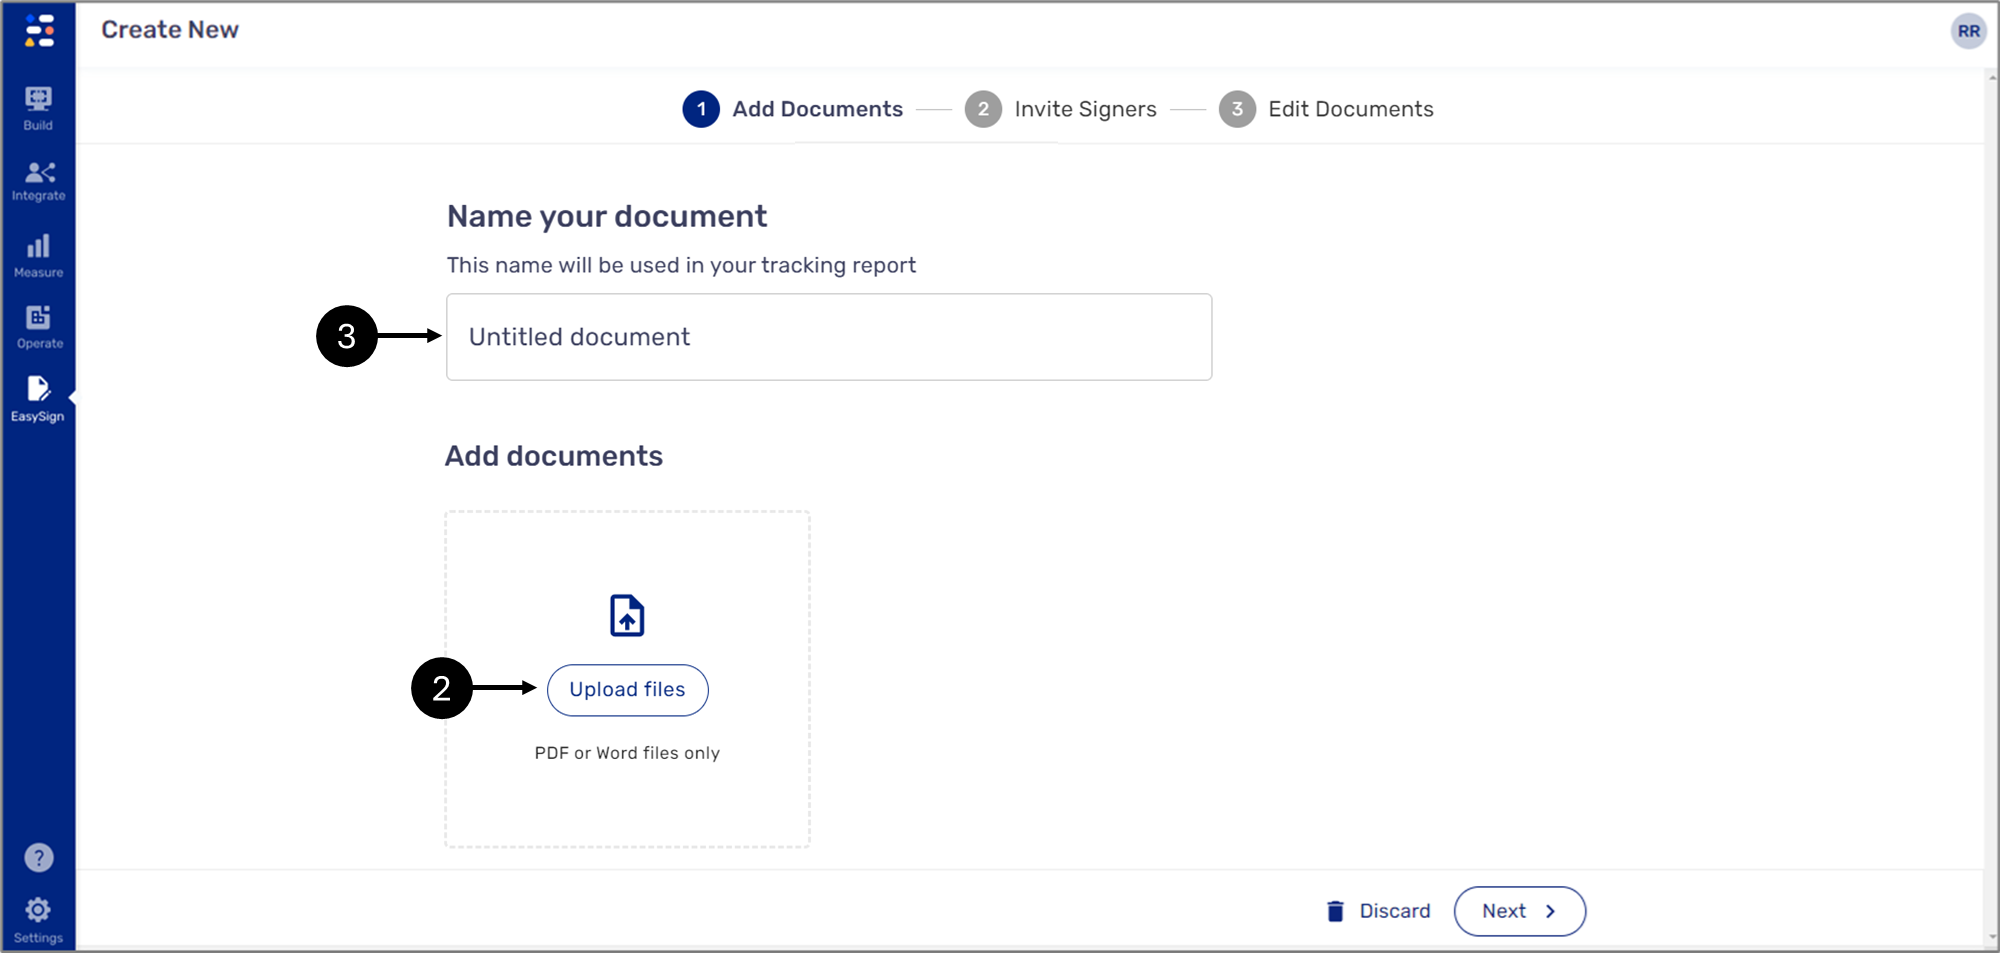
Figure 2: Add Documents Tab
- Click Upload files (2) and select the desired file.
- Provide a document name (3).
Result:
The document is added:

Figure 3: Added Document
- Click Next Step (4).
Step 2: Invite Signers
(See Figure 4 and Figure 5)
To invite signers, perform the following steps:
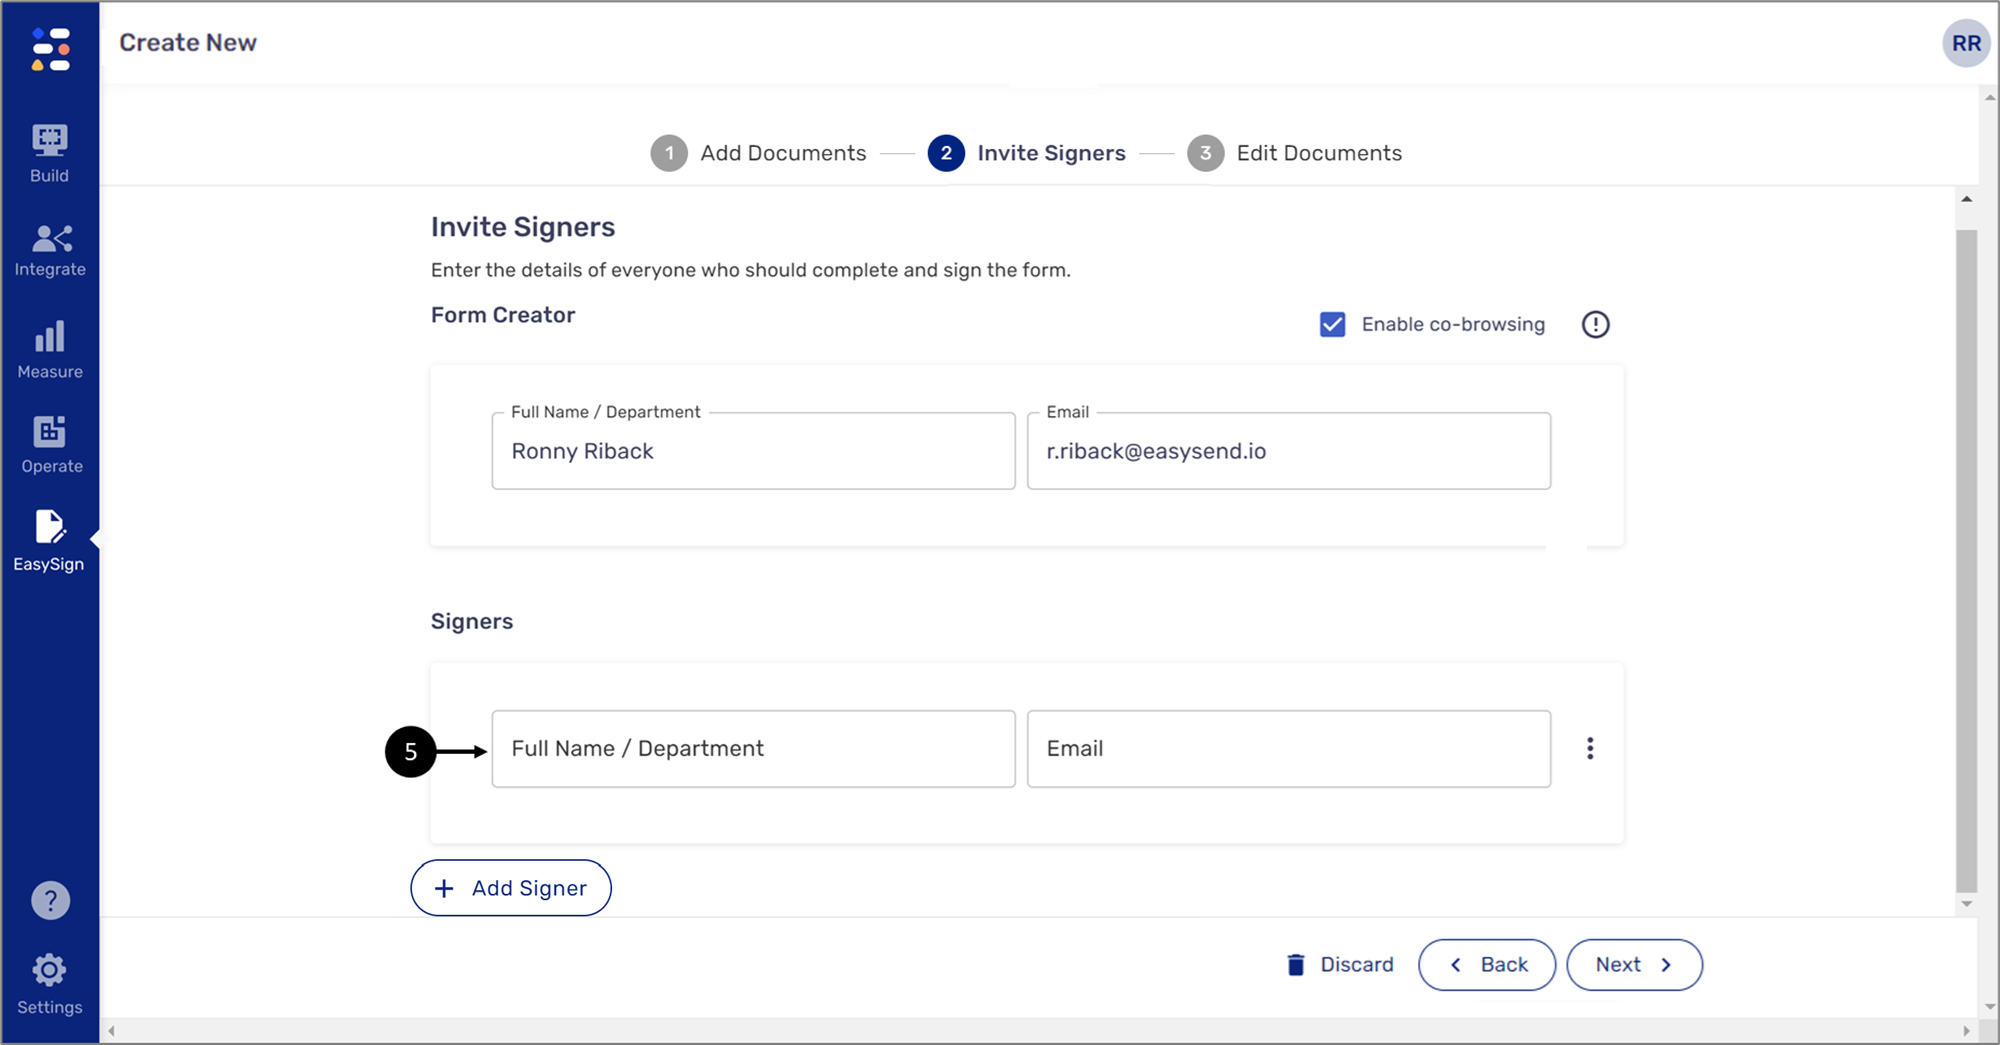
Figure 4: Invite Signers Tab
- Enter the details of the first signer (5).
Result:
The signer information is updated:
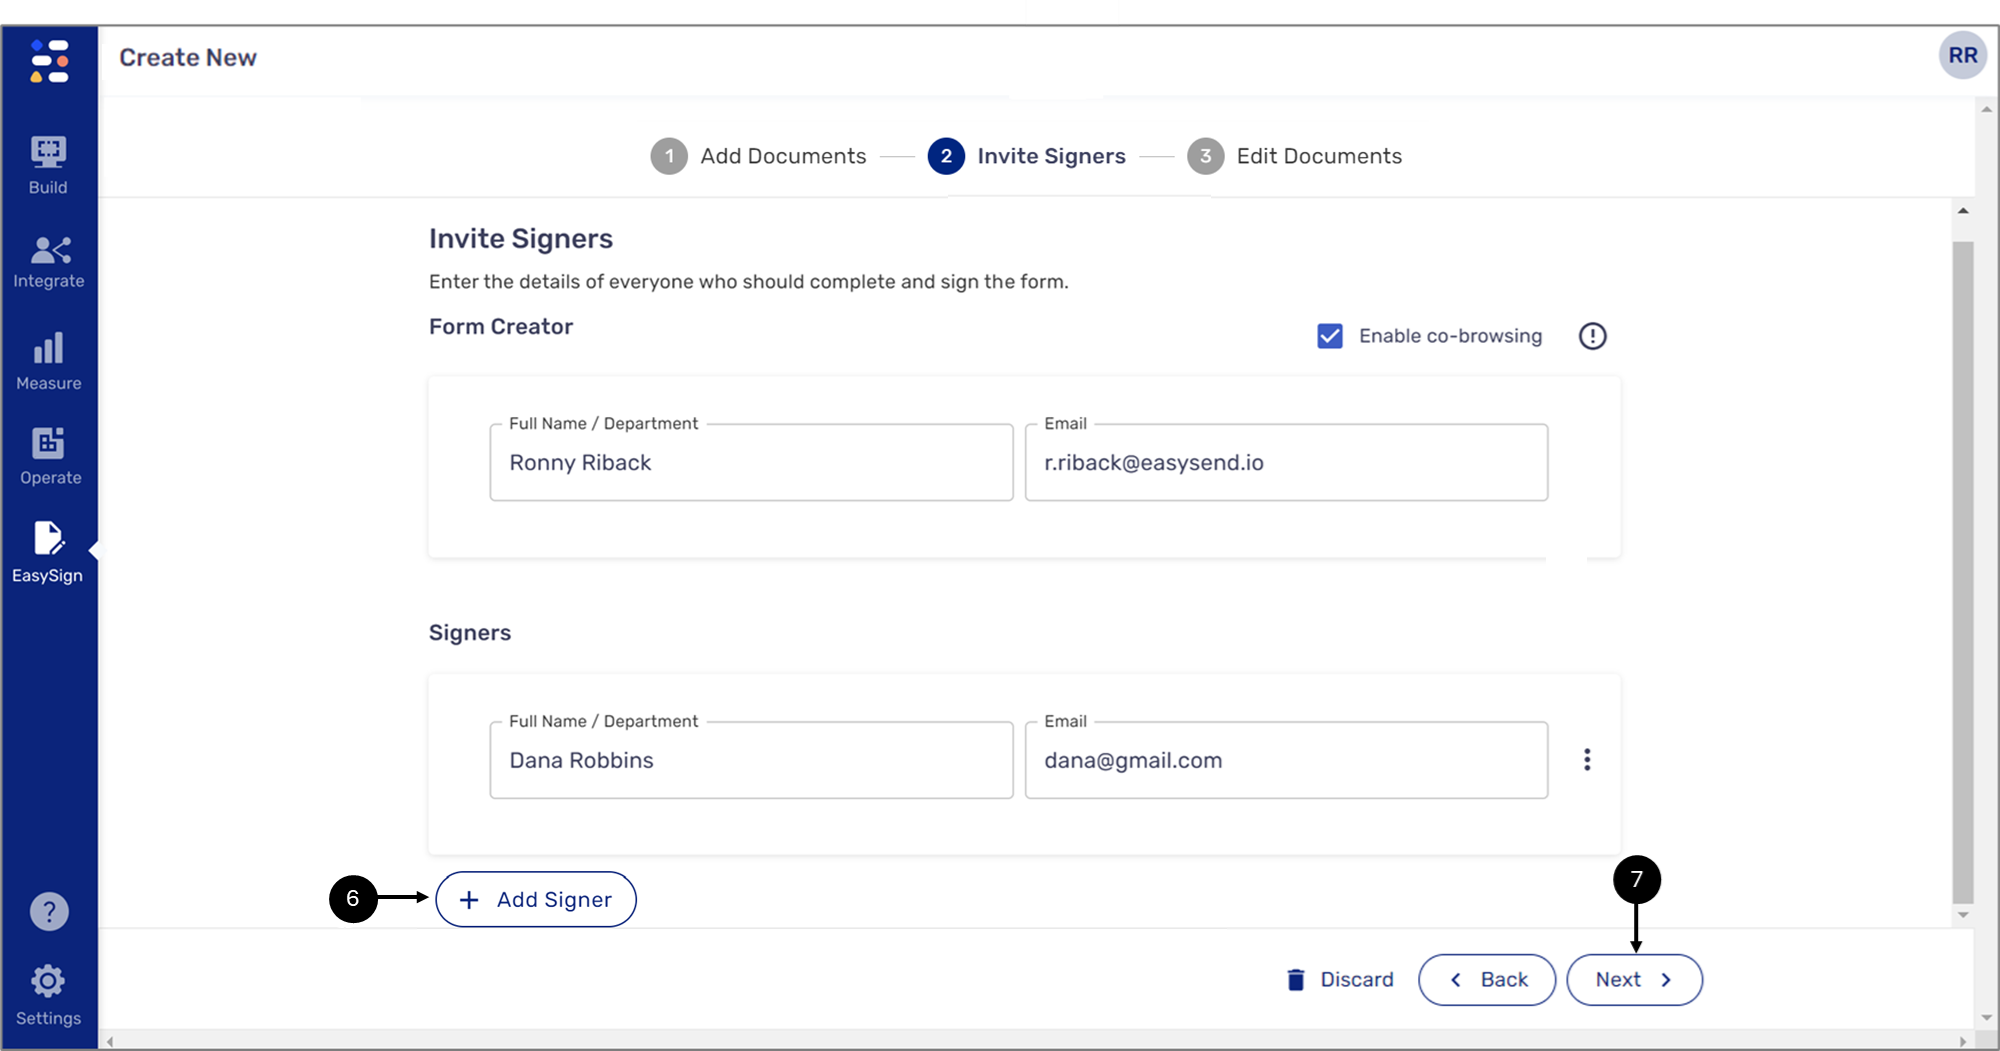
Figure 5: Added Signer
- If required, add another signer (6) and repeat step 5.
- When you are done, click Next Step (7).
Step 3: Edit the Document
(See Figure 6 and Figure 7)
To edit the uploaded document, perform the following steps:

Figure 6: Edit Documents Tab
- Use the Marking fields (8) to define the required fields for providing singer information and signature (9).
Result:
The fields are updated:
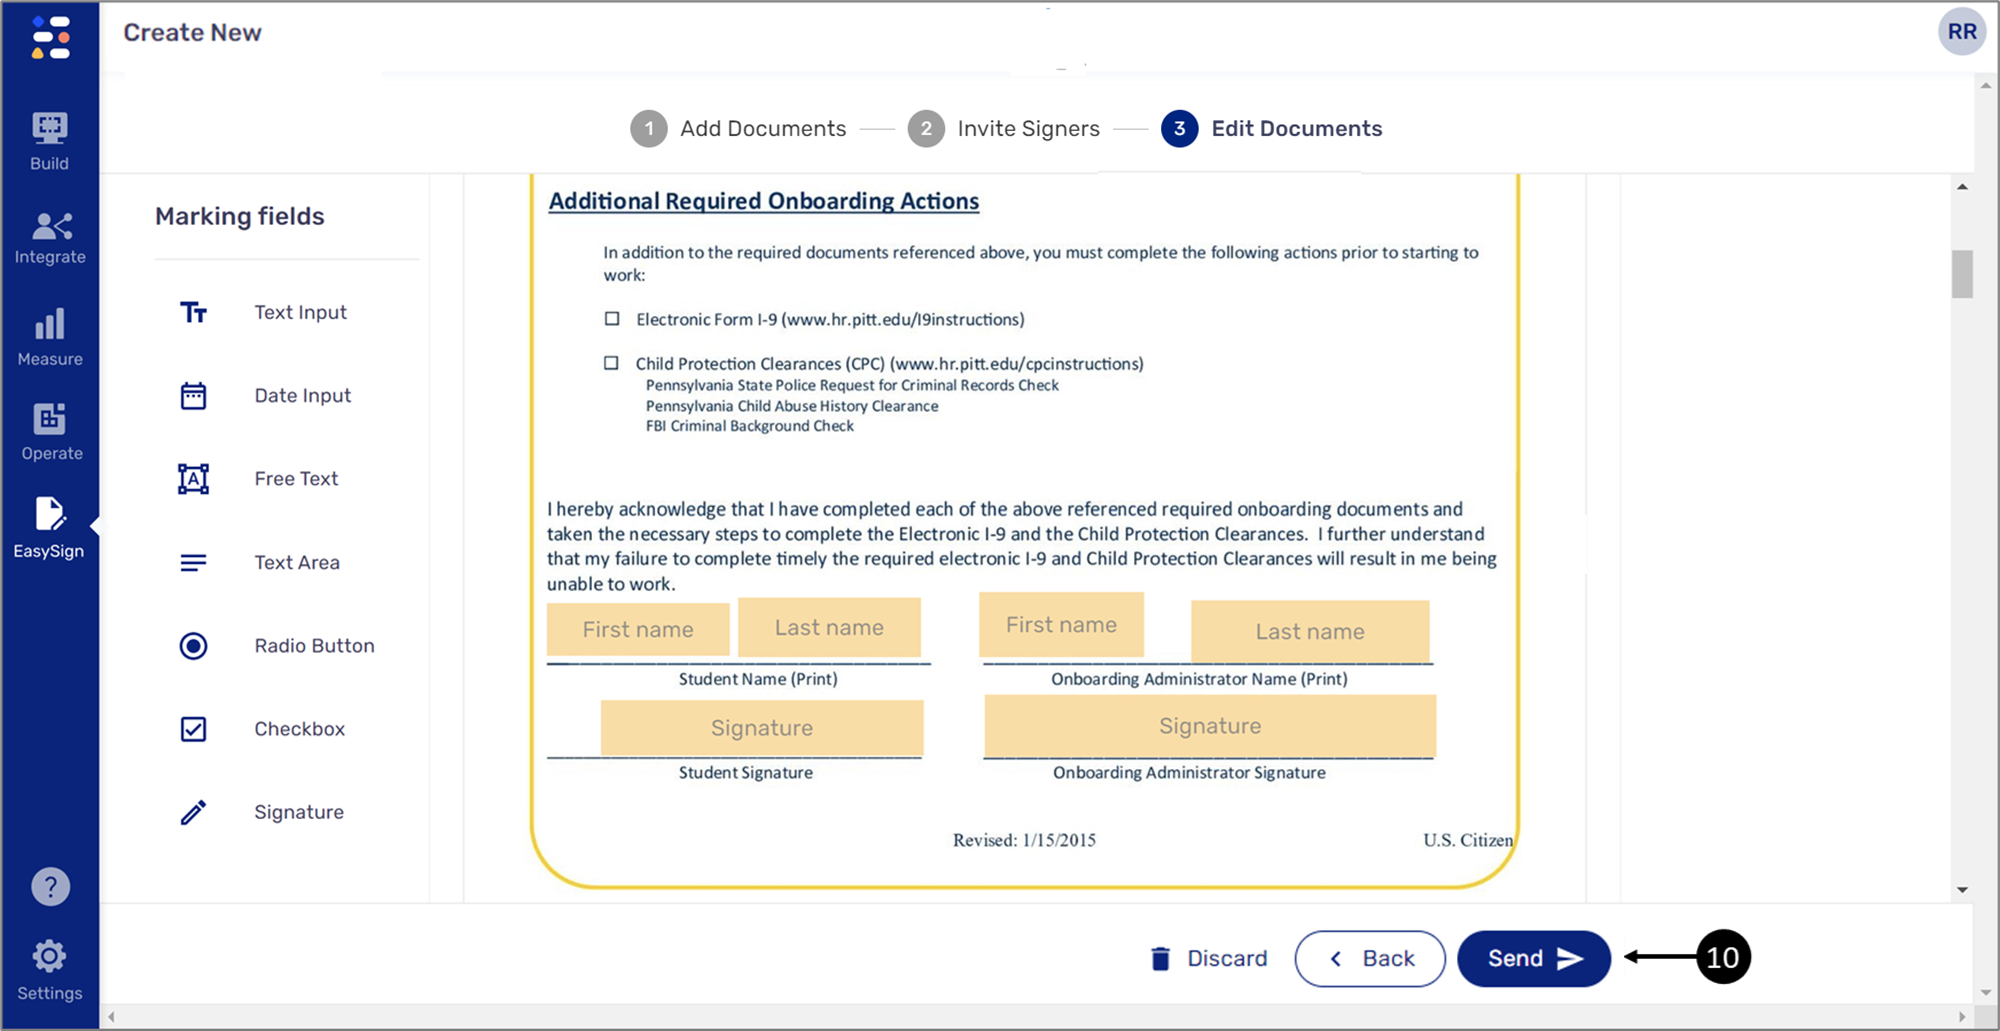
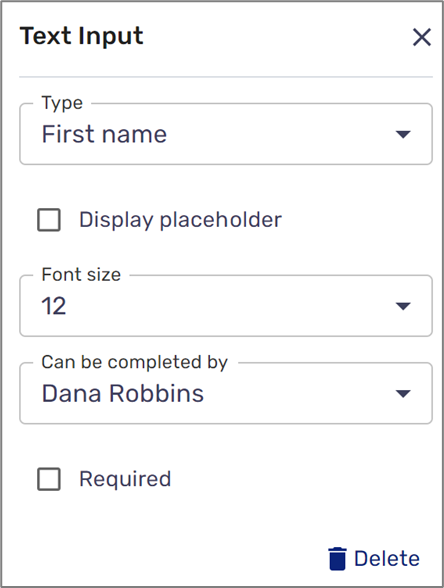
Figure 7: Updated Fields
- Set if the field is required
- Assign the field to a specific singer
- Click Send (10).
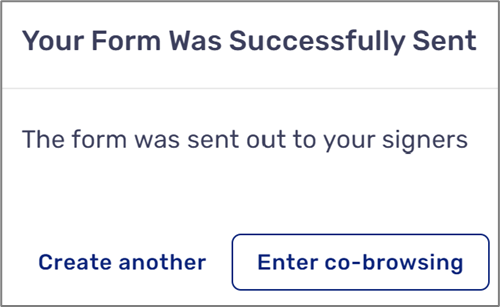
Step 4: Initiate the Signing Process
(See Figure 8 to Figure 11)
After clicking Send, the form creator receives an email with a link to the process for co-browsing purposes (if co-browsing was enabled).
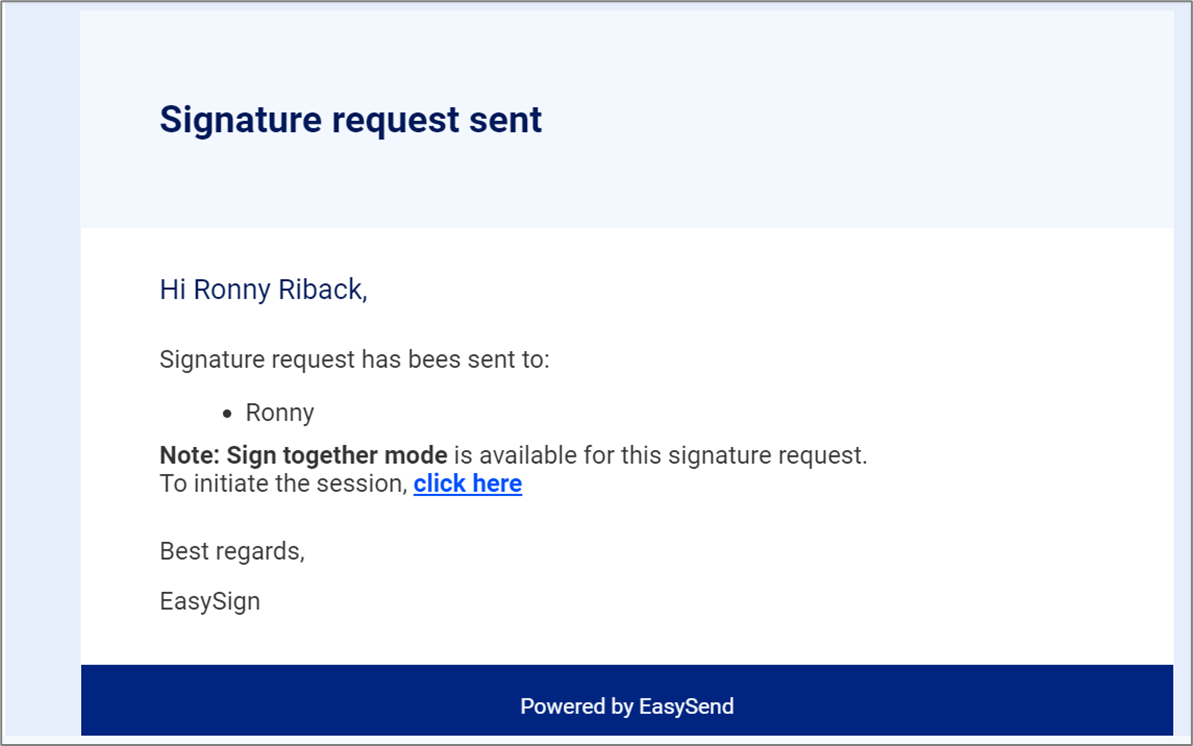
Figure 8: Form Creator's Email Example
The rest of the signers receive their emails in the order in which they were invited (unless parallel singing was allowed).
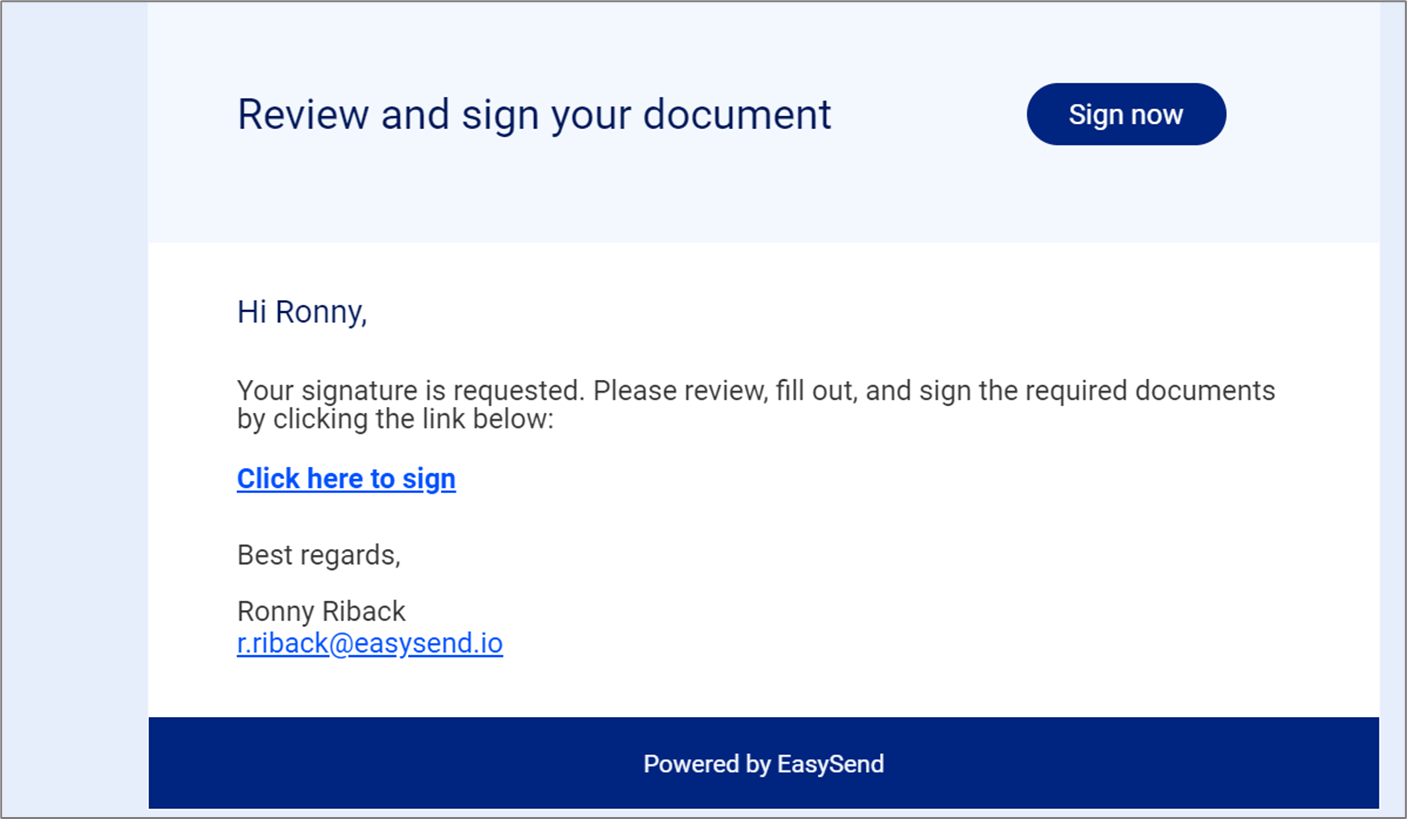
Figure 9: Signer Email Example
Once the link is clicked, the document appears and the defined fields are marked and stating the information such as:
- Type of information to provide.
- If required or not.
- Which signer is assigned to the field.
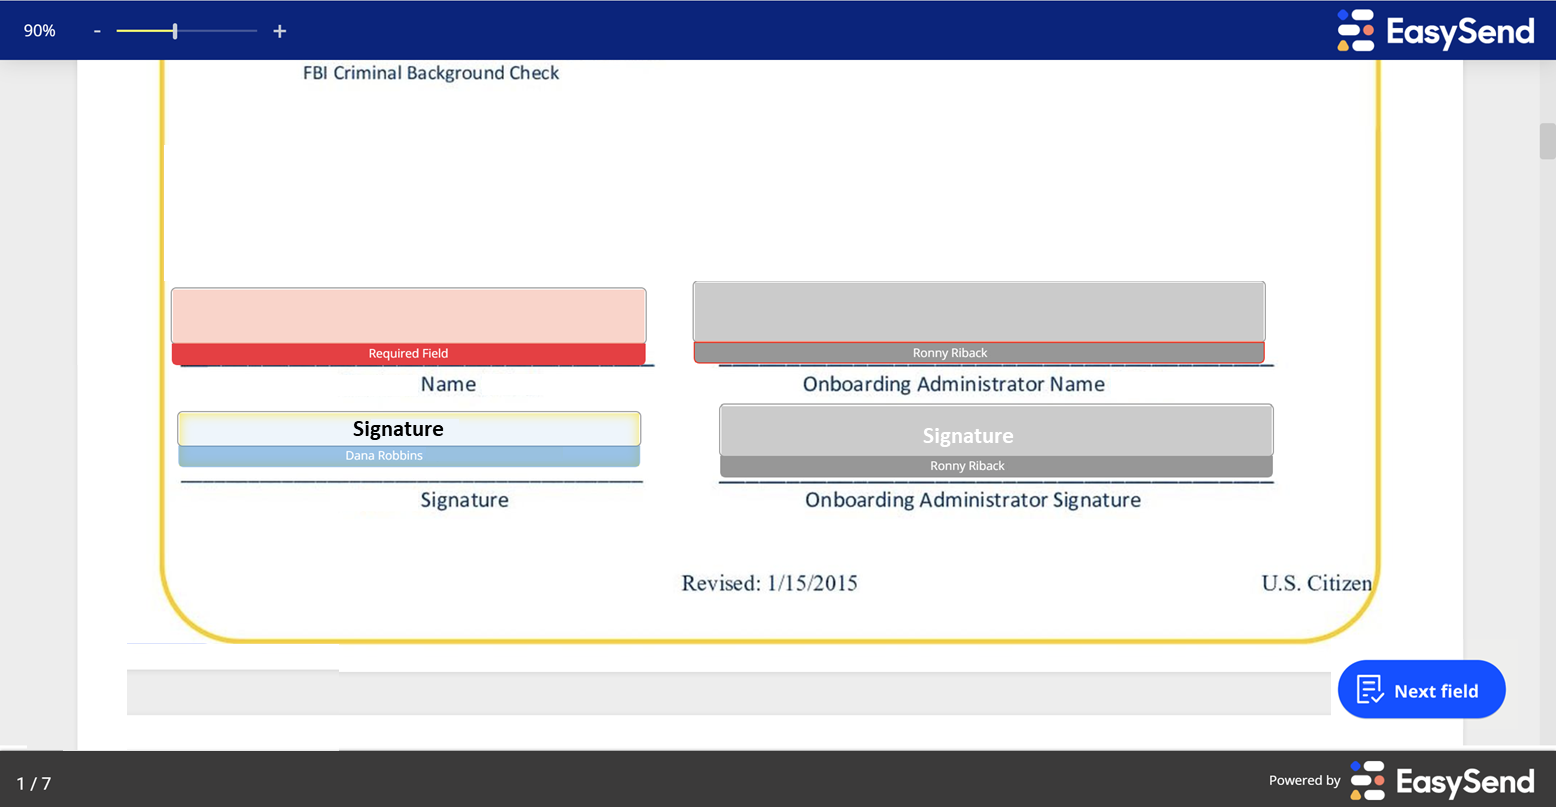
Figure 10: Fields for Information Input
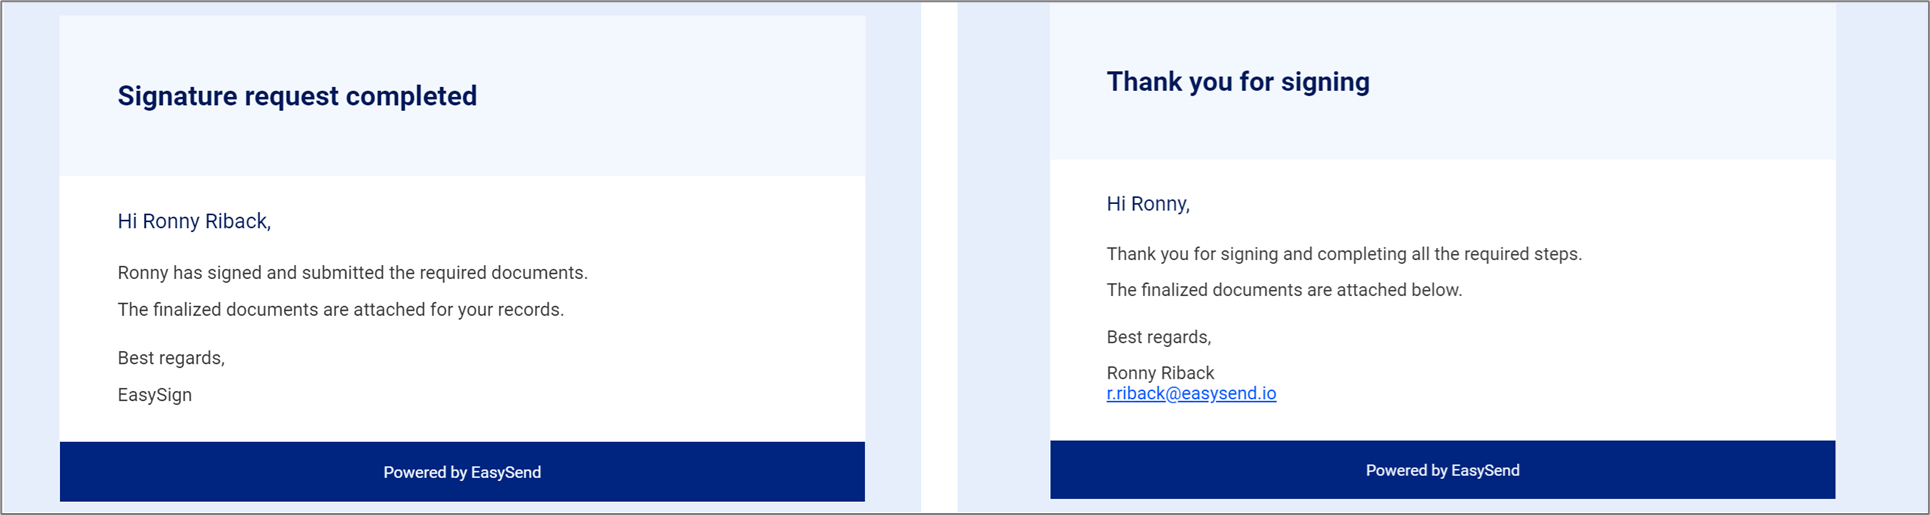
Figure 11: Completion Emails Examples