Article Overview
The following article describes different ways to create a dynamic document.
Dynamic Document Options
(See Figure 1 and Figure 2)
A dynamic document has two options:
- Upload Document (1) - uploads an existing Microsoft Word document.
- Create Dynamic Document (2) - opens a new empty Microsoft Word document for creating a dynamic document based on the Webflow and the data items (including Metadata).
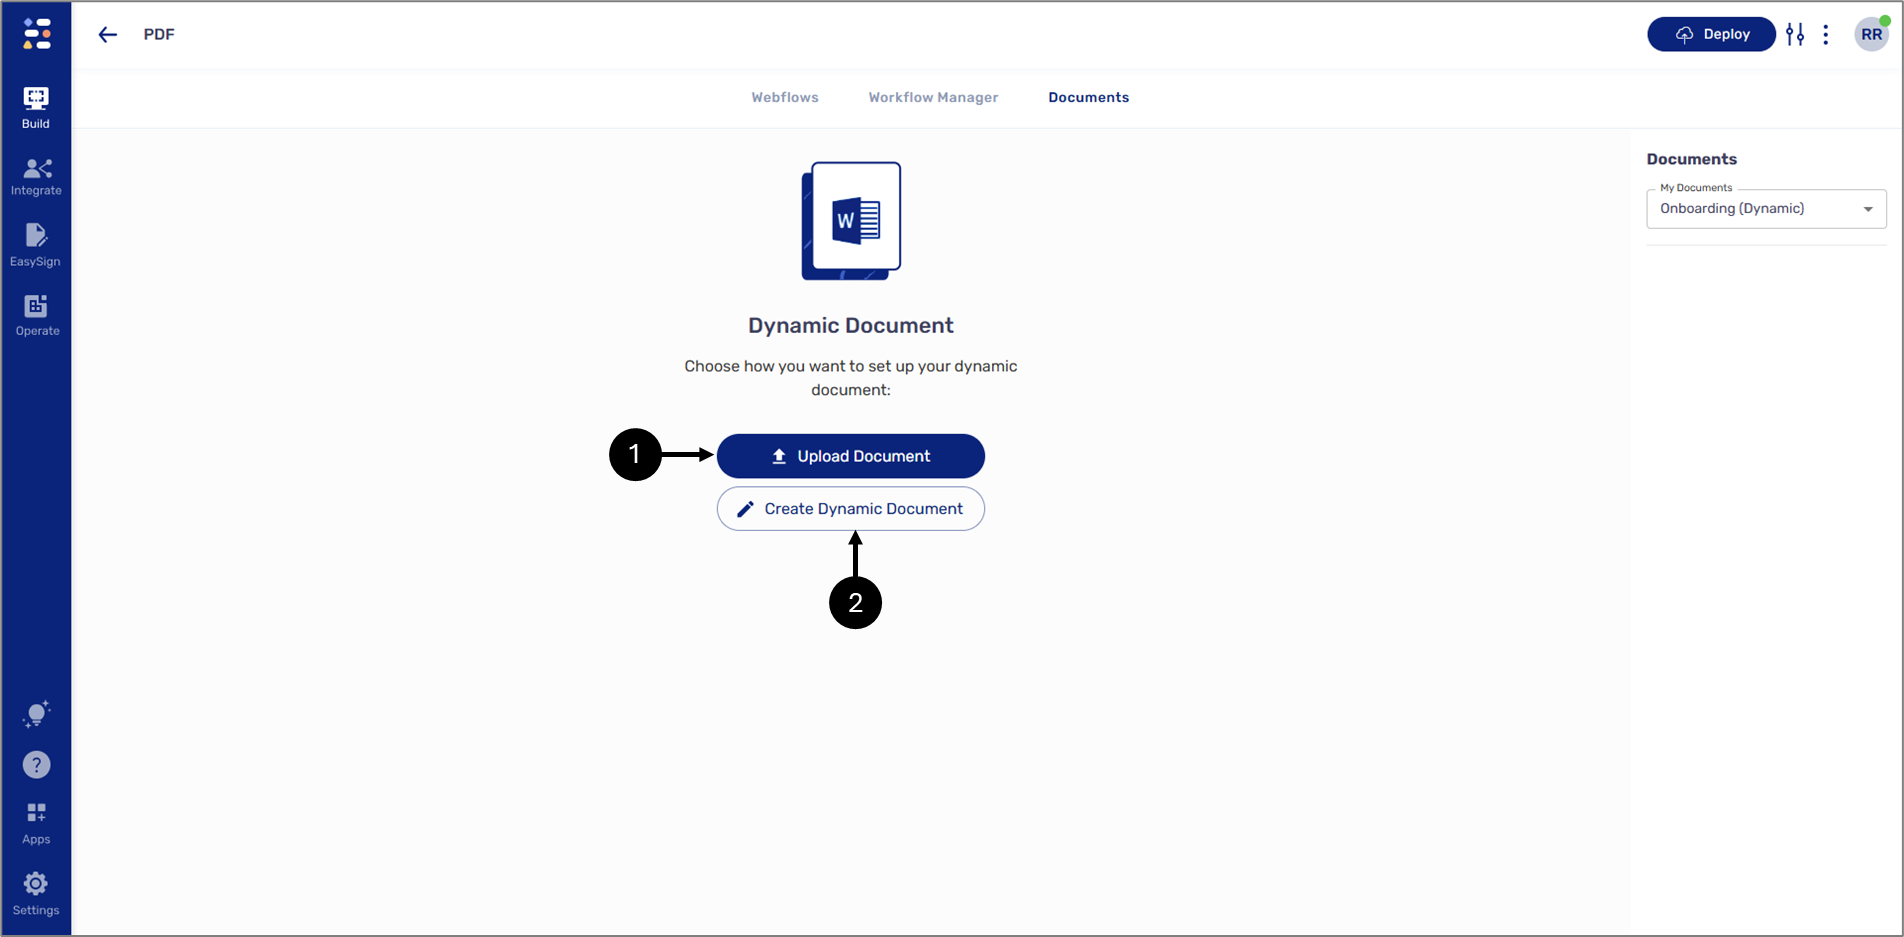
Figure 1: Dynamic Document Options 1 of 2
After creating a new document for the first time or after uploading a document, the screen will display two new options:
- Edit In Office Word - opens the current uploaded document for editing in Microsoft Word. The document will be edited based on the Webflow and the data items (including Metadata).
- Change document - uploads a new Word document and overrides the previously uploaded one.

Figure 2: Dynamic Document Options 2 of 2
Uploading and Opening a Document
(See Figure 3 to Figure 5)
To upload and open a pre-existing Word file, perform the following steps:
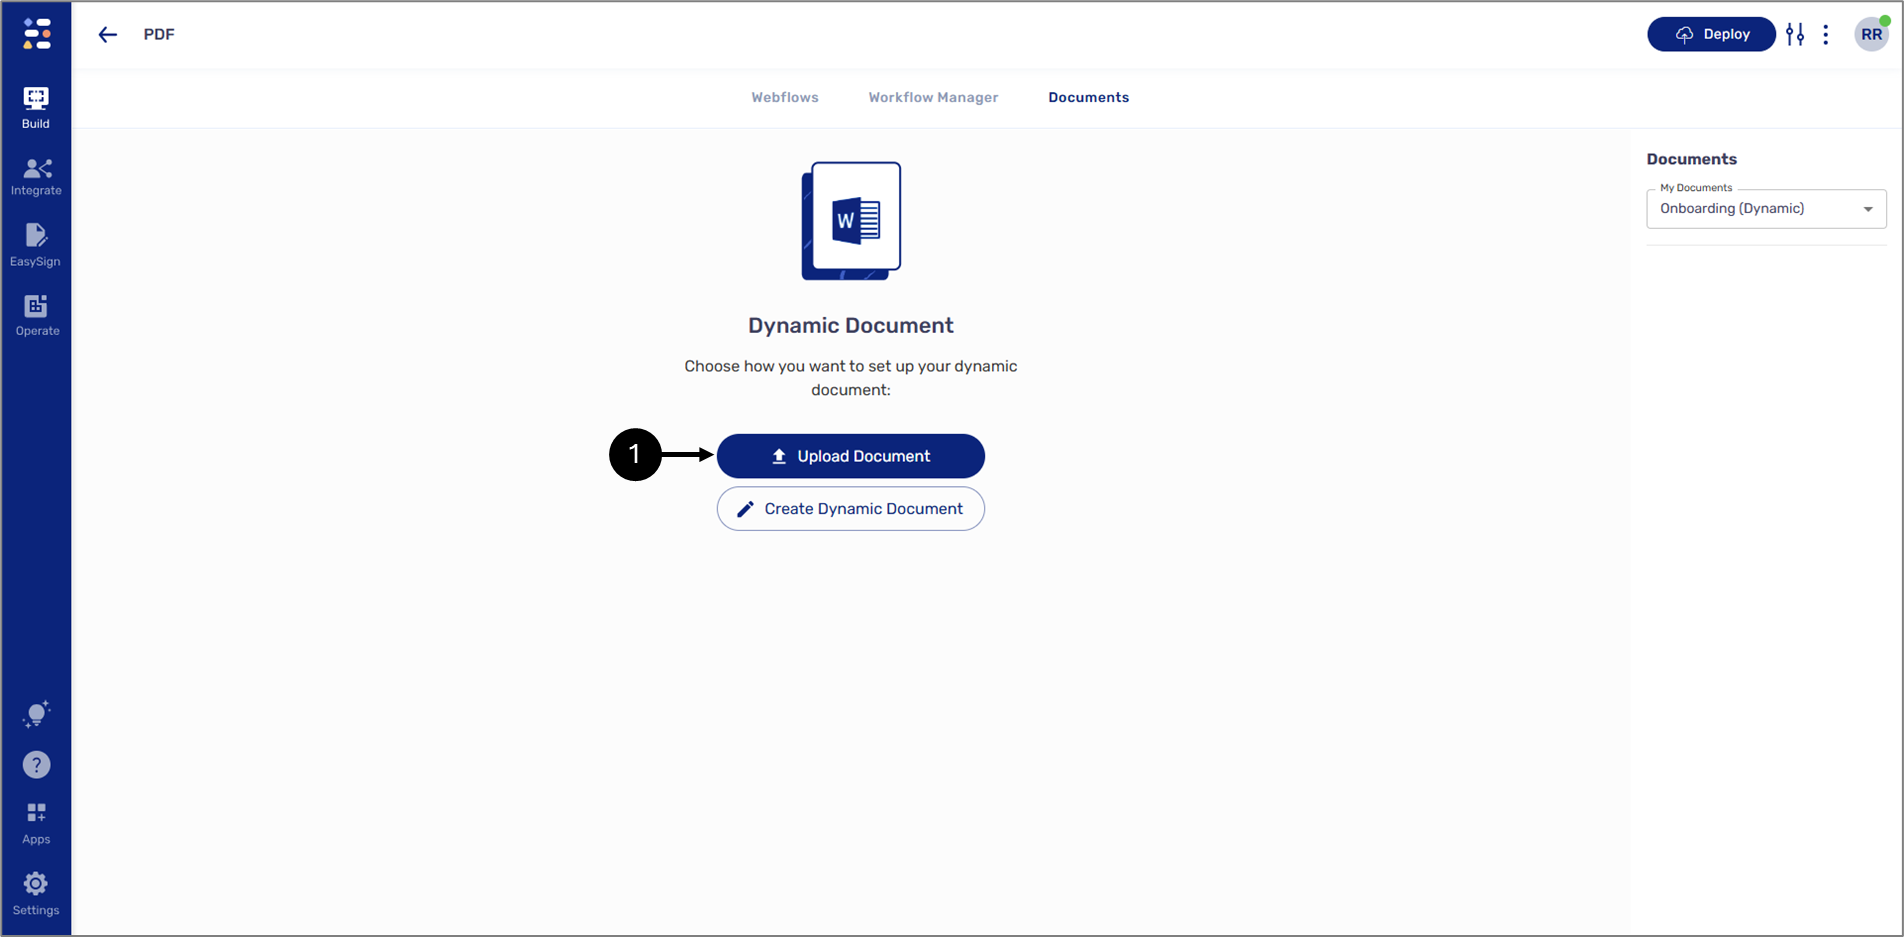
Figure 3: Upload Document
- Click the Upload Document button (1) and then select the desired file.
Result:
Additional options appear:

Figure 4: Edit In Office Word
- Click the Edit In Office Word option (2).
Result:
The Word document opens with the Dynamic Document Editor (3):
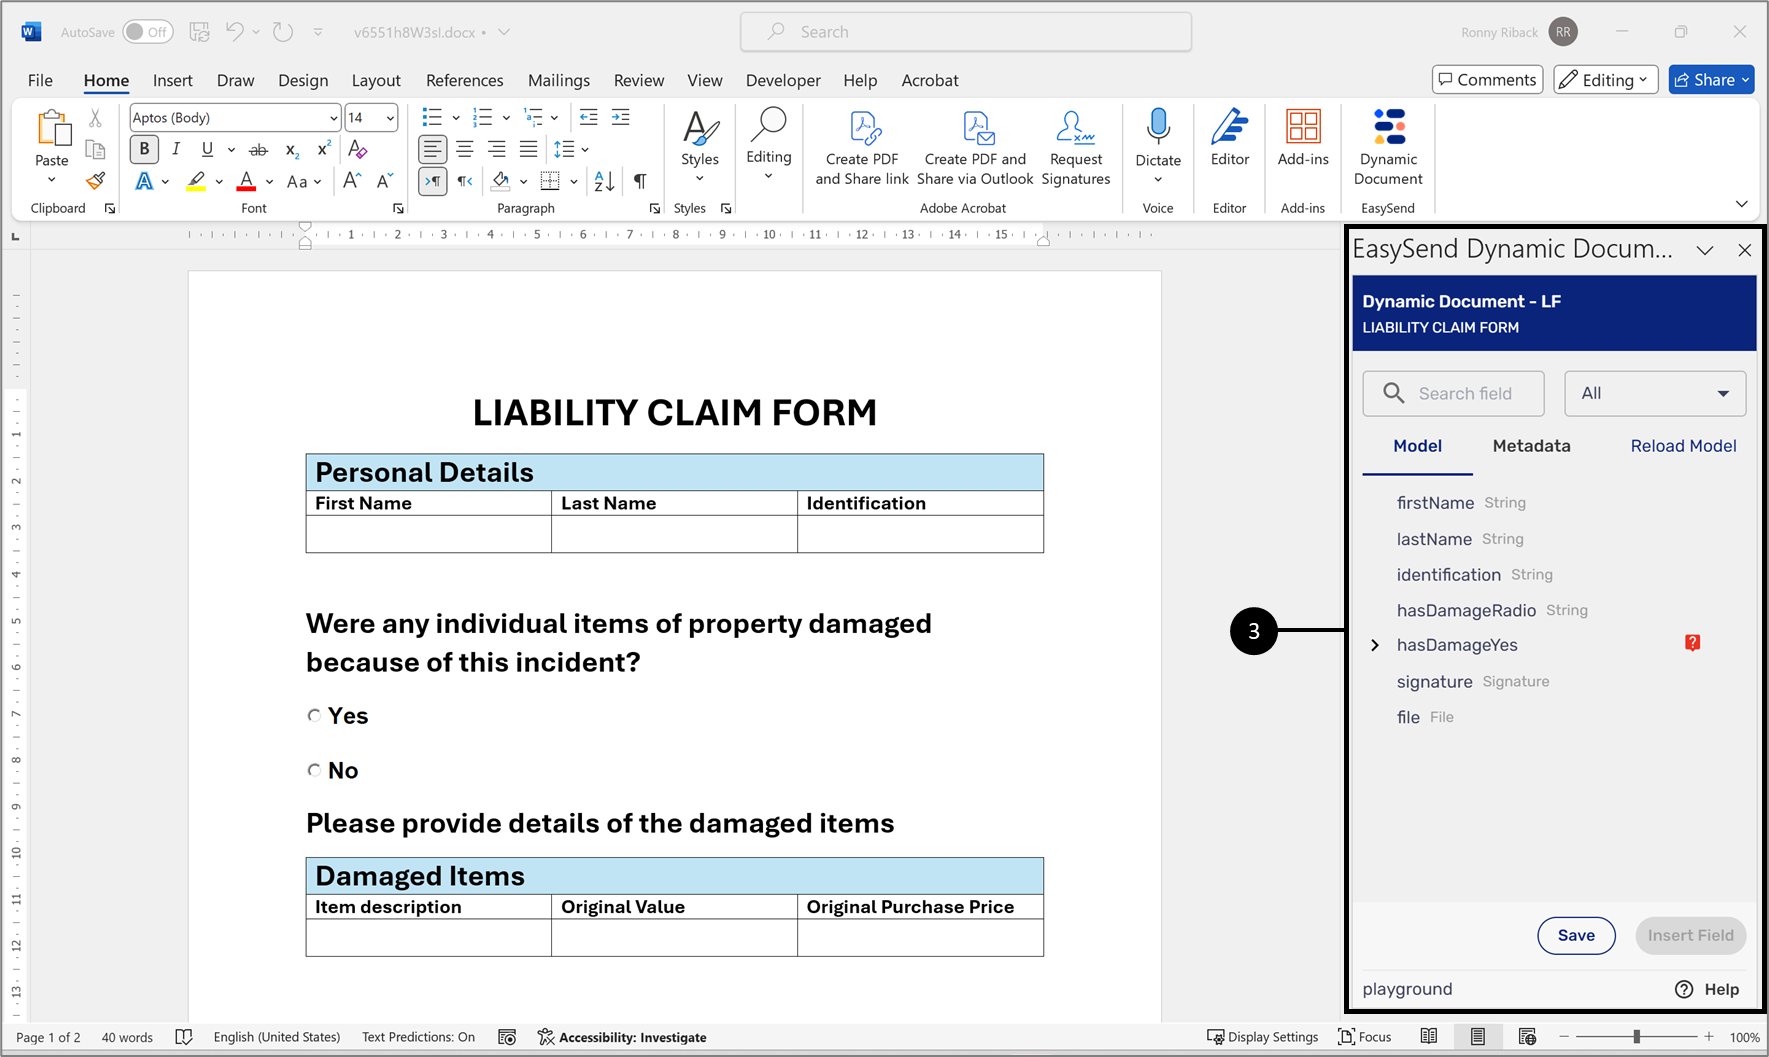
Figure 5: EasySend Dynamic Document Editor
Adding additional Dynamic Documents
(See Figure 6 and Figure 7)
To add additional dynamic documents to the Documents tab, perform the following steps:
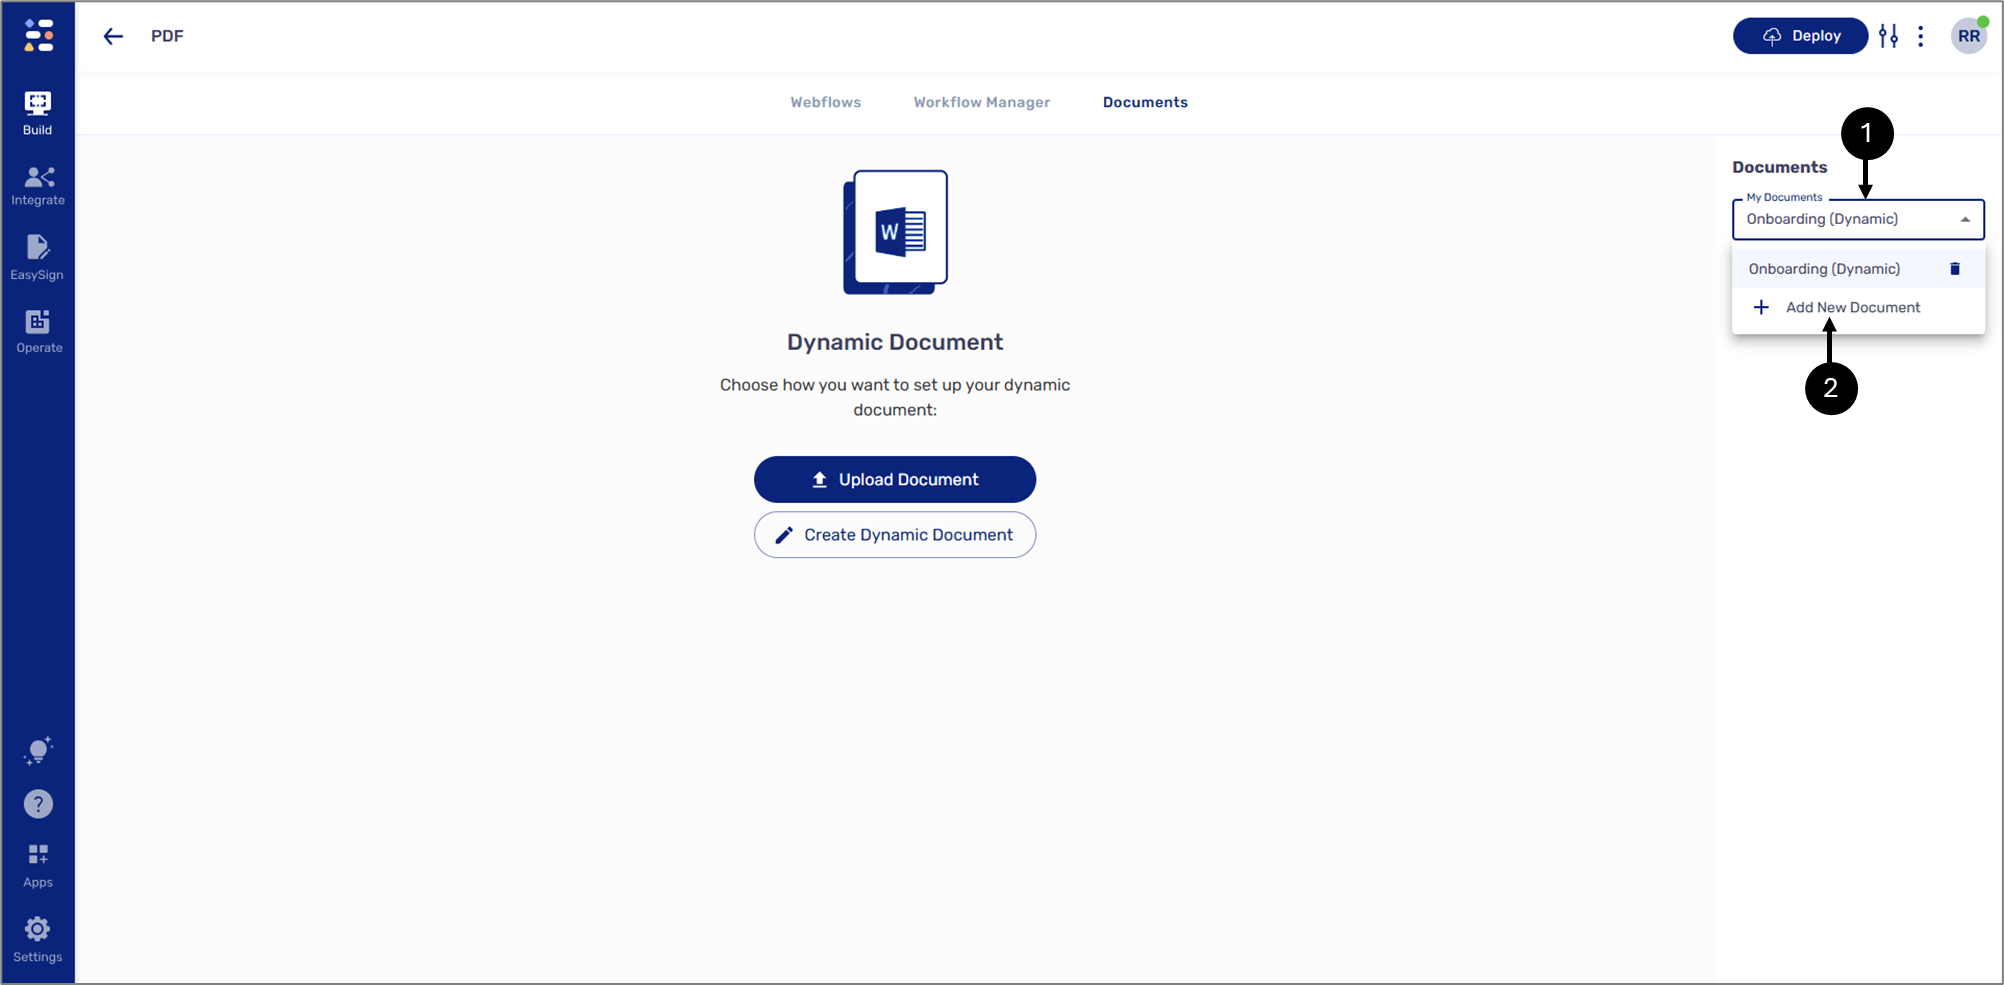
Figure 6: Adding a New Dynamic Document
- Click the My Documents dropdown (1).
- Click + Add New Document (2).
Result:
The Create New Document window appears:
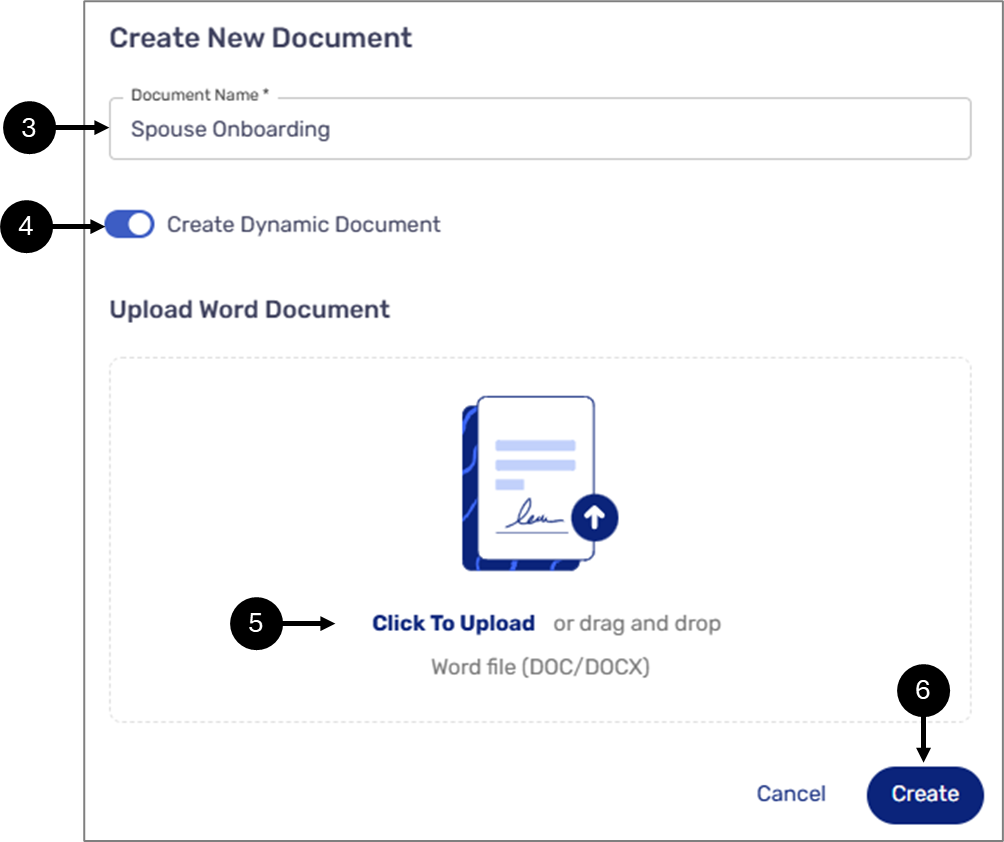
Figure 7: Create New Document Window
- Enter a Document Name (3).
- Toggle the Create Dynamic Document switch to on (4).
- Perform one of the following:
- If available, upload a new Word doc (5) and then click Create (6).
- If you want to start with a new, empty document, click Create (6).