Article Overview
The following article describes the building blocks located under the Business Logic category.
Business Logic
(See Figure 1)
The Business Logic category includes three building blocks:
- Start
- Condition
- Model Update
- End
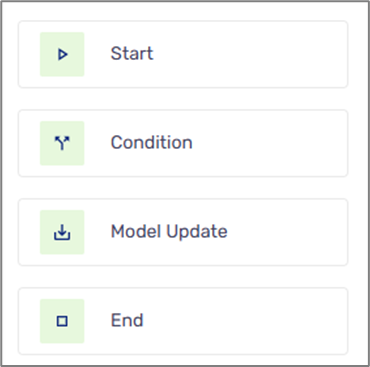
Figure 1: Business Logic
Start
(See Figure 2)
The Start building block enables you to specify the starting point (s) of your digital process. It contains the following fields and options:
- Source (required):
- Salesforce
- MS Dynamics
- Direct Link
- Journey Sender
- API
- Unique Identifier
- Description
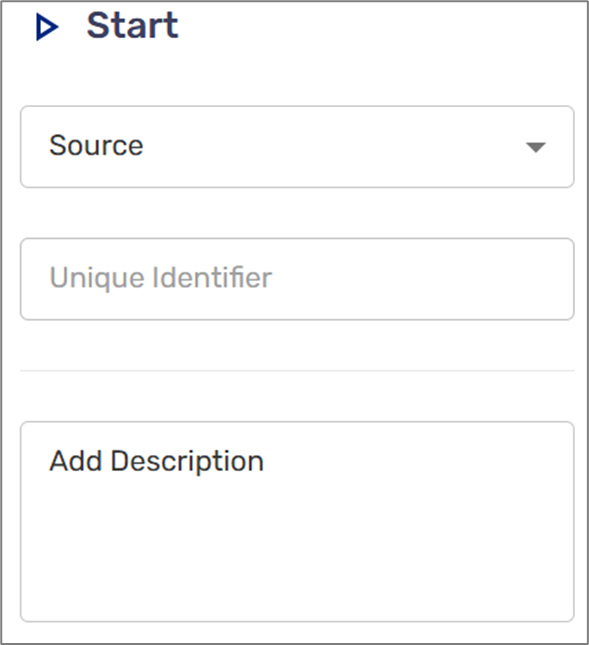
Figure 2: Start and More Options
Condition
(See Figure 4)
The Condition building block allows you to create and configure conditions that split the path of your process into different directions and scenarios. It contains the following fields and options:
- Add Label
- Edit Logic
- Description
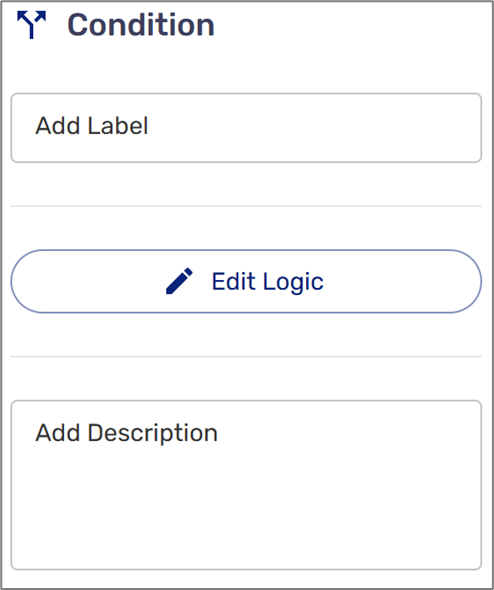
Figure 4: Condition
Edit Logic
(See Figure 5 and Figure 6)
Clicking the Edit Logic button displays the Edit Logic window. In this window, you can create logical expressions that split and determine the path of the digital process.

Figure 5: Edit Logic Window
To create a logical expression, select if it will be triggered when its result is True or False. Then add the first condition and set its parameters:
- Selector - a data item or metadata item
- Comparison Operators:
- Equal to
- Is not
- Greater than
- Less than
- Is Empty
- Is Not Empty
- Value:
- Textual or numeric
- True or False in case the added Selector is a boolean-type data item
A logical expression can include more than one condition. After clicking the + Add Condition button, another condition row appears.
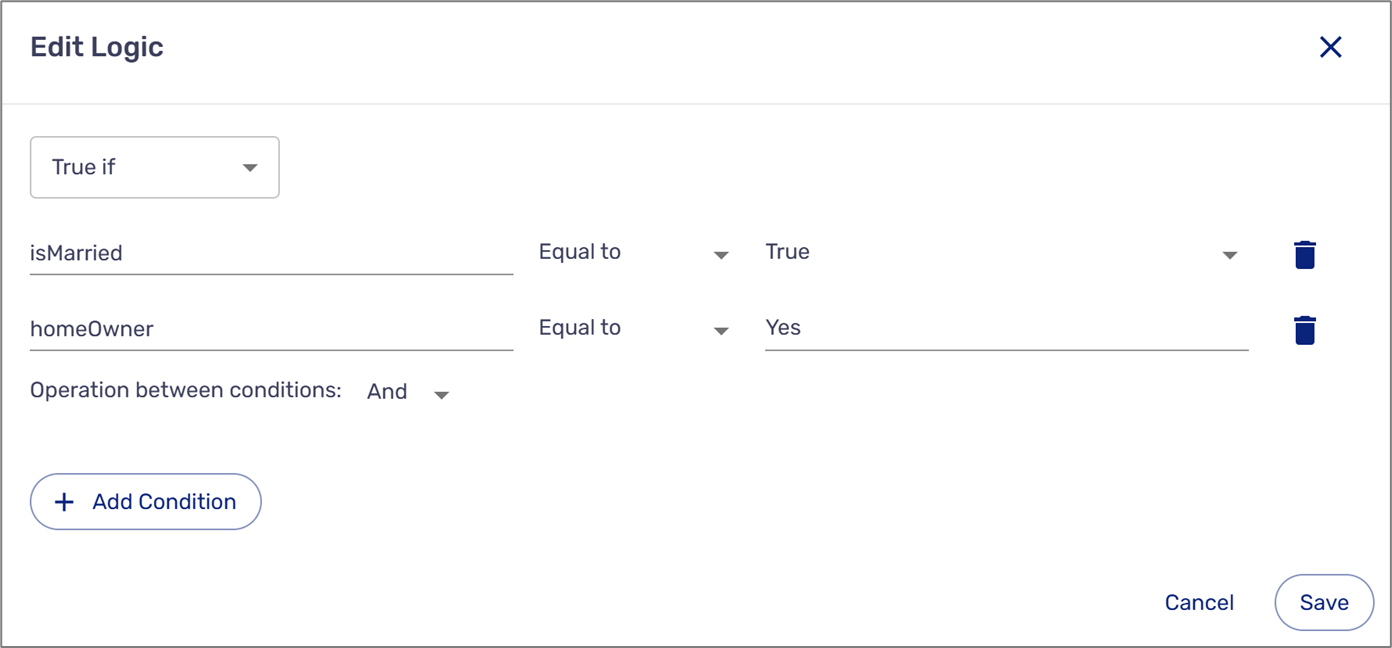
Figure 6: Logic with Multiple Conditions
When adding more than one condition, it is mandatory to set the operation between them: And/Or.
Model Update
(See Figure 7)
The Model update allows you to define a value directly in the data/metadata items from the workflow canvas. It contains the following fields and options:
- Add Label
- Set Model Data
- Description
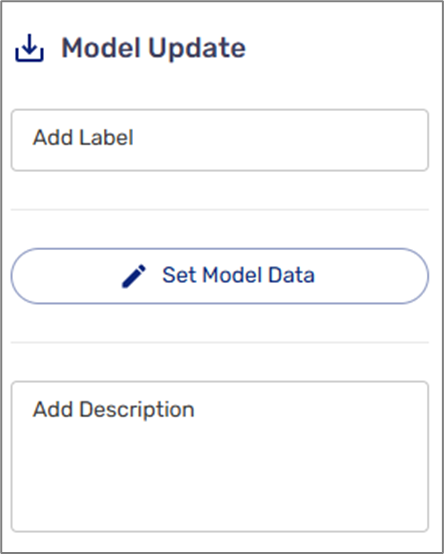
Figure 7: Model Update
Set Model Data
(See Figure 8 and Figure 9)
Clicking the Set Model Data button displays the Write Data to Model window. In this window, you can add selectors (data/metadata items) and set their values.

Figure 8: Write Data to Model
To add the first data/metadata item, click the Add selector field and select a data item, then add its value, for example:
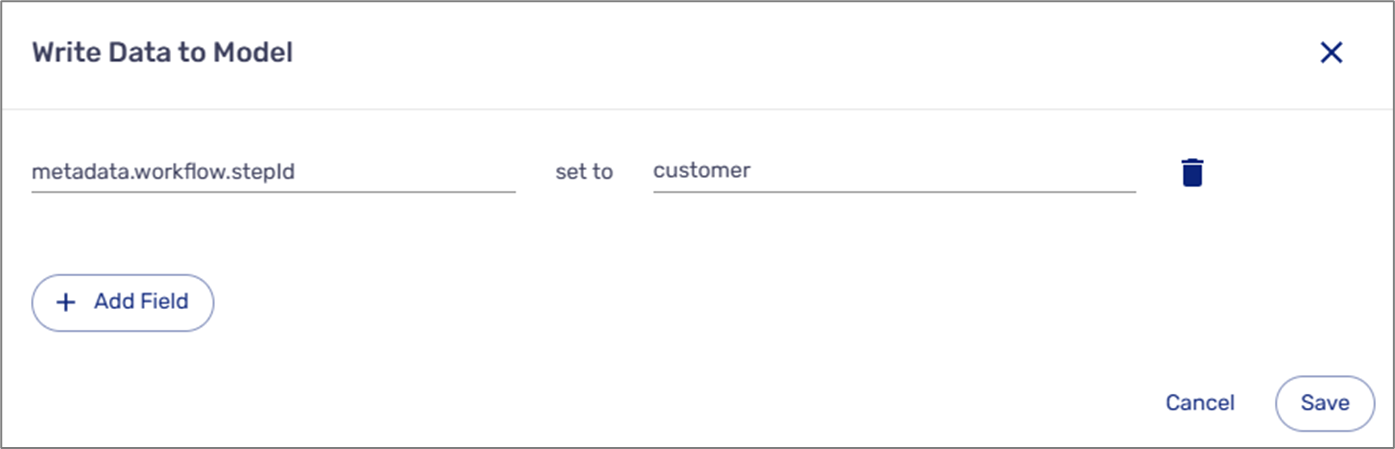
Figure 9: Write Data to Model
Click + Add Field to add additional rows.
End
(See Figure 10)
The End building block allows you to indicate when the process or one of its paths has ended. It contains the following fields and options:
- Add Label
- Description
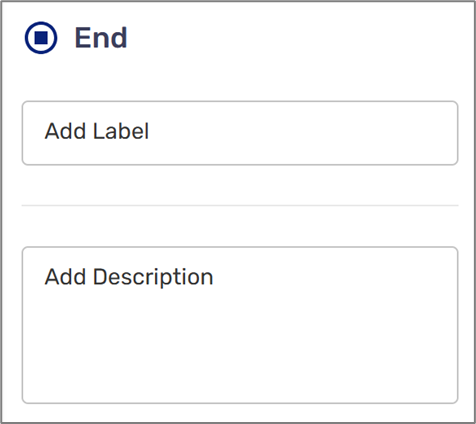
Figure 10: End